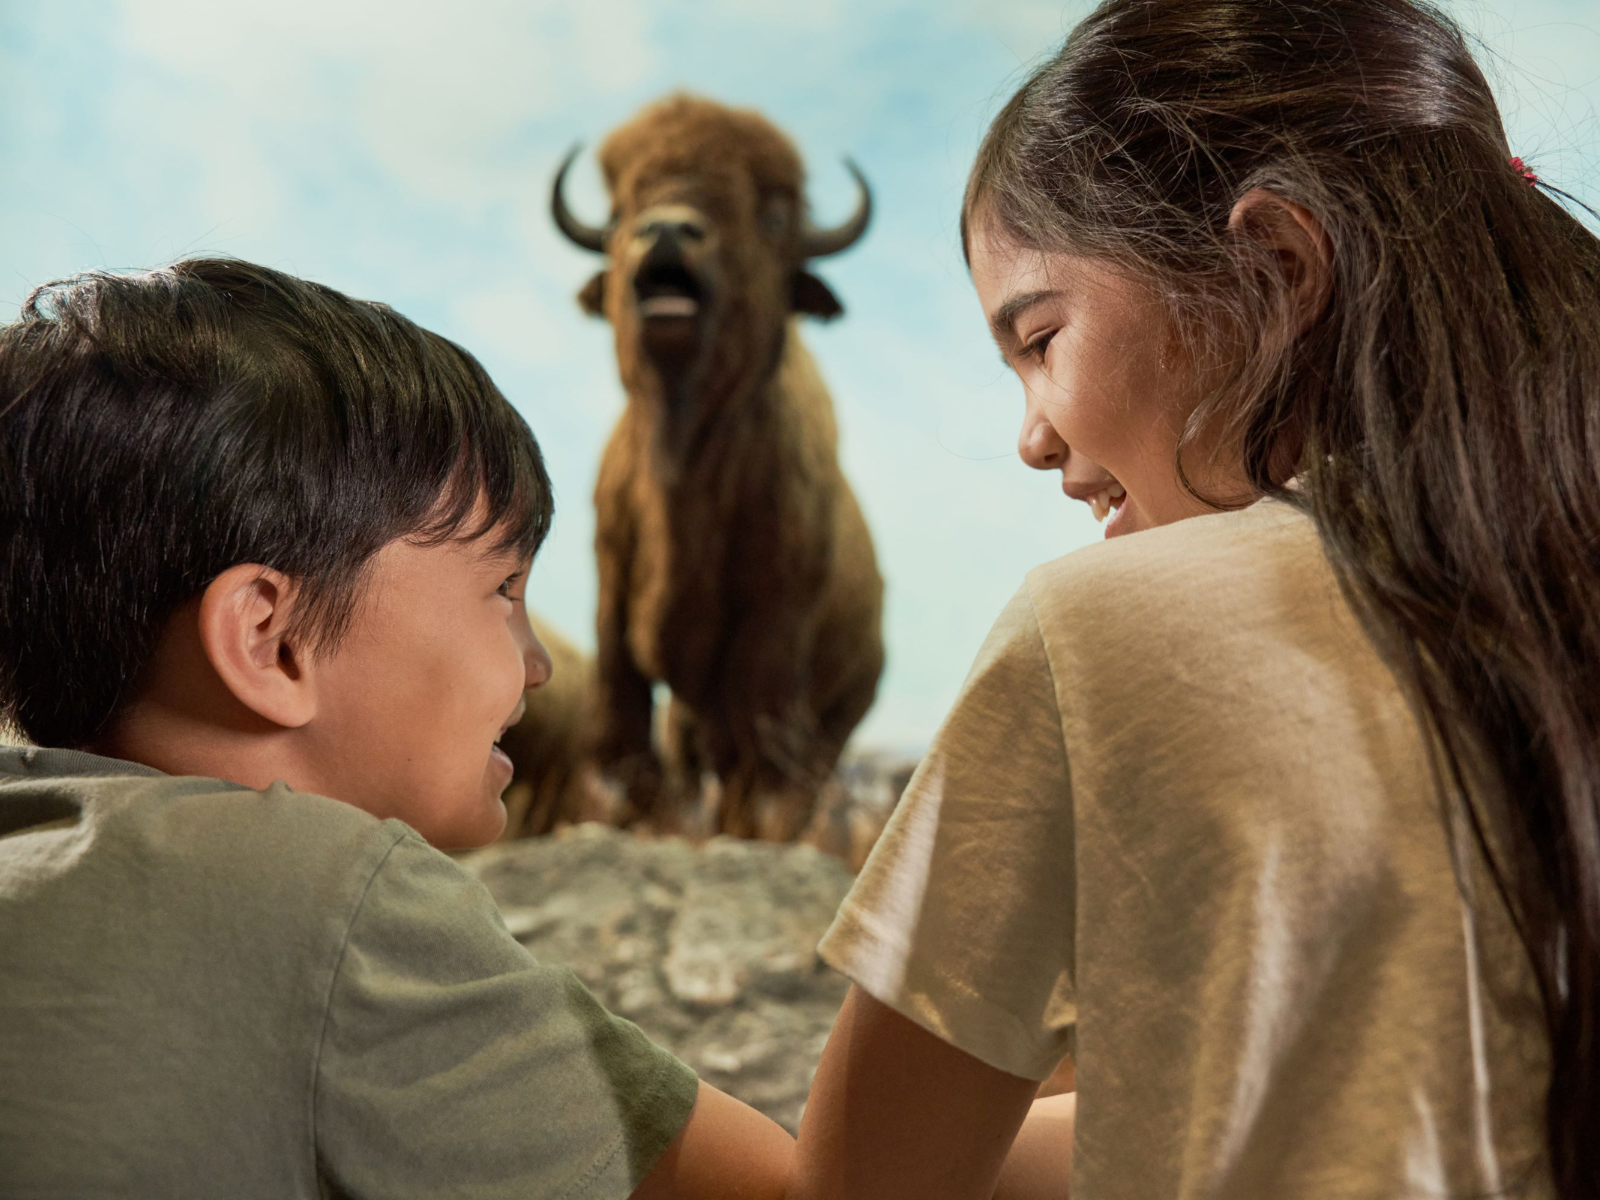
Posted on: Wednesday May 13, 2026
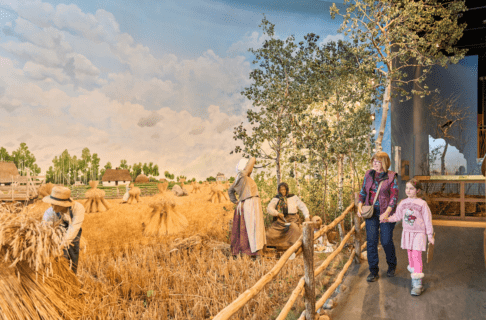
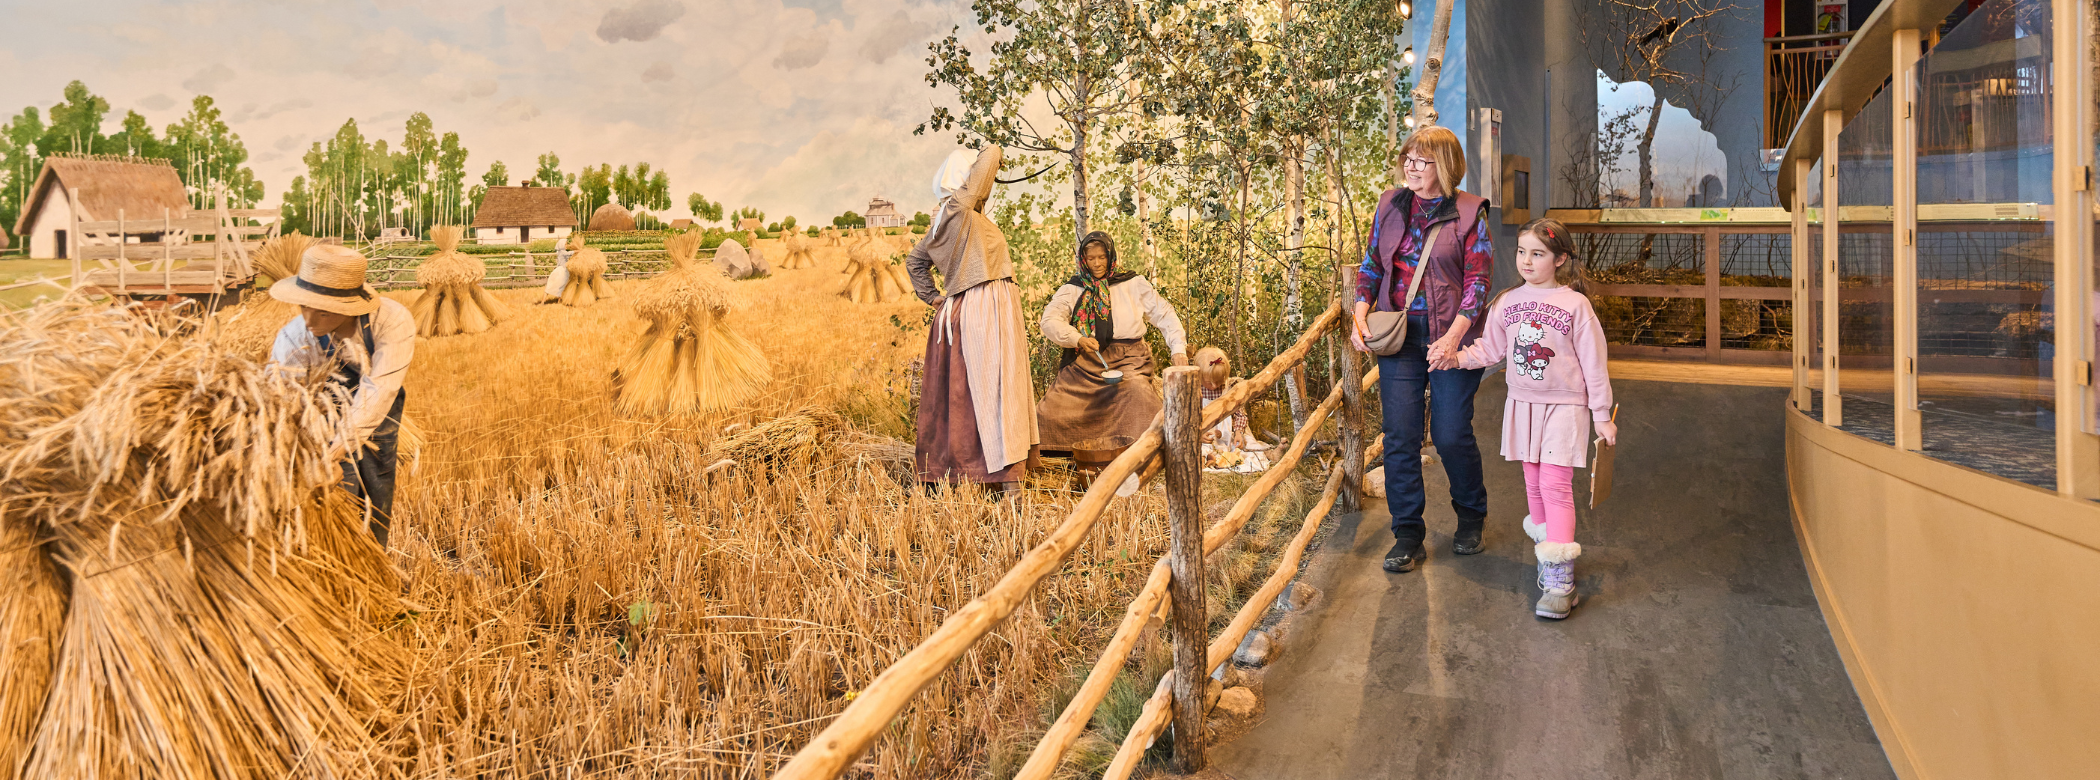
The Delta Marsh and Rye Farm diorama in the Parklands Gallery was completed in 2003, having been in the planning and construction phases since the mid-1990s. The result was a masterpiece of exhibitry, requiring thousands of hours of time of our diorama artist, curators, operations staff, and volunteers, that has wowed visitors for almost a quarter century. The diorama represents one of Manitoba’s most important wetlands, famous for its waterfowl, and communicates the challenges faced by agricultural families as illustrated by Ukrainian immigrants in the 1920s.
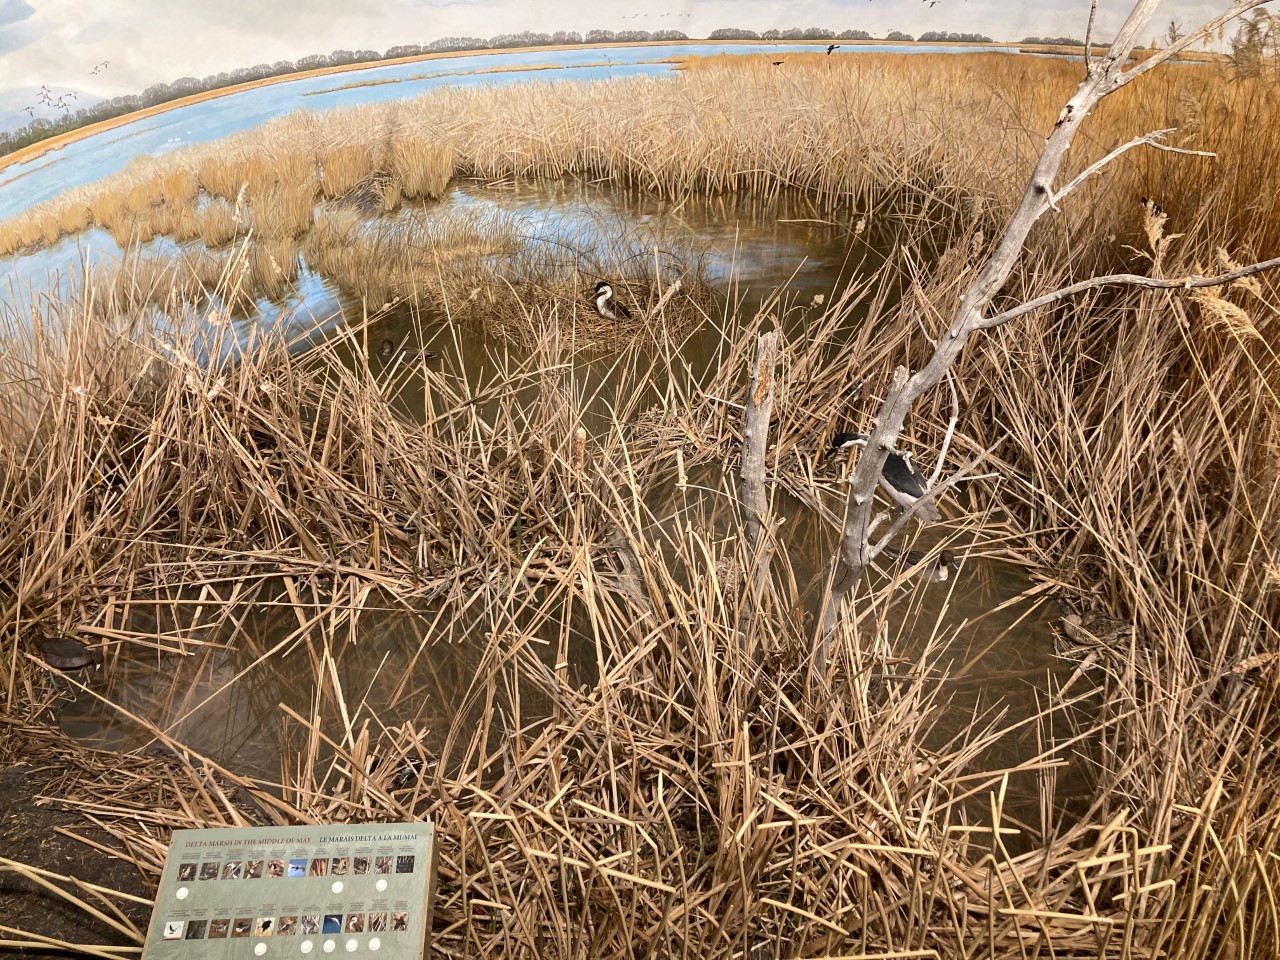
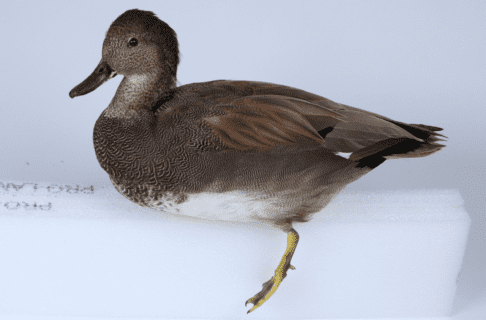
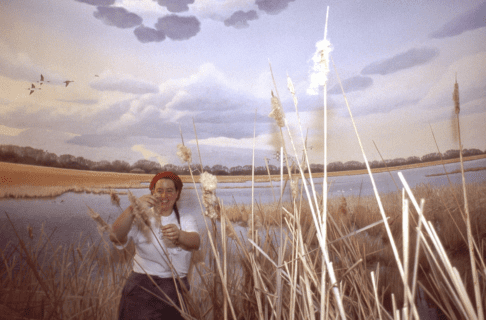
The Delta Marsh diorama in happier times giving visitors an opportunity to experience a vibrant wetland located on the south end of Lake Manitoba. Plants were collected from onsite and the diorama provides a taste of the diversity of birds and mammals that such a wetland can support. Delta Marsh is world-renowned for its importance as a migratory stopover and breeding ground for thousands of geese, ducks, and shorebirds.
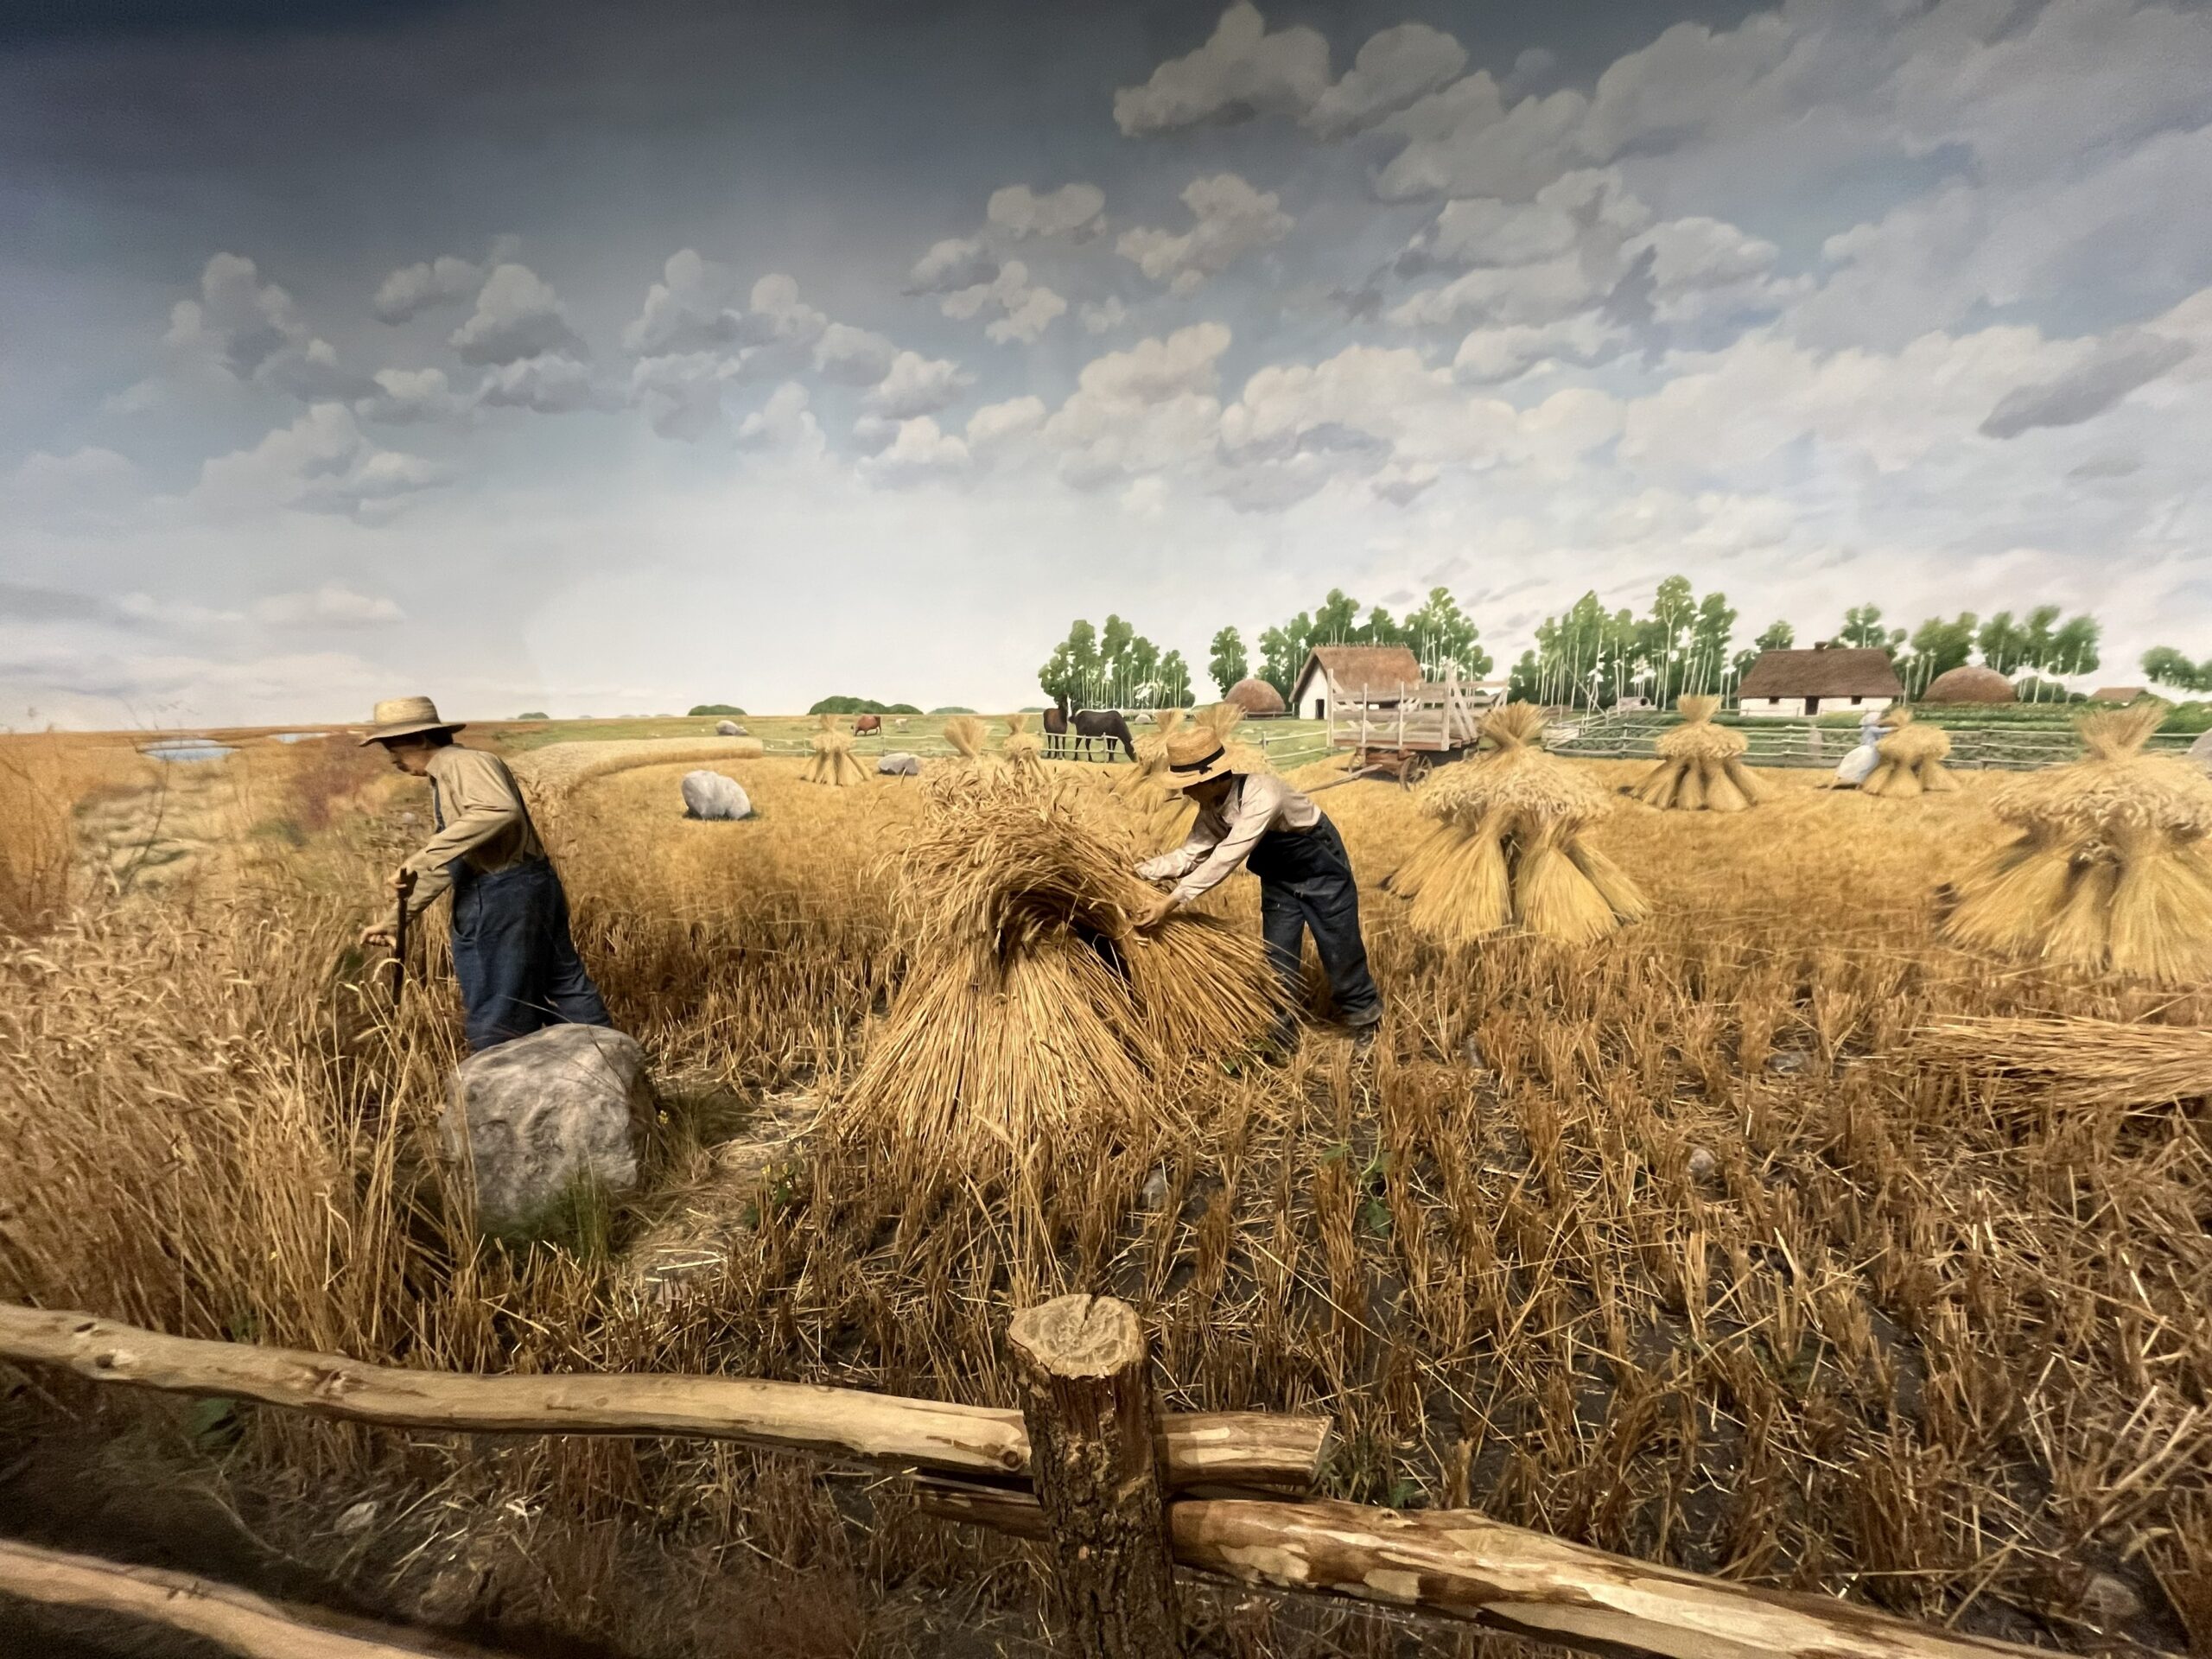
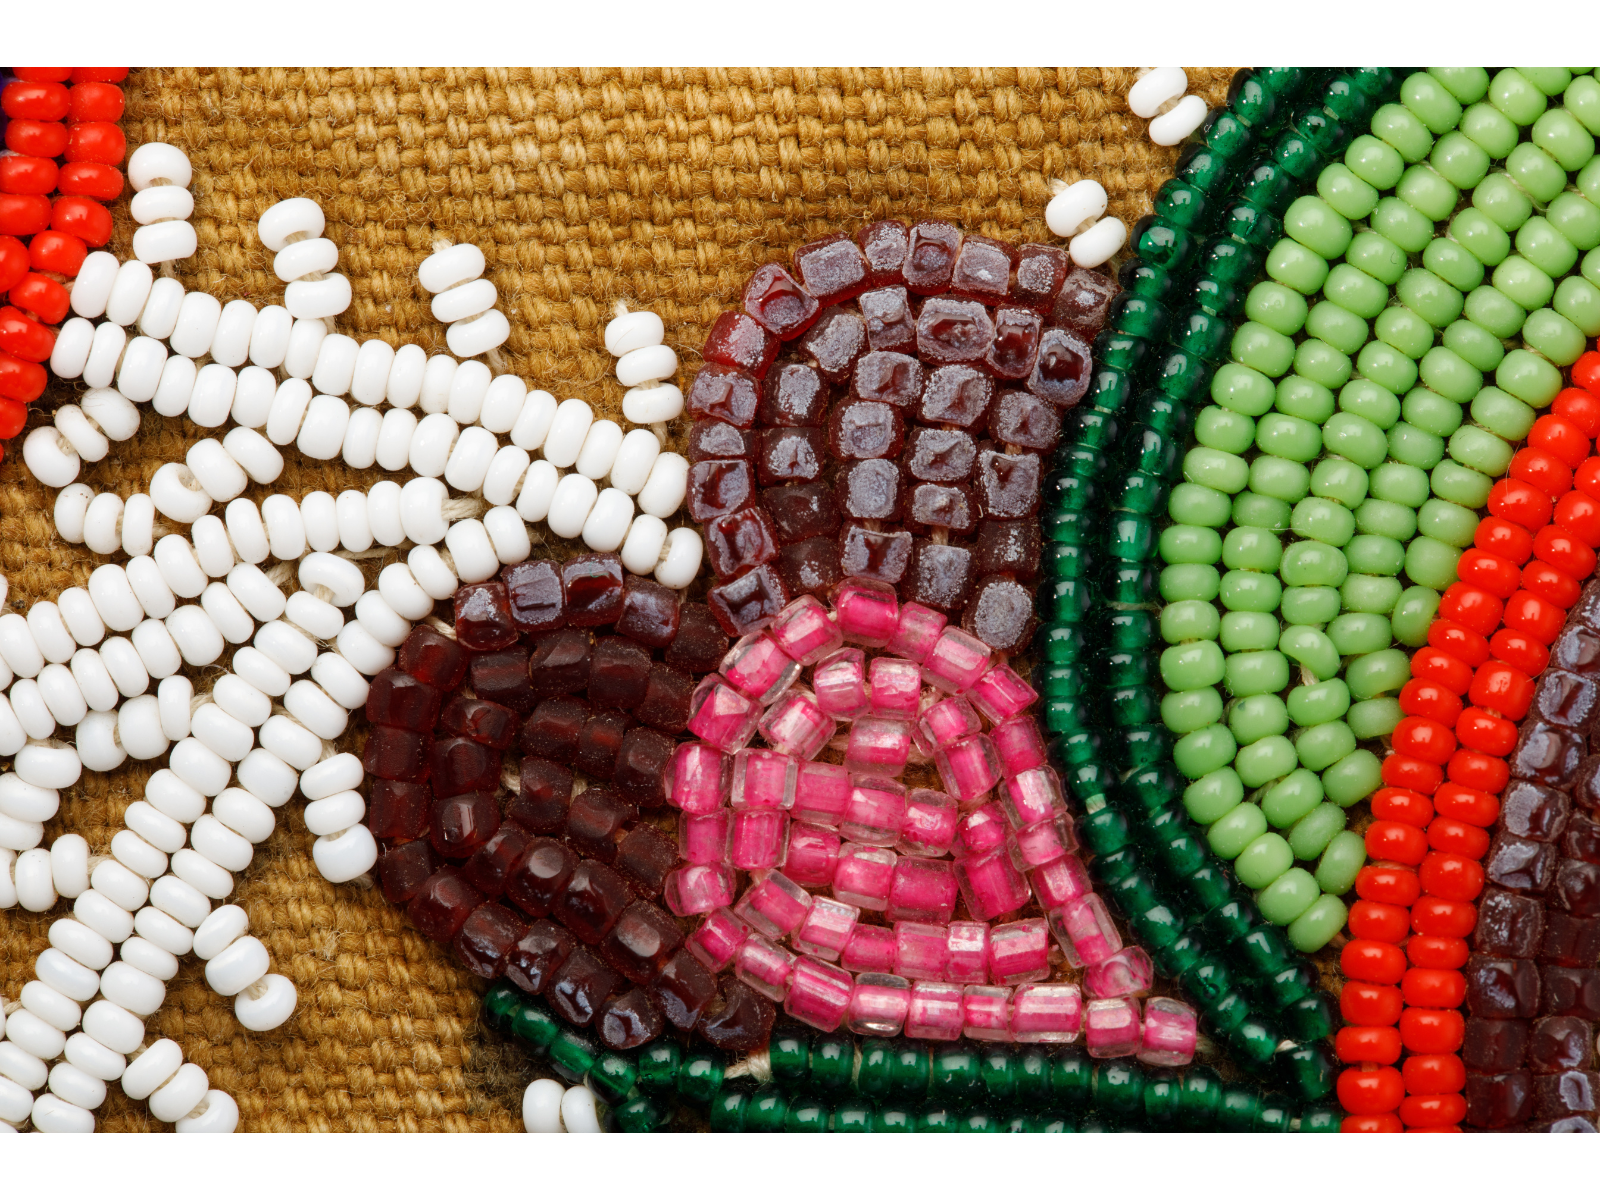
Set in Stuartburn, Manitoba in the 1920s on an August morning, the Rye Farm diorama shows a Ukrainian family of recent immigrants harvesting their rye crop by hand. Father, son and daughter (she is painted in the background) cut and arrange rye into “stooks.” Mother wipes her brow with sickle in hand. Daughter and grandmother sit with water and a plate of mushrooms. In the background we see a thriving farming community, complete with a Ukrainian church.

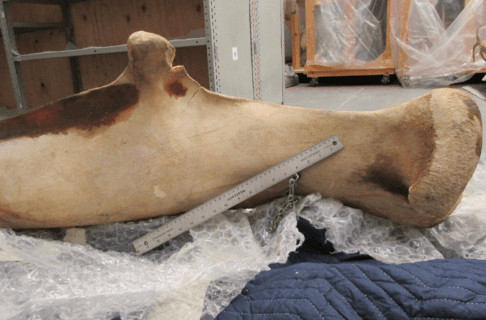
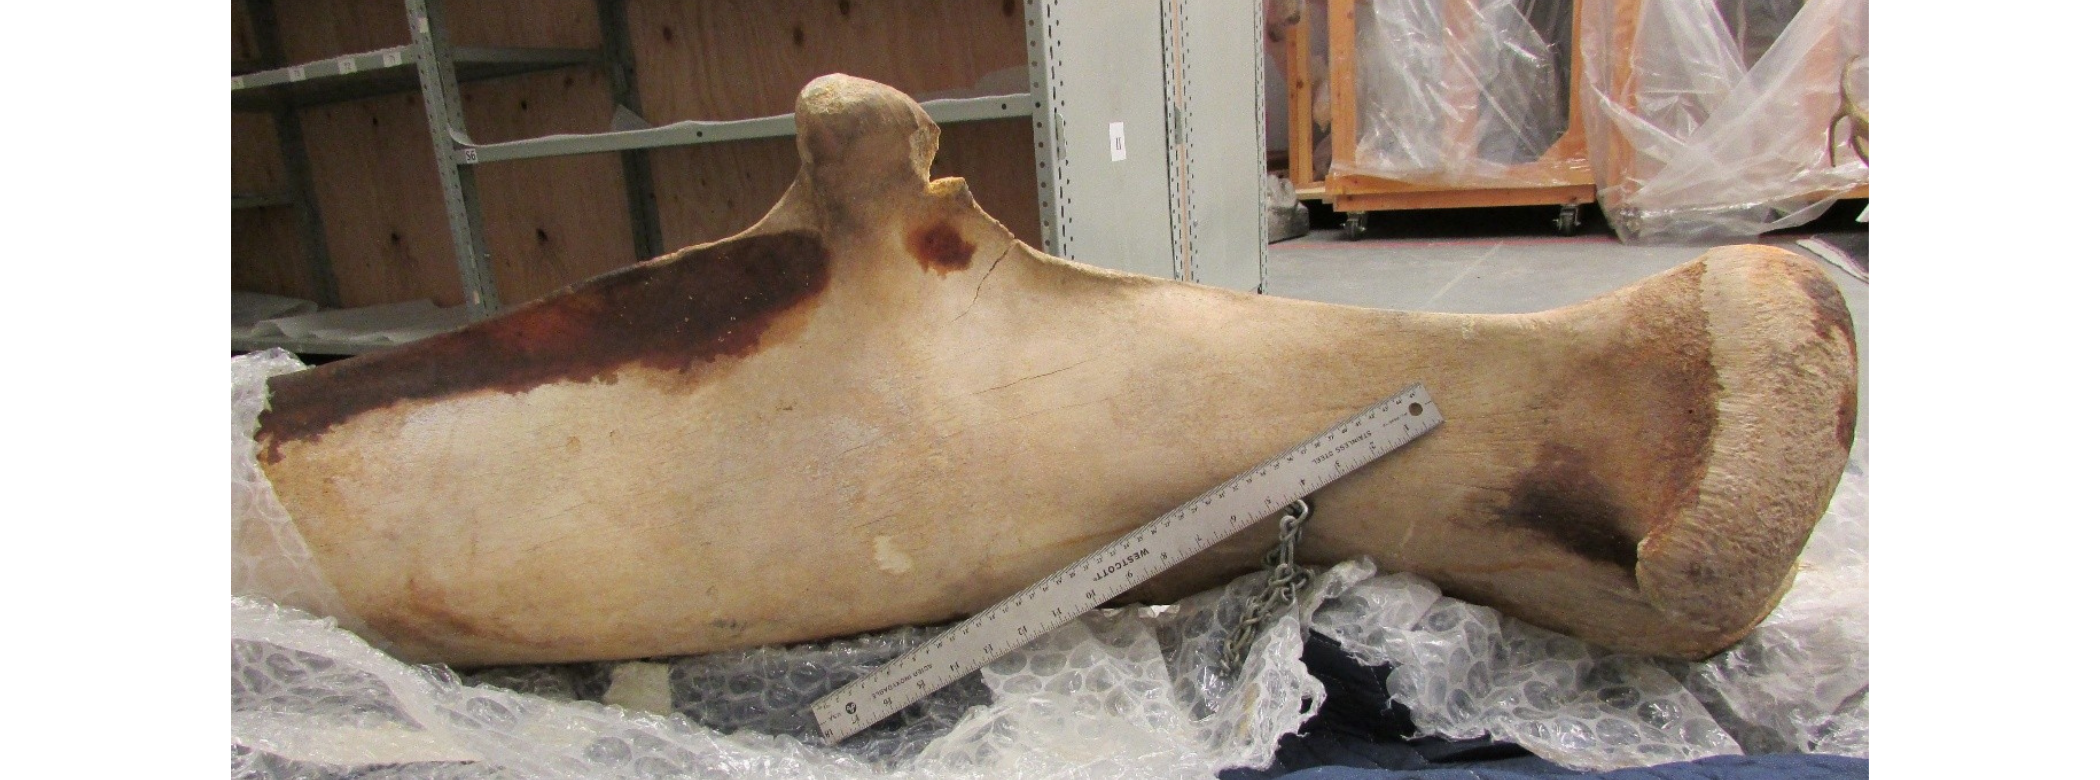
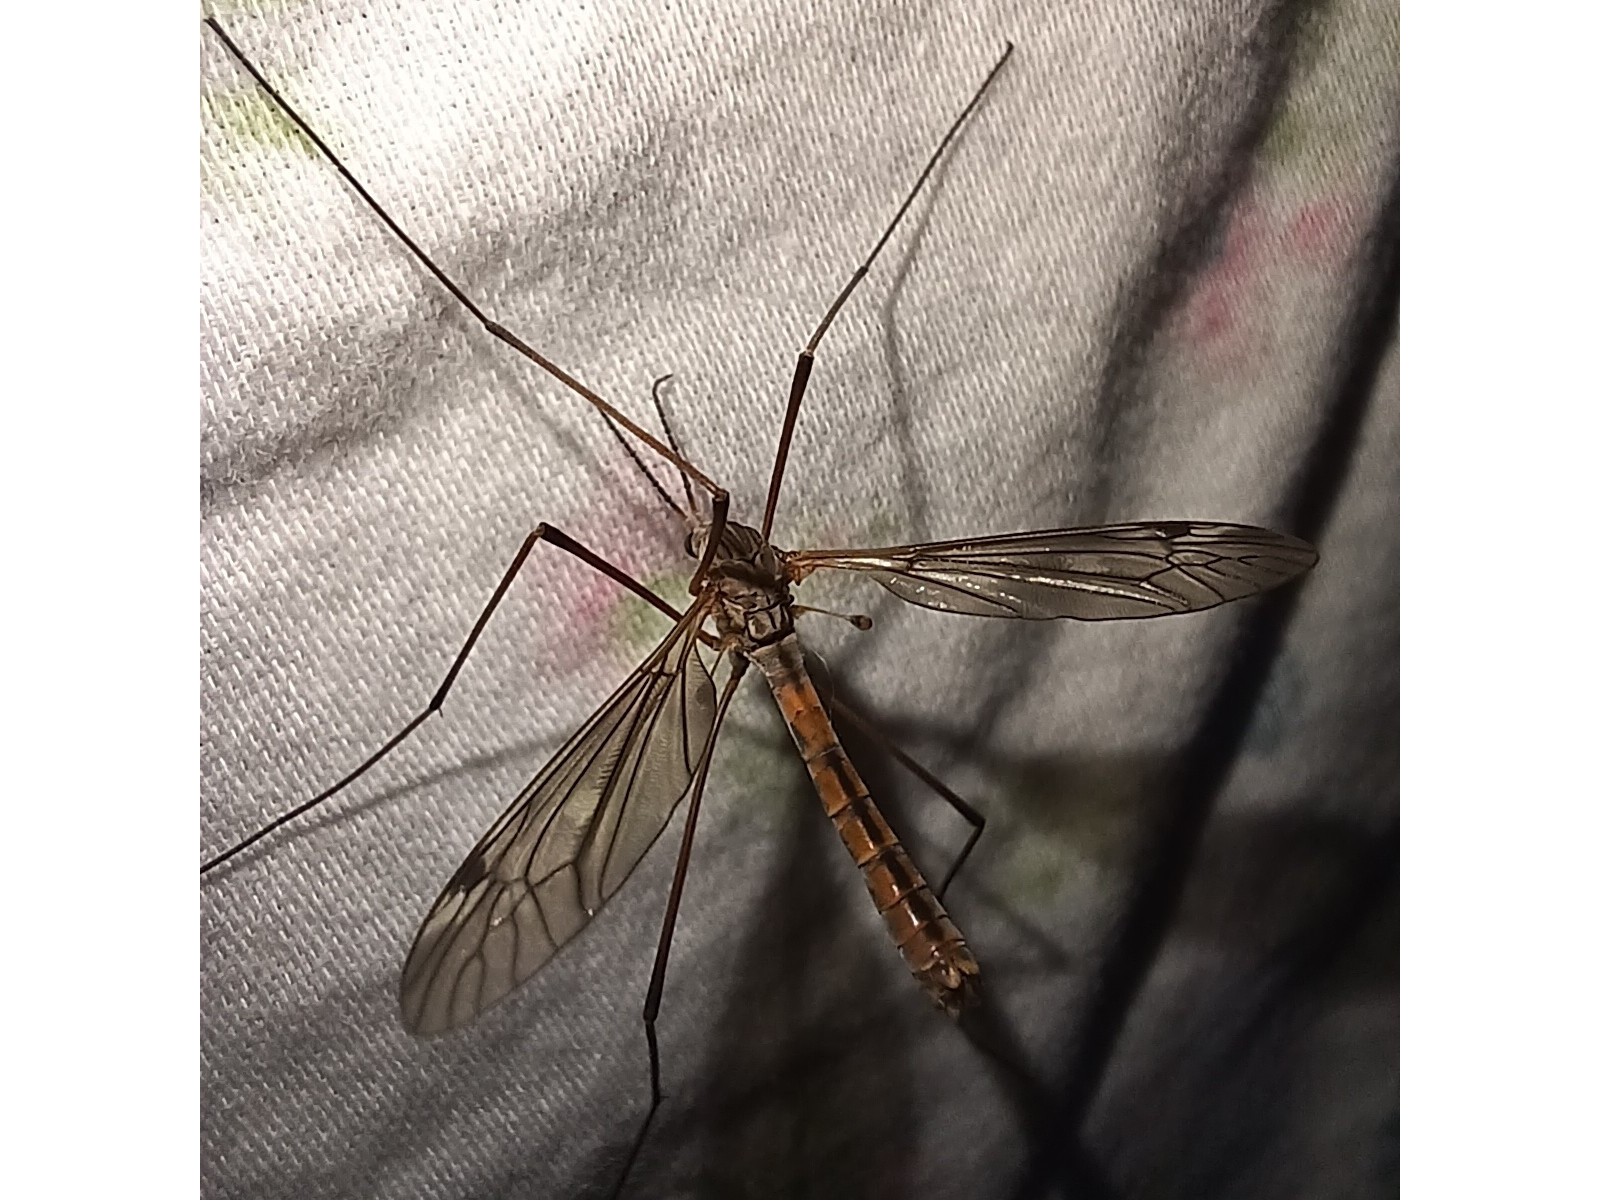
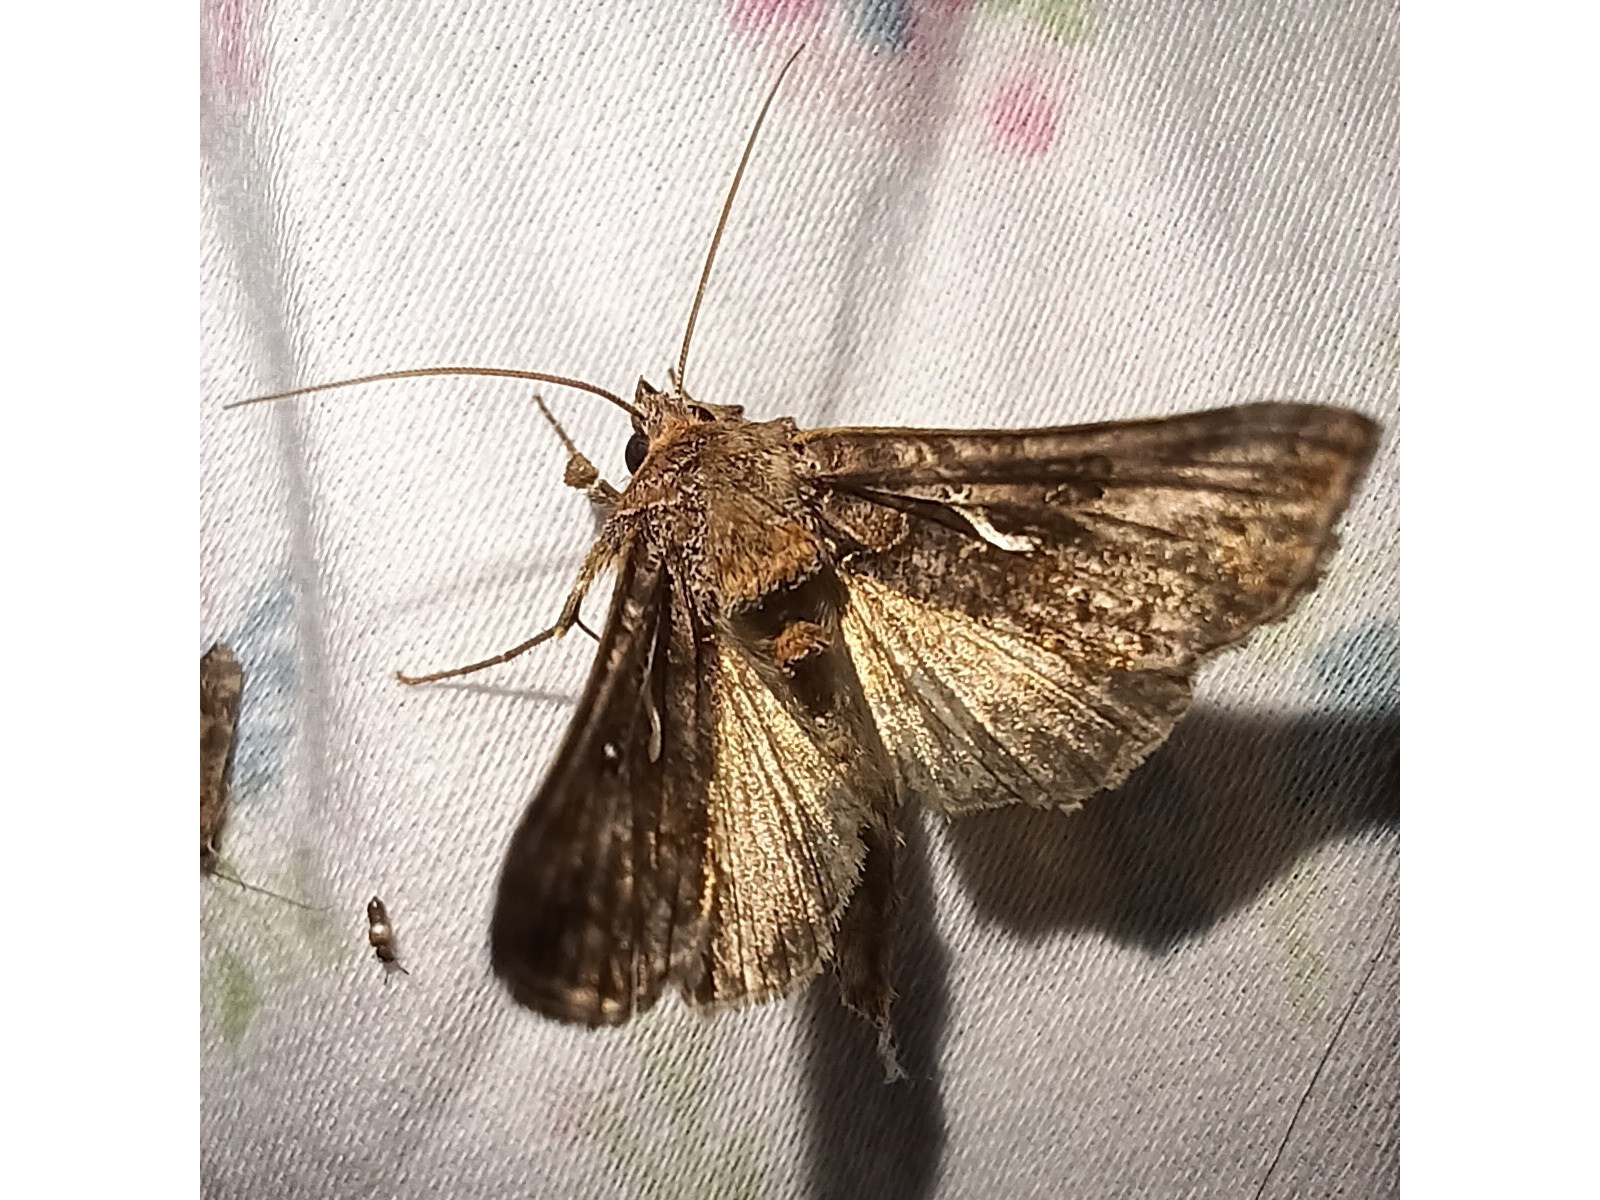
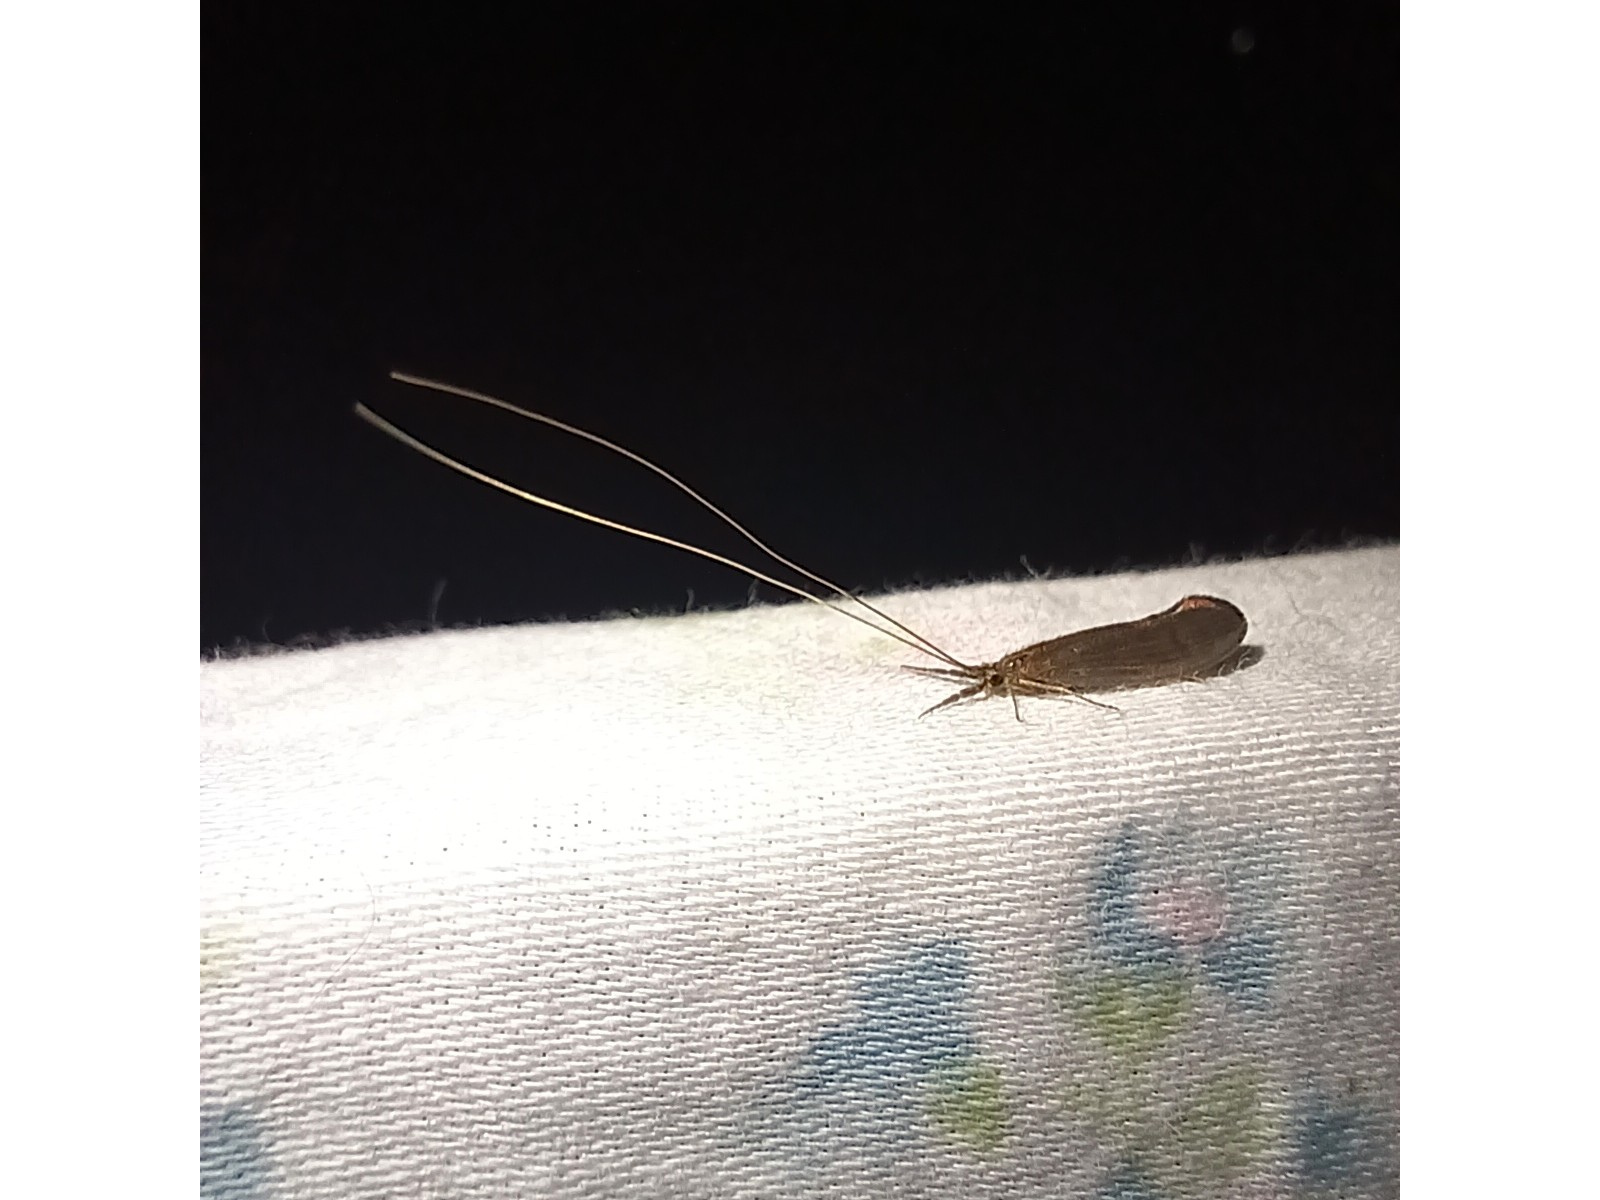
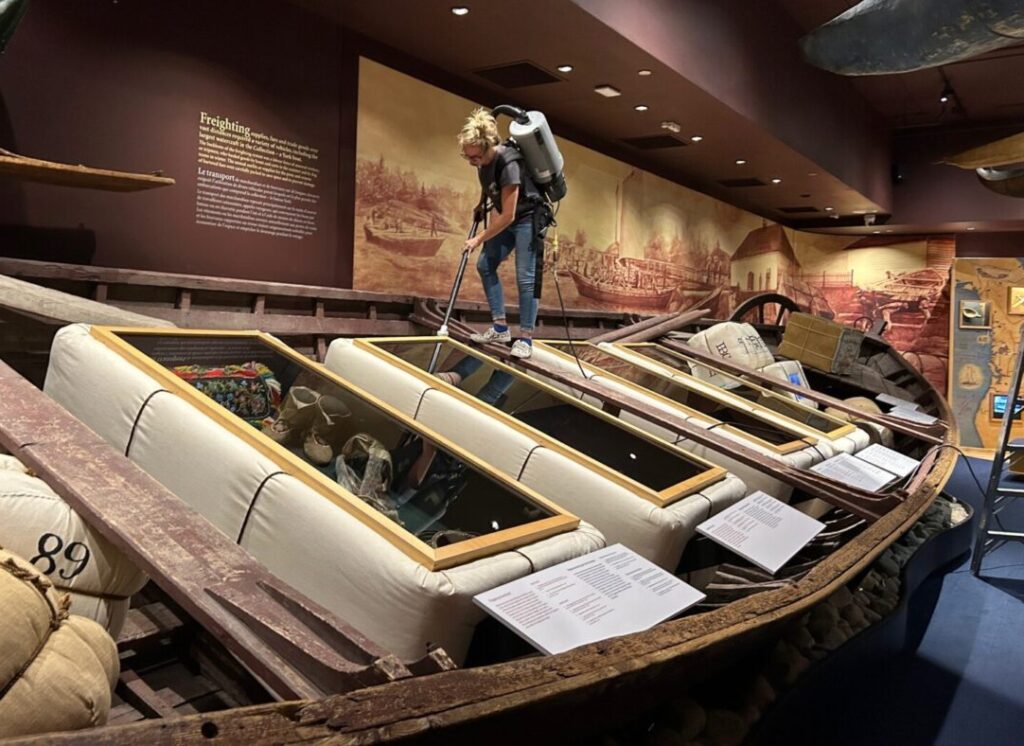
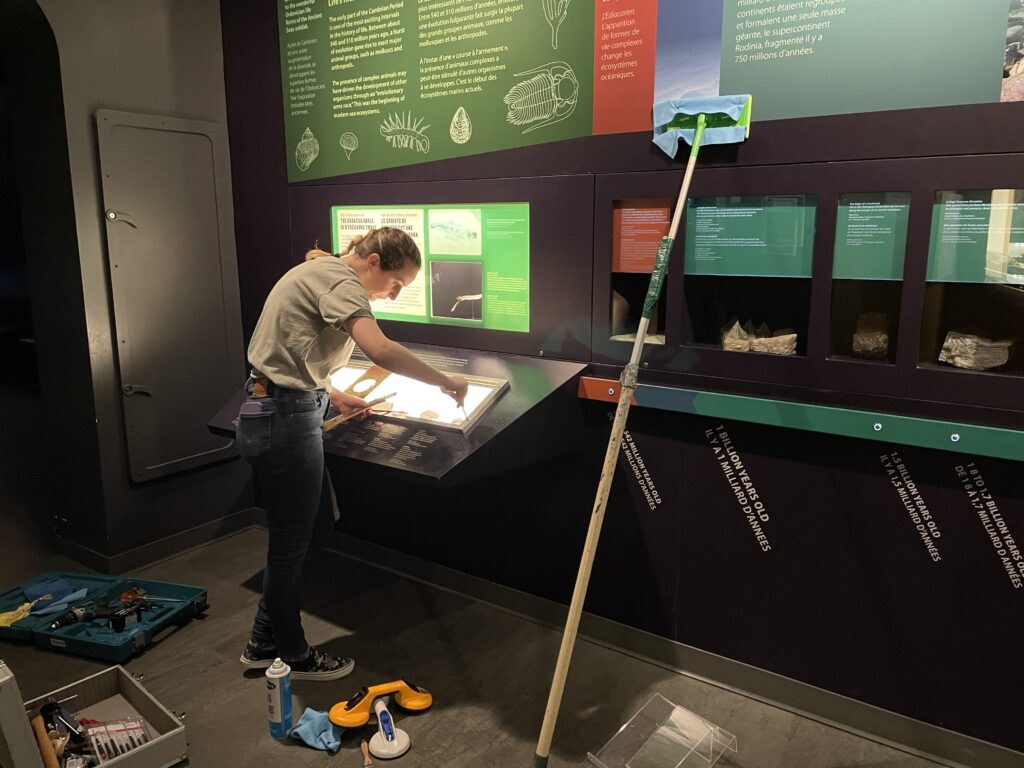
Open dioramas are incredible spaces where visitors can become immersed in an environment, making them memorable favourites of a Manitoba Museum tour. However, open dioramas are very challenging to maintain. Their very nature means they get dusty and are more susceptible to pest damage. A very small fraction of visitors may also deposit coins and garbage, break exhibit pieces, or steal items.
Delta Marsh and Rye Farm is one of many open dioramas in the galleries, so you can imagine the time and effort required to keep these spaces pest-free and clean, and to replace damaged or missing elements. Over the last few decades, this maintenance has been made even more challenging as staffing levels have decreased. With no diorama artist and fewer curators, conservators, and operations personnel, we are in a difficult situation.
Unfortunately, the Delta Marsh and Rye Farm diorama has some particular challenges given the content of the exhibit and access for cleaning and conservation. The integrity of the diorama has become difficult to maintain due to the presence of pests that have become difficult to abate. These challenge the safety of the artifacts and specimens included in the diorama, but also that of our staff tasked with its maintenance.
These challenges have led us to make the extremely difficult decision to decommission the Delta Marsh and Rye Farm. Rest assured that the stories held within these dioramas will continue to be told. As many elements as possible will be retained for a newly imagined exhibit that, we hope, you will find as engaging and captivating as the original over the last 25 years.
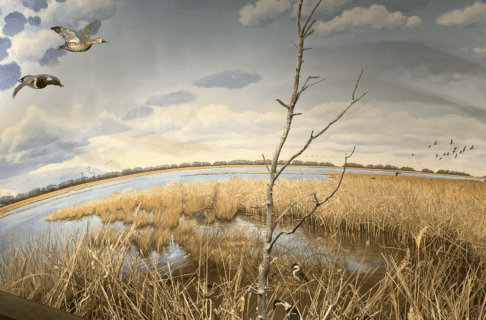
Delta Marsh diorama.
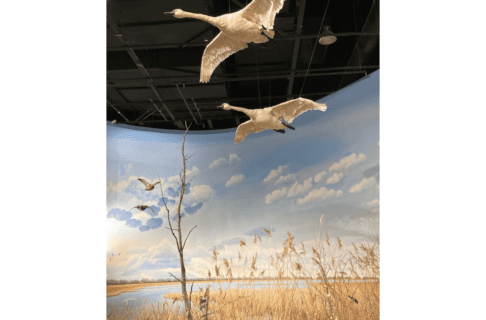
Suspended swans flying over the Delta Marsh portion of the diorama.
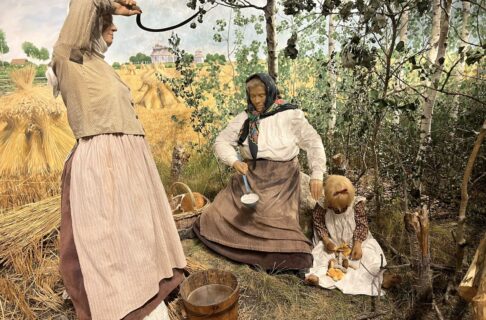
In the Rye Farm diorama, Mother wipes her brow with sickle in hand as Daughter and grandmother sit with water and a plate of mushrooms
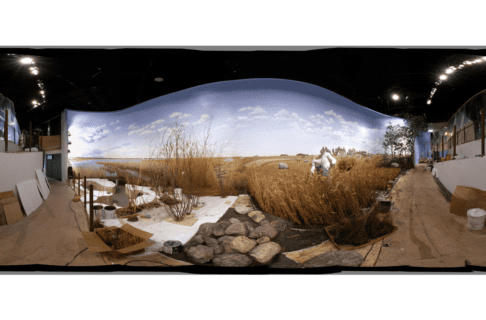
Placing the rushes in Delta Marsh portion of the diorama during construction.
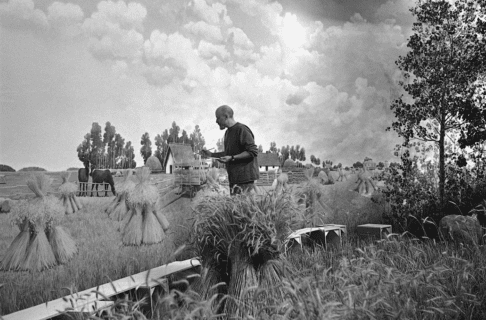
Diorama construction.
Mural painting during diorama construction.
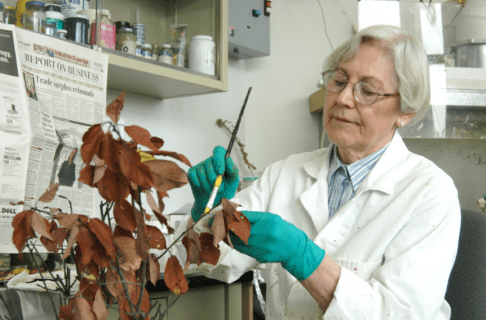
Painting plant leaves to look as lifelike as possible during diorama construction.

Dr. Randy Mooi
Curator of Zoology