

Posted on: Tuesday February 11, 2025
Tape might seem like a good option when it comes to quick repairs of torn papers or fast mounting of photographs in an album, however, they age badly and cause irreversible damage. Tape is fast, cheap, and easy as the adhesive is already applied to the plastic surface. We simply have the peel it and remove it from the roll, then apply pressure. However, tape causes a lot of issues for conservators for multiple reasons:
- The adhesive on tape can move into the paper fibers and it can cause yellow or orange stains, that are almost never fully removable. A conservator can lessen them, but it is hard, even impossible sometimes.
- The adhesive can fail which means it is not bonded to the object anymore and can cause the loss of materials and information.
- The adhesive can be stronger than the object it was applied to causing the plastic of the tape to be extremely hard to remove. In those circumstances, many steps, tools, solvents, and sometimes equipment, like microscopes, vacuum tables and light tables , are needed to remove the tape. It is a time-consuming process that requires patience and knowledge from conservators.
In some cases, we see a mix of all three types of tape deterioration in the same object! Some parts of the tape fail, others do not and are stronger than ever, or all the paper that touched the tape and the surrounding areas are stained. If the object is a photograph and was repaired on the back, the staining can reach all the way to the front and cause yellow stains to appear on the image. It can ruin photographs and important documents.
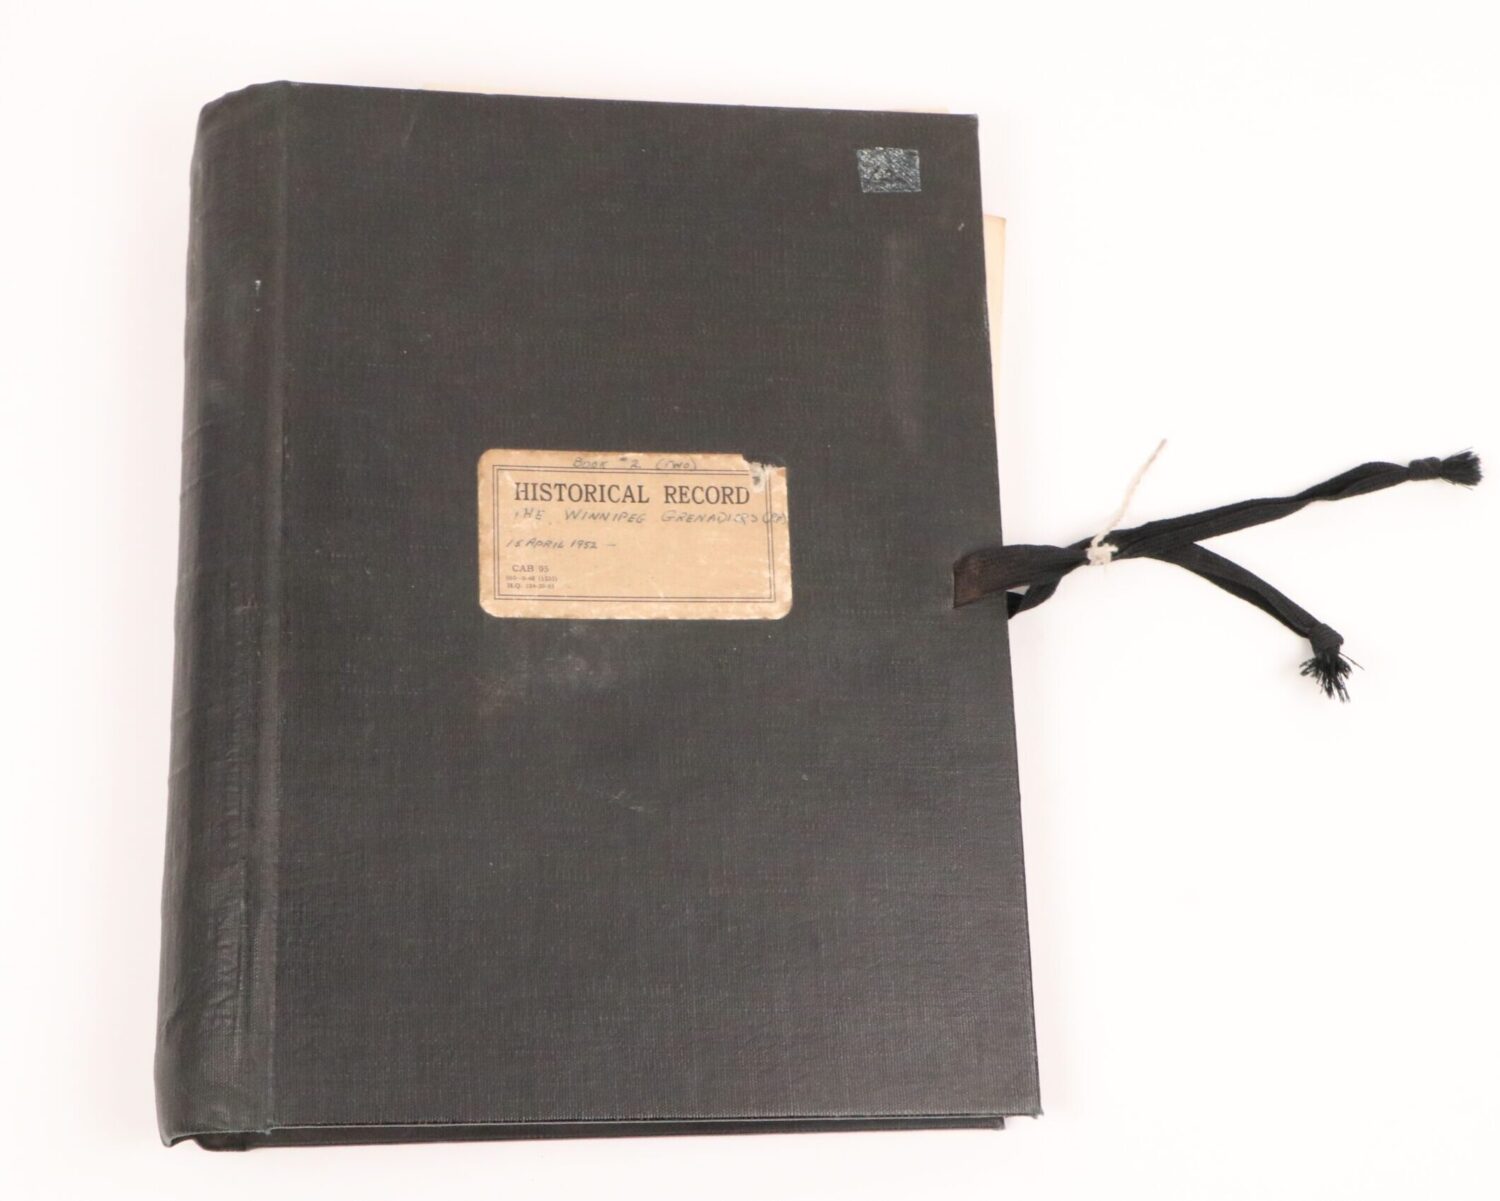
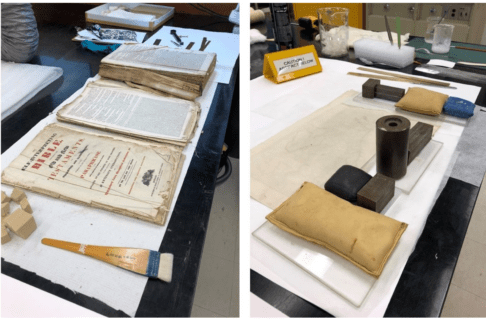
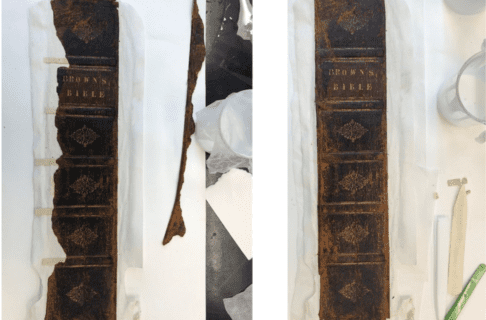
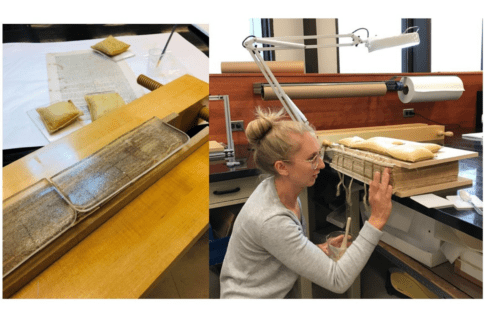
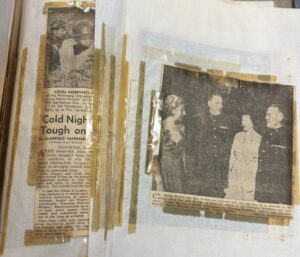
Winnipeg Grenadier’s Scrapbook
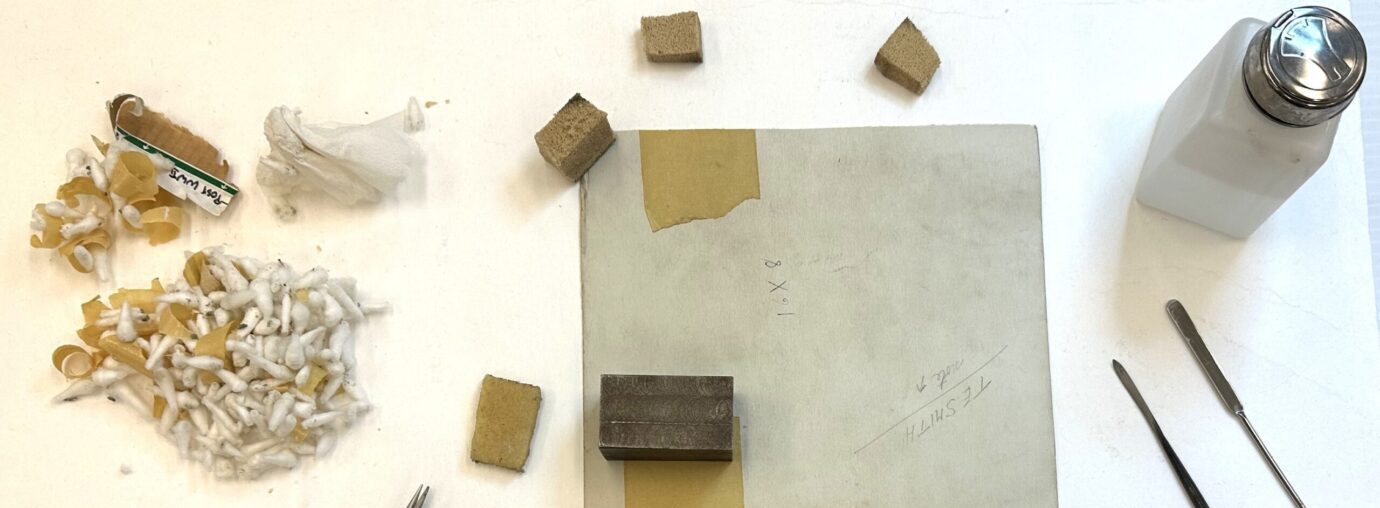
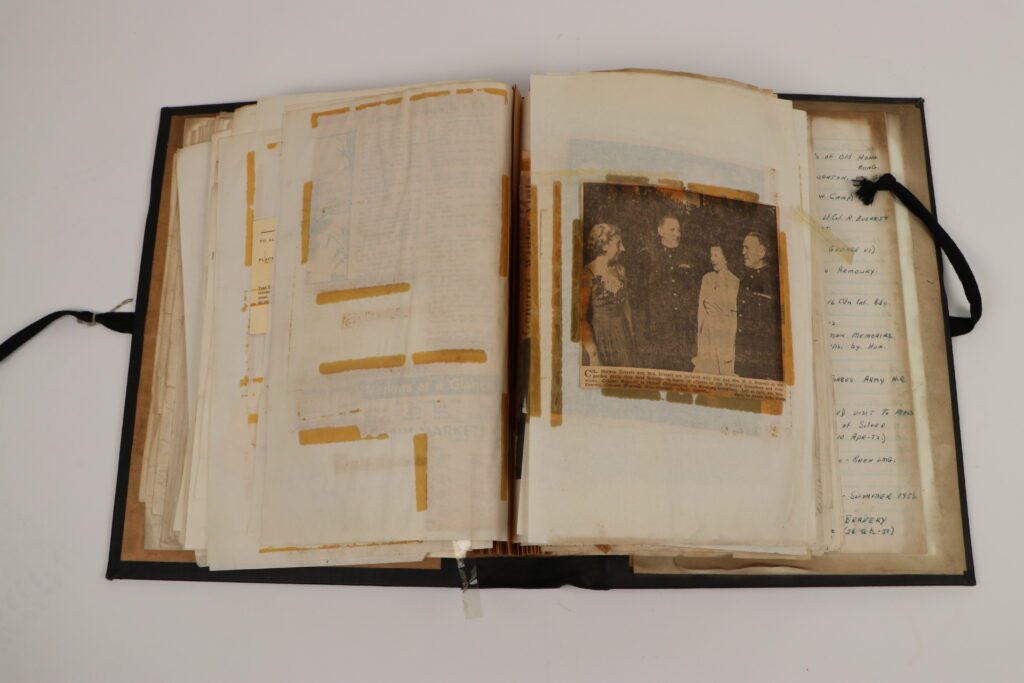
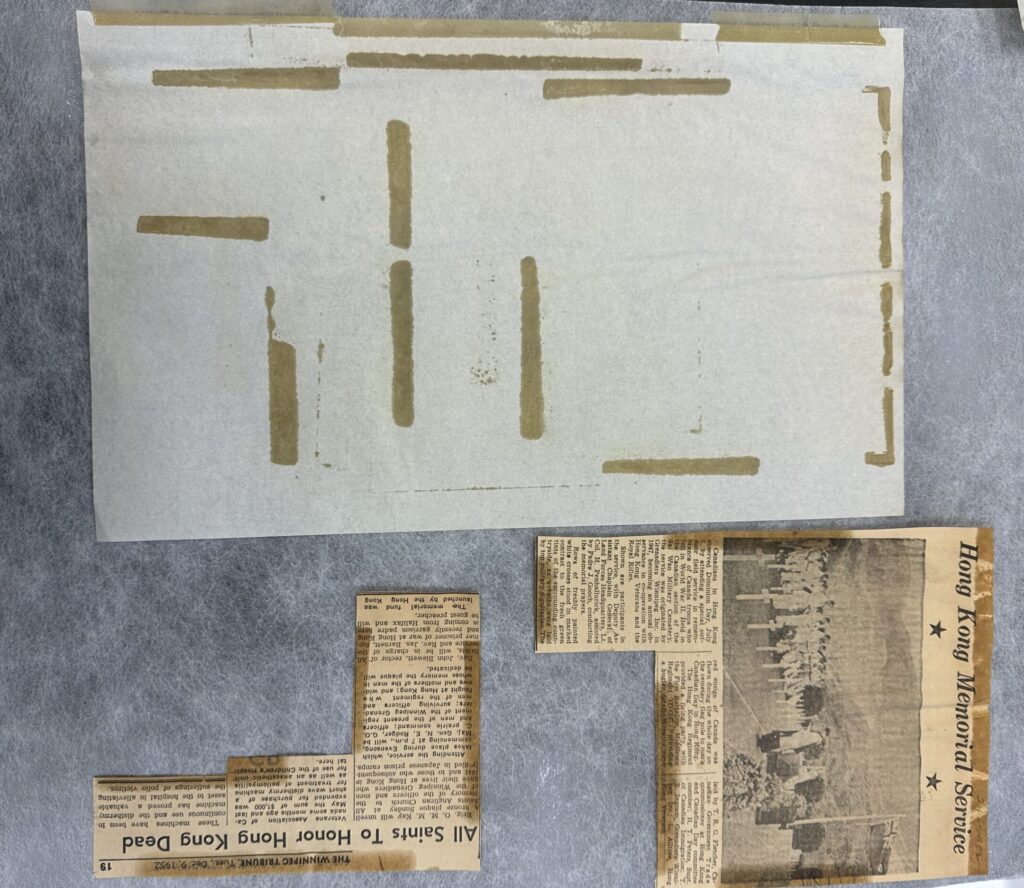
A great example of damage caused by using tape is a scrapbook from the Winnipeg Grenadiers archives I am currently treating in the lab. In some parts of the scrapbook, the tape has failed, and the pages and newspaper clippings are loose. In other parts the adhesive is strong and sticky and has moved outside the area of the plastic tape, so the pages are stuck together. Where the tape was applied in spots, whether it is still adhered or not, the paper is stained yellow and transparent.
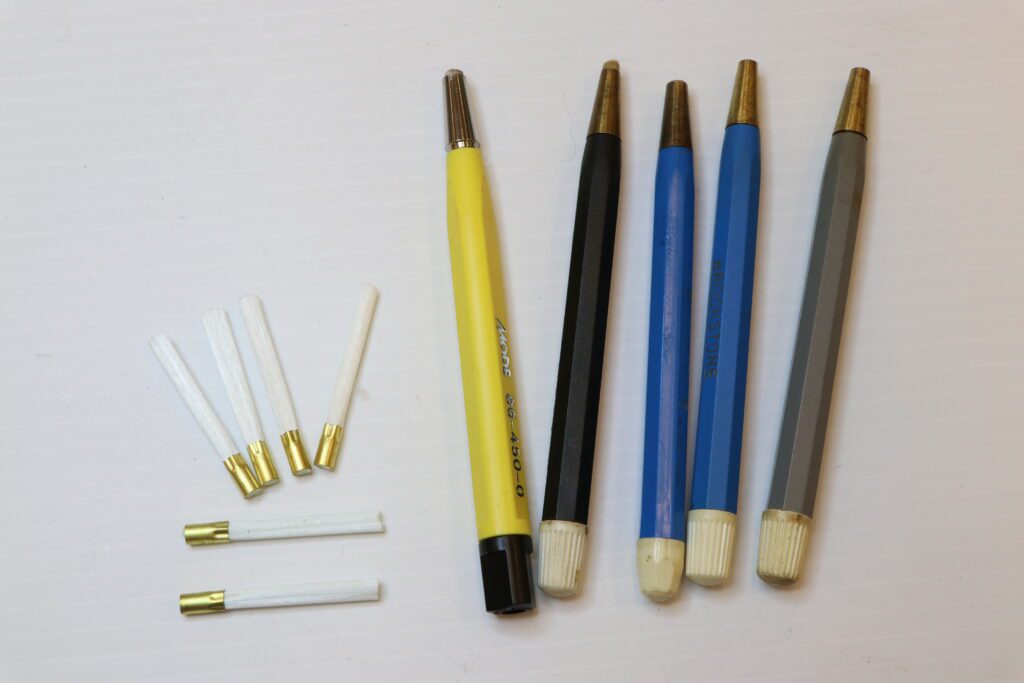
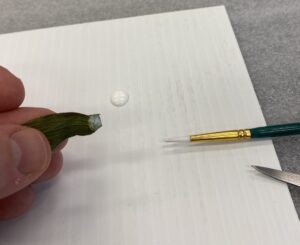
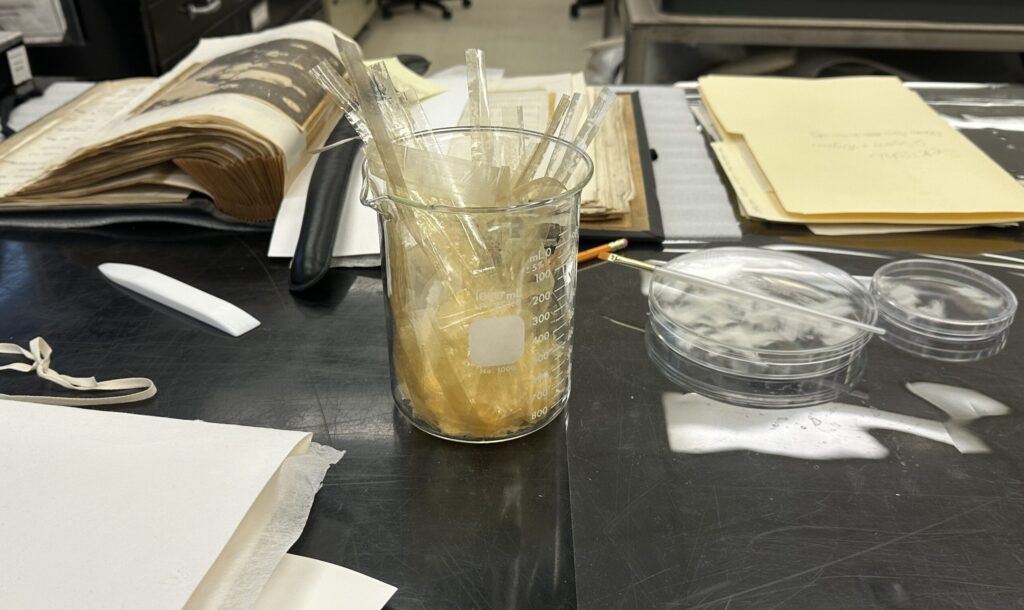
As the treatment is still in progress, I am carefully using tweezers and heated tacking iron to remove the loose or fragmented pieces of tape. The documents are then aligned back in the scrapbook, and using Japanese paper and wheat starch paste, the pages are carefully put back into position. Page by page, the process is slow, but the outcome will be a much more stable object that can be used for research.
Modern pressure sensitive tape might be clear when we put them on objects, but they turn yellow over time and the adhesive can transfer to the paper irreversibly. Since a multitude of tapes exist it is impossible to say when deterioration will start that is visible to the naked eye. Additionally environmental conditions also play a big role in how quickly tape applied to objects will deteriorate, notably the temperature, relative humidity, and t light exposure.

In short, there are many evils to tape and it should not be used on anything that you want to keep for a long time. This applies to all objects, not just those made of paper, and includes wood, leather, textiles, rocks or metals. Therefore, for the longevity and physical integrity of objects, resist the temptation and avoid using tape!