
Posted on: Tuesday December 12, 2023
As the Assistant Conservator at the Manitoba Museum, one of my main duties is the preservation and maintenance of all the dioramas throughout the galleries. Dioramas have a variety of challenges in their up-keep, so I constantly have to adapt and find solutions to issues that arise. As part of my daily routine, I visually inspect each of the dioramas before the museum opens to make sure everything is in tip-top shape for visitors.
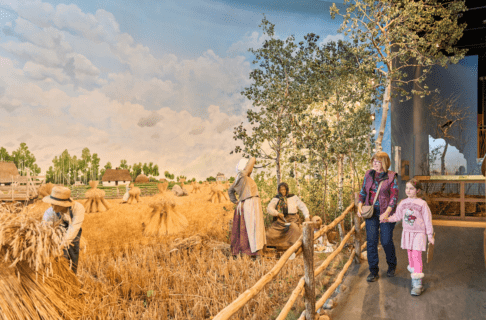
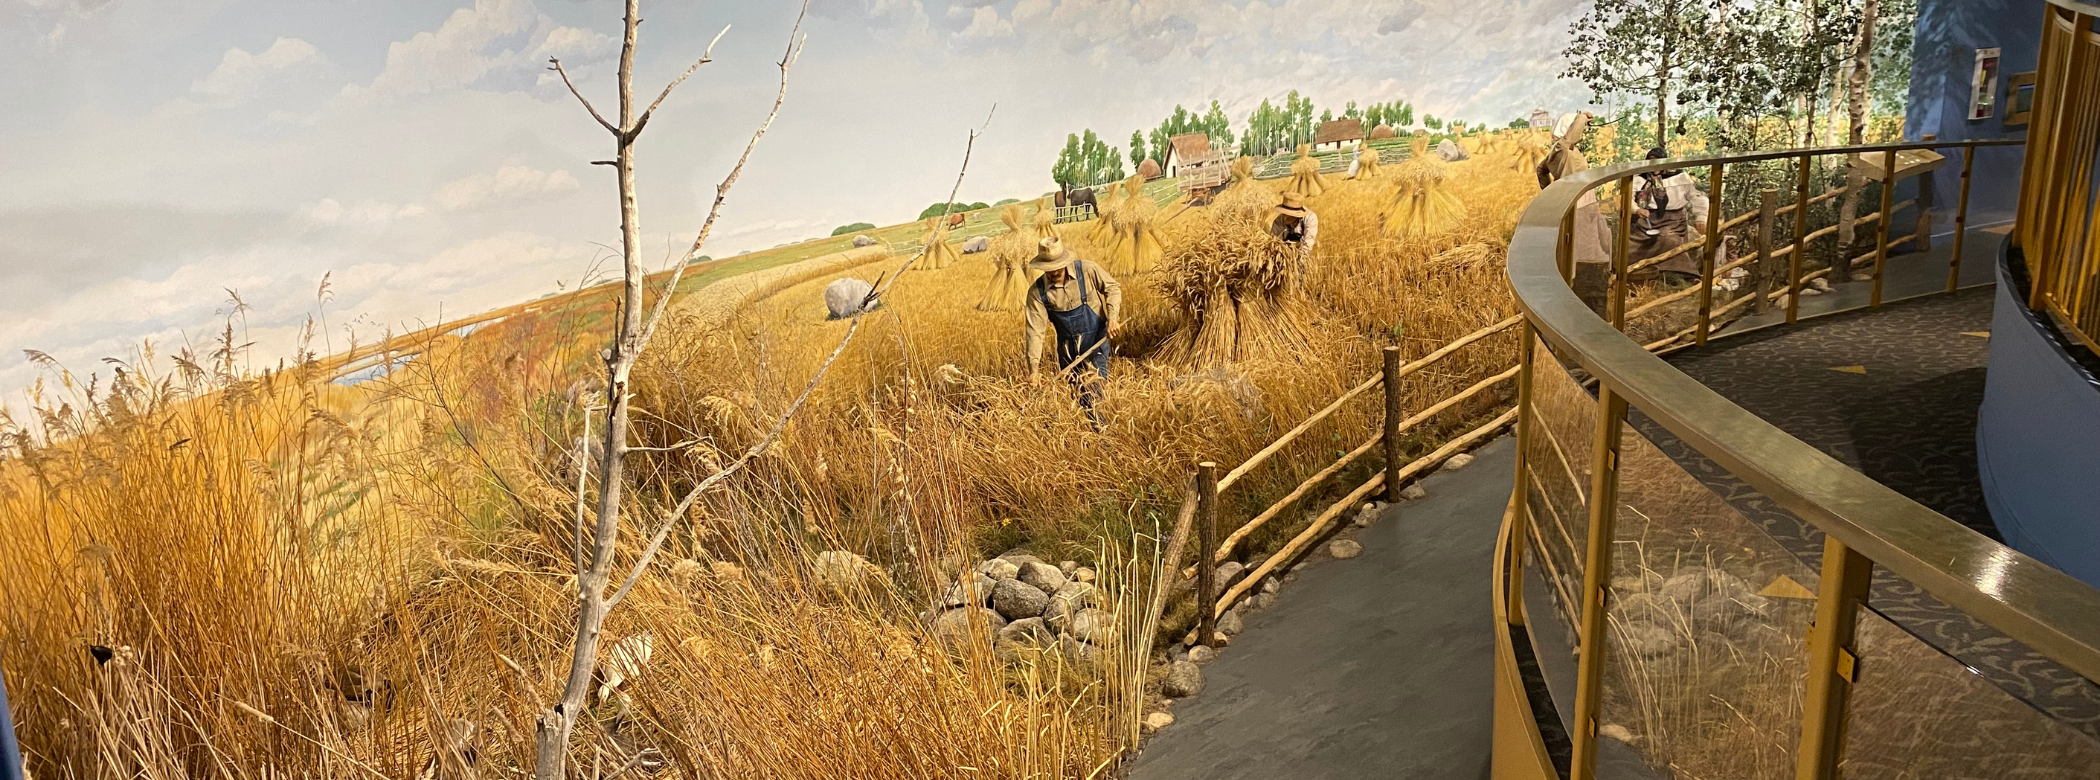
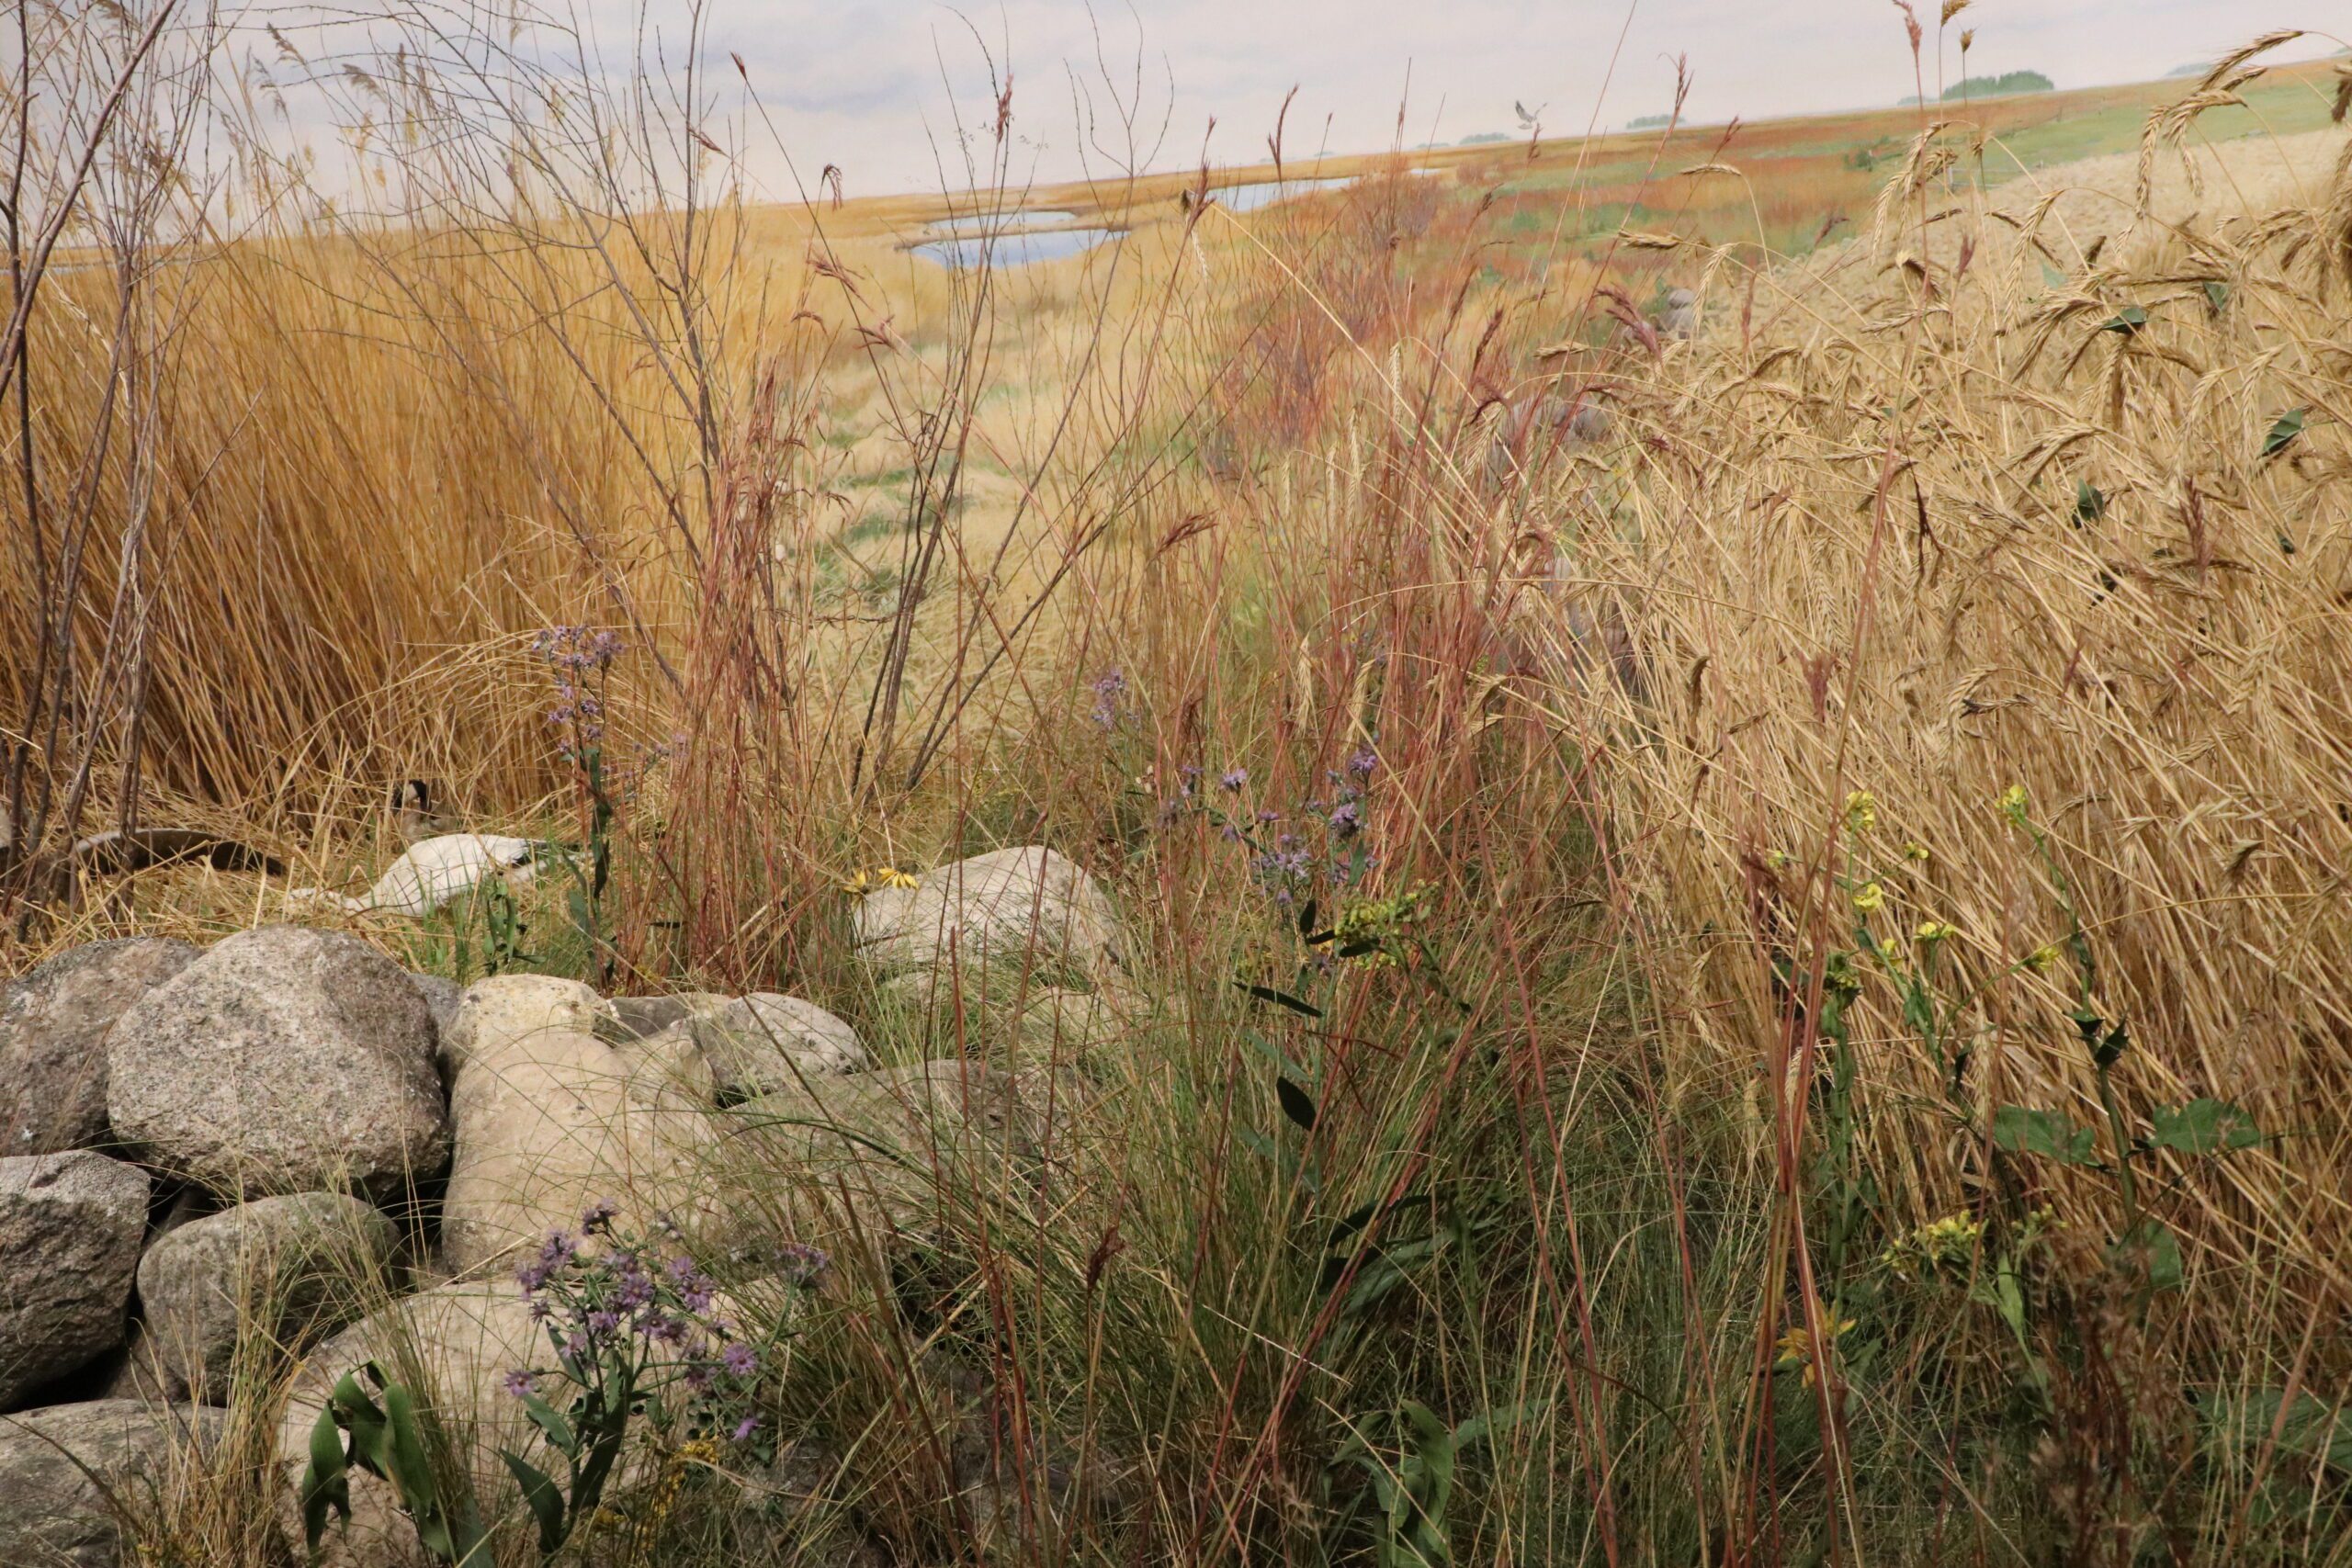
One of the dioramas I inspect daily is The Ukrainian Farm and it is one of my favorite dioramas at the museum. It depicts a complex scene of a family working their farmland which borders the Delta Marsh. Every time I look at this diorama, I see something new and fun. The marsh area of the diorama is teeming with an unexpected diversity of wildlife species nestled amongst the reeds, soaring in the sky, or concealed under the water’s surface.
However, during those daily inspections I often see something less exciting in the diorama – many plants suffering damage! For example, one morning I found a poor Smilacina stellatum (more commonly known as “False Solomon’s Seal”) with several leaves broken off and scattered in the grass around it.
What many may not know is that these plants have been collected in the wild, preserved, and painted to look alive. Like all plant materials after they have been picked, the plant gets increasingly brittle over time (think of a what a bouquet of roses feels and looks like after a month of receiving them). When the plants are knocked or improperly handled, the fragile parts of the model crack, shatter, and fall off. The process of getting new plants and preparing them to replace the damaged ones takes a long time, so most often I do what I can to repair the plants that are on display.
Right image: Surveying and inspecting the diorama’s many plant models for damage.
Quick! To the Laboratory!
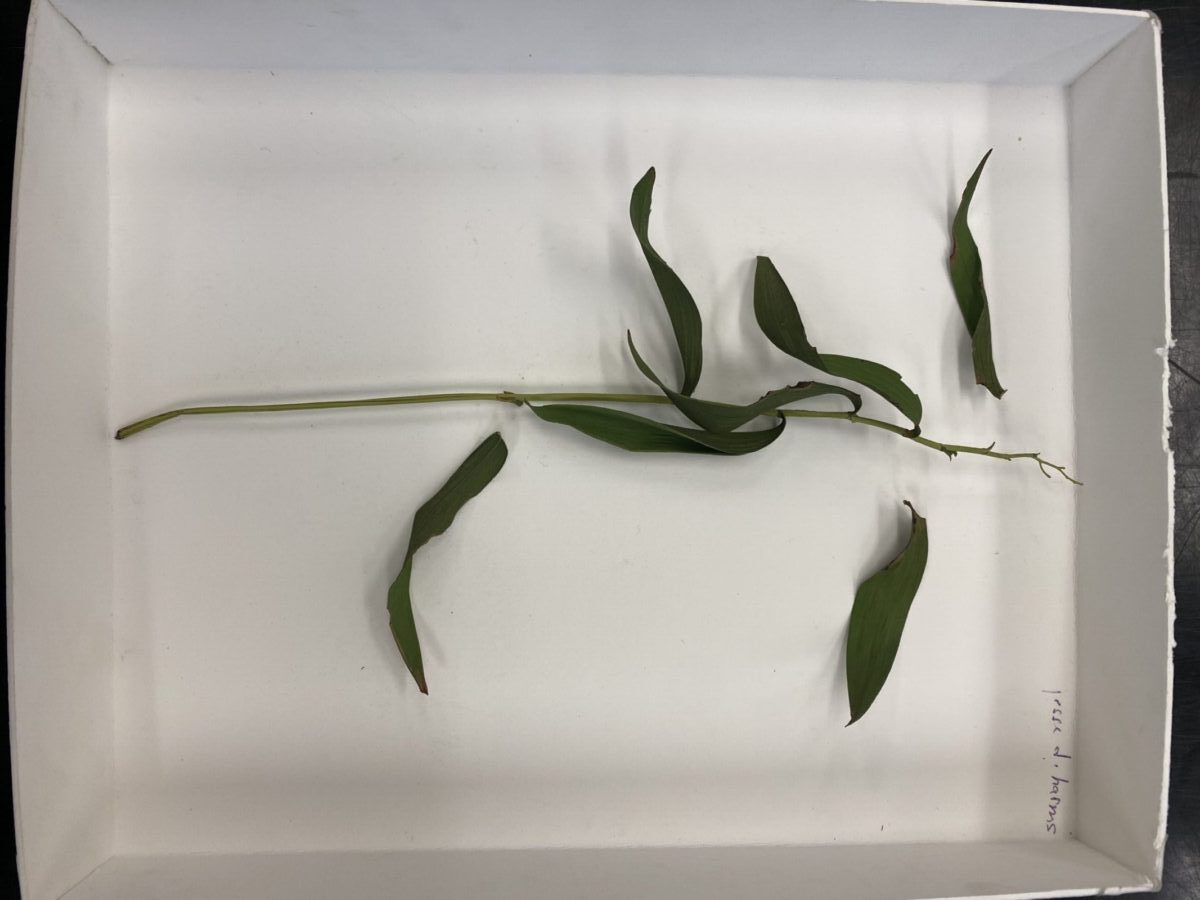
First, the plant model is removed from the diorama and carefully placed in a tray to prevent further damage during transport.
The plant is then brought up to the Conservation Lab, where I “assess the object’s state and formulate a treatment plan” which is a fancy way of saying ‘plan the best way to fix it’. As a conservator, I have to think about what materials the plant model is made of and how those materials react to different adhesives and chemicals that might be used in its repair. For example, records show that the model has been painted with acrylic paints. Therefore, it is important to avoid chemicals or adhesives in the treatment that would affect the paint layer on the plant. Acrylic paint is sensitive to acetone, so the repair methods used would include avoiding acetone or an acetone-based adhesive.
Left image: Safely placed in a tray this plant model is ready for transport up to the Conservation Lab.

Decisions, Decisions, Decisions
As the plant was so brittle, it was important to try to make the leaves more pliable before I repaired them. To do this, the plant was placed into a chamber with distilled water added to the bottom to help raise the humidity and left inside the chamber for 24 hours. After 24 hours, the dry plant material did pull some of the moisture from the surrounding air which allowed the leaf structure to bend a little. This movement allowed the broken leaves to line-up better during my repairs.
While waiting for the plant material to become easier to work with, I mixed acrylic paints to match the colour on the front and back of the leaves. Mending paper was then tinted with the mixed paint.
Right image: The humidity rises in the chamber and is pulled in by the dry plant material.
Plant Repair
The next day the plant was removed from the humidity chamber and work began on repairing the leaves. To start, small strips of the tinted mending paper were cut and attached to the broken leaves with a conservation grade adhesive. This required paying attention to the natural curves of the leaf so that the leaf wasn’t forced into an unnatural shape. I then aligned the leaf back into position against the broken edge and the two pieces were attached together. Another small piece of paper was then placed on the bottom of the leaf to secure it into position. The mended leaf was secured in place with thin florist wire as a support and left to dry overnight.

1. Cutting the tinted mending paper.
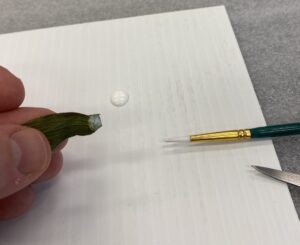
2. Applying adhesive to the edge of the leaf.
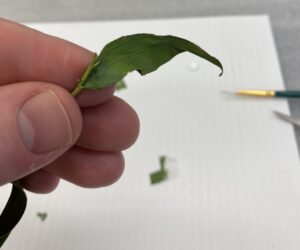
3. Uniting the two sections of leaf together.
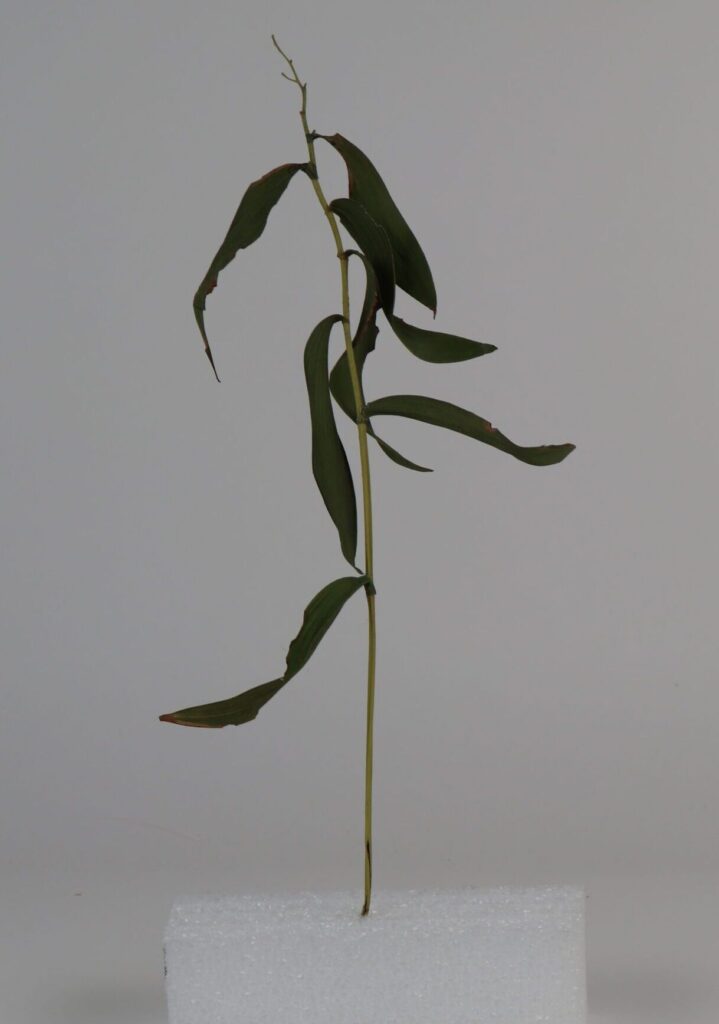
4. Repaired plant model after conservation treatment.
Time to Grow Again
The next morning the supporting florist wire was removed, and repairs were checked from the previous day. Everything seemed to be in stable condition, so the plant was placed back into a tray, brought down to the diorama, and finding the exact position the plant had been previously, I essentially “planted” it back into the diorama.
Maintaining the dioramas is full of complex tasks like the one I’ve outlined here. I hope this blog sheds some light on one of the more complex aspects of diorama maintenance.
Fingers crossed this little plant model survives the coming years!
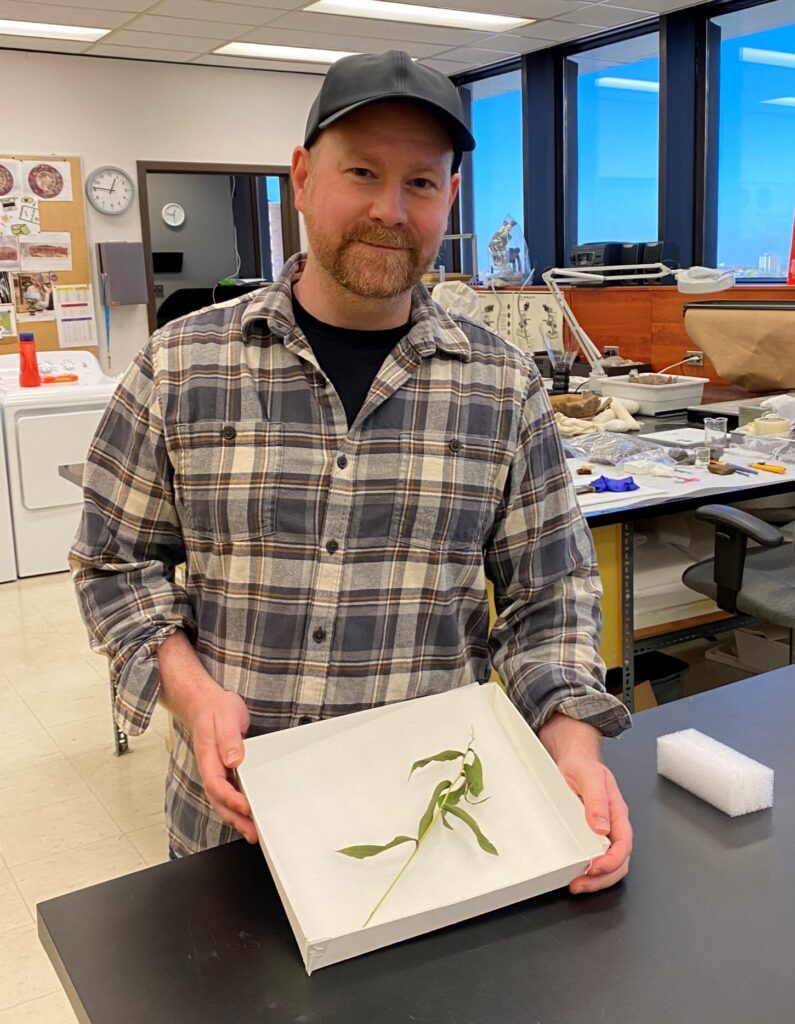
Assistant Conservator Loren Rudisuela holding the repaired plant model.
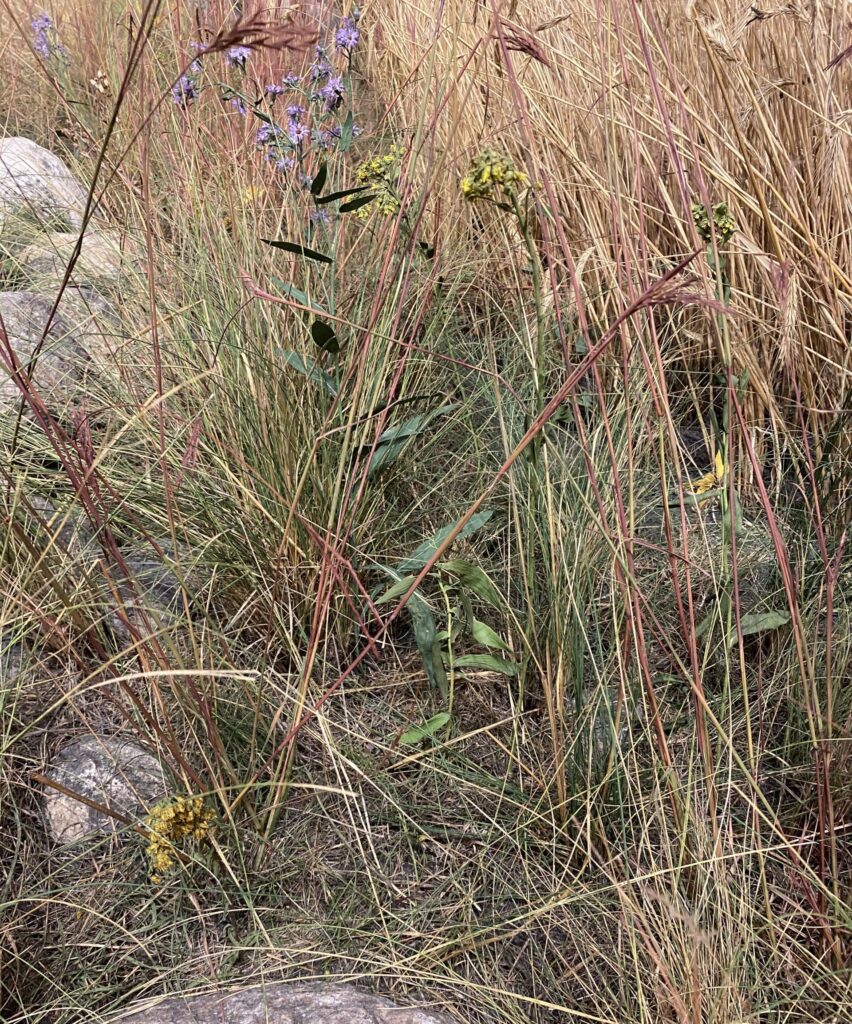
Plant model installed back into the diorama.