
Posted on: Monday June 29, 2026
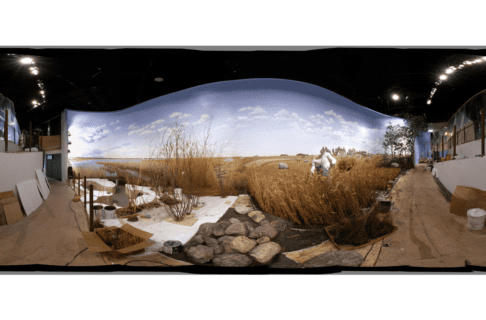
The Manitoba Museum houses hundreds of thousands of natural history specimens, and finding the space to put all them can be tricky, especially as our collections continue to grow with new donations and fieldwork finds. Only a fraction of the collections can be found on display in the galleries, and the rest are cared for in dedicated storage spaces. Finding a specimen in storage would be like finding a needle in a haystack if we didn’t have our handy tools: location and movement control!
In the field of collections management, location and movement control refer to a system of recording all the locations where objects are stored or displayed, and attaching those locations to a museum’s object record. This is often part of the collections procedures of museums, galleries, and archives, for the efficiency that implementing it provides, or sometimes for standard accreditation requirements.
At the Manitoba Museum we use a system of location codes recorded in our collections database. These location codes are in a standard format and attached to object records. It’s a two-way street: not only can we search specific objects and see their locations, but we can also search by location to get a list of all the objects stored there.

The database results for a search of location code “BC-10”, or, the Aquatic Insects case in the Boreal Gallery corridor.
The degree of precision used in this system can vary. We can record the room number, aisle unit, cabinet, and shelf number, or be even more precise with a box or bin number. Objects on the move can be assigned to transit records, like truckload or crate number. We can gauge how precise a location code needs to be depending on the kind of object, what collection it’s in, and how easy it is to find in that location. Information about who moved the object and when they moved it is also recorded alongside the location, so that an accurate and thorough movement history can be associated with it.
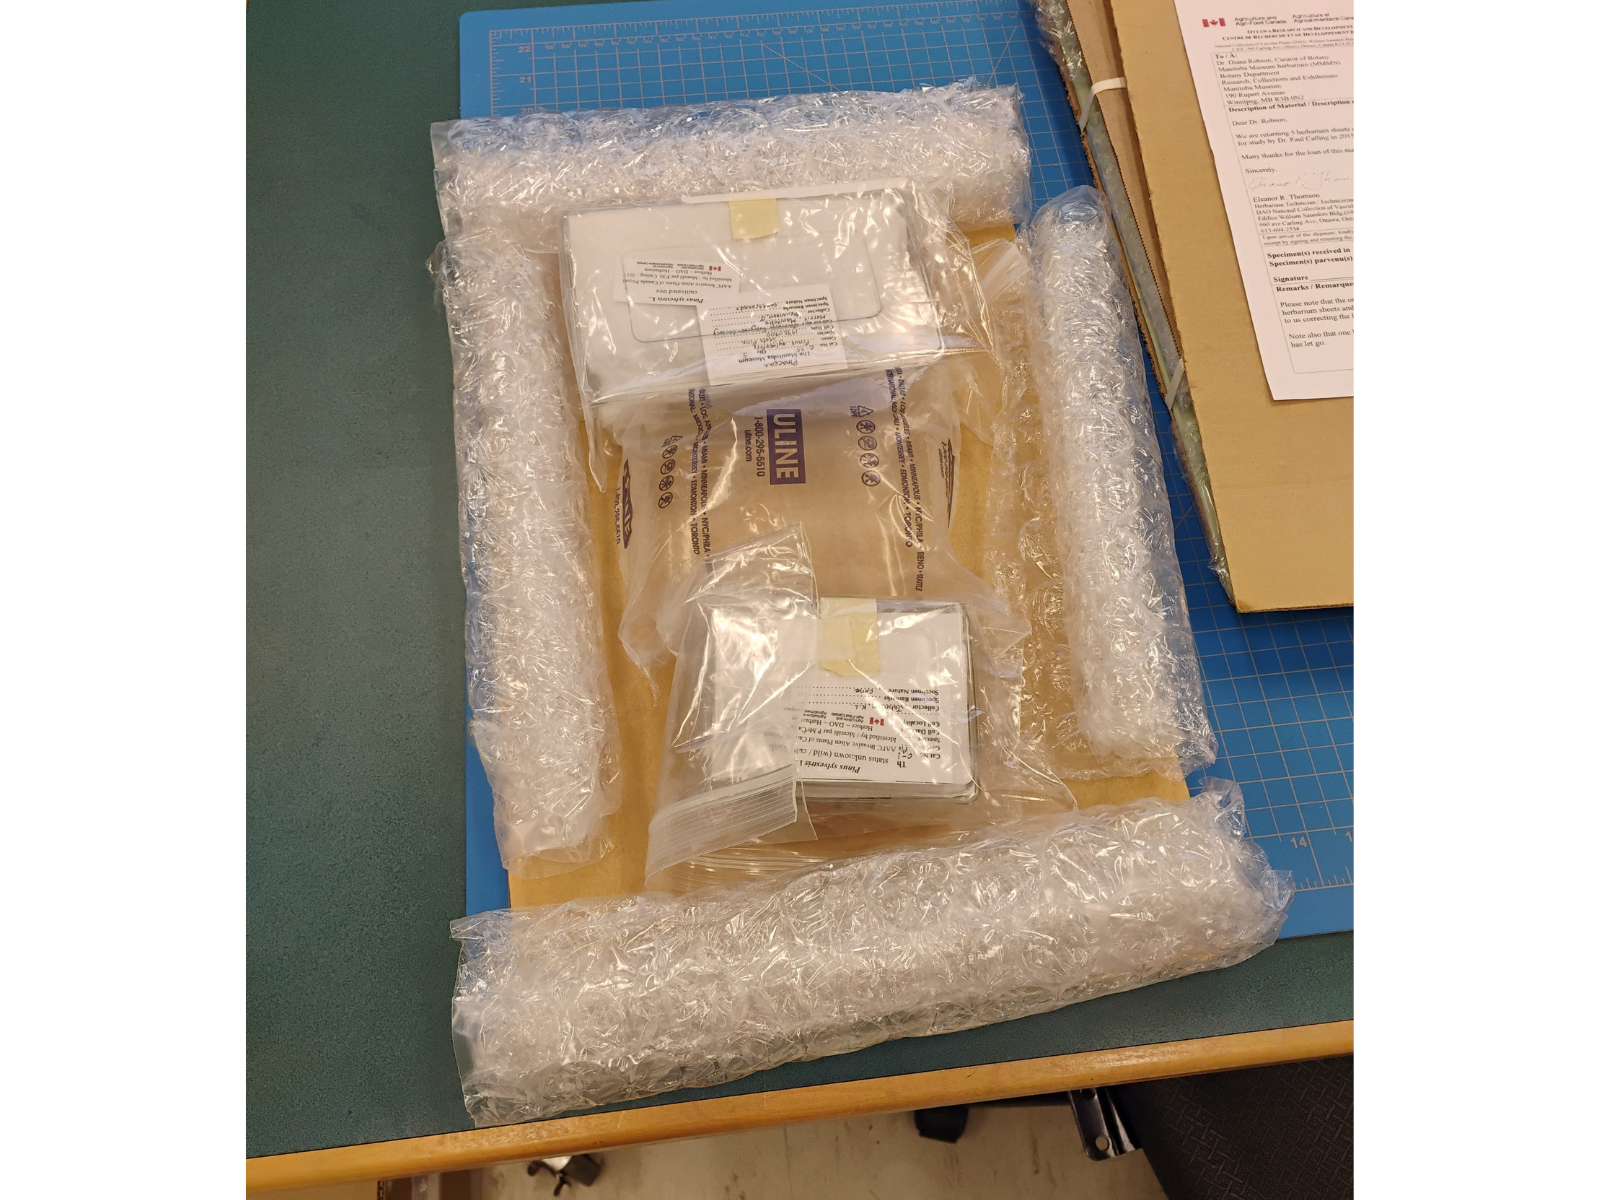
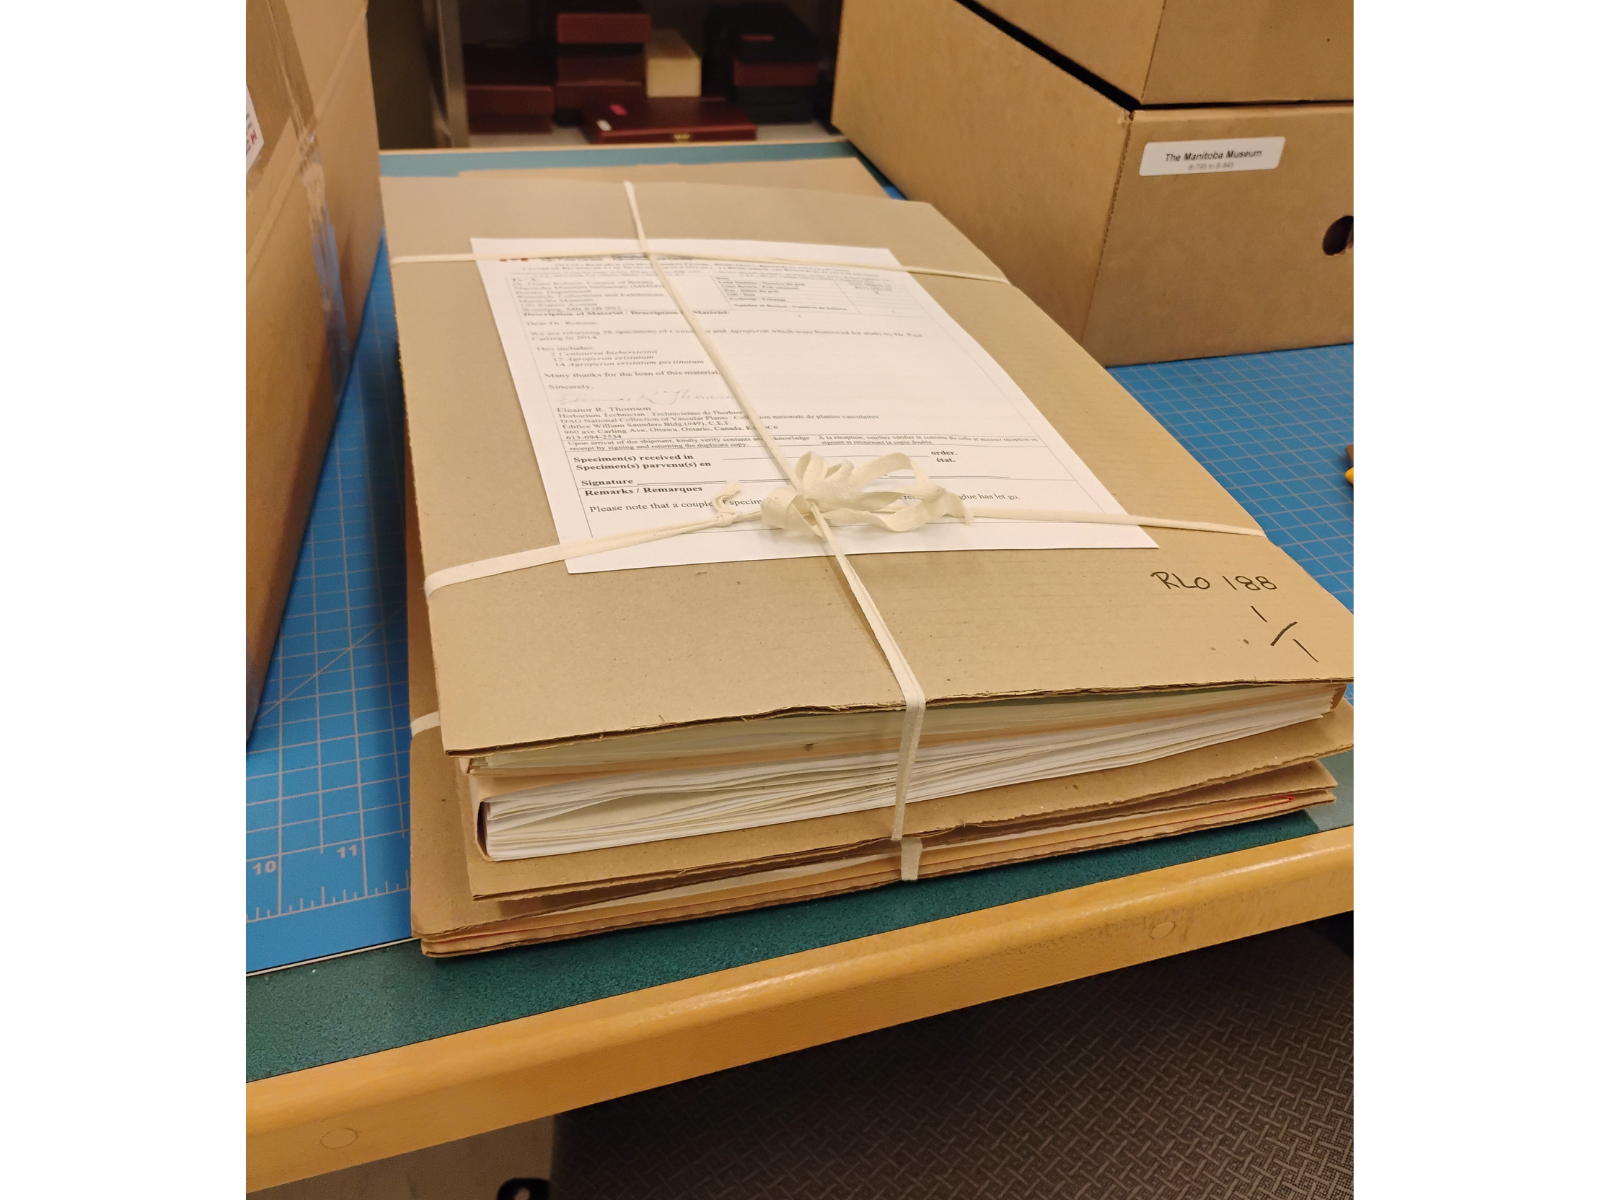
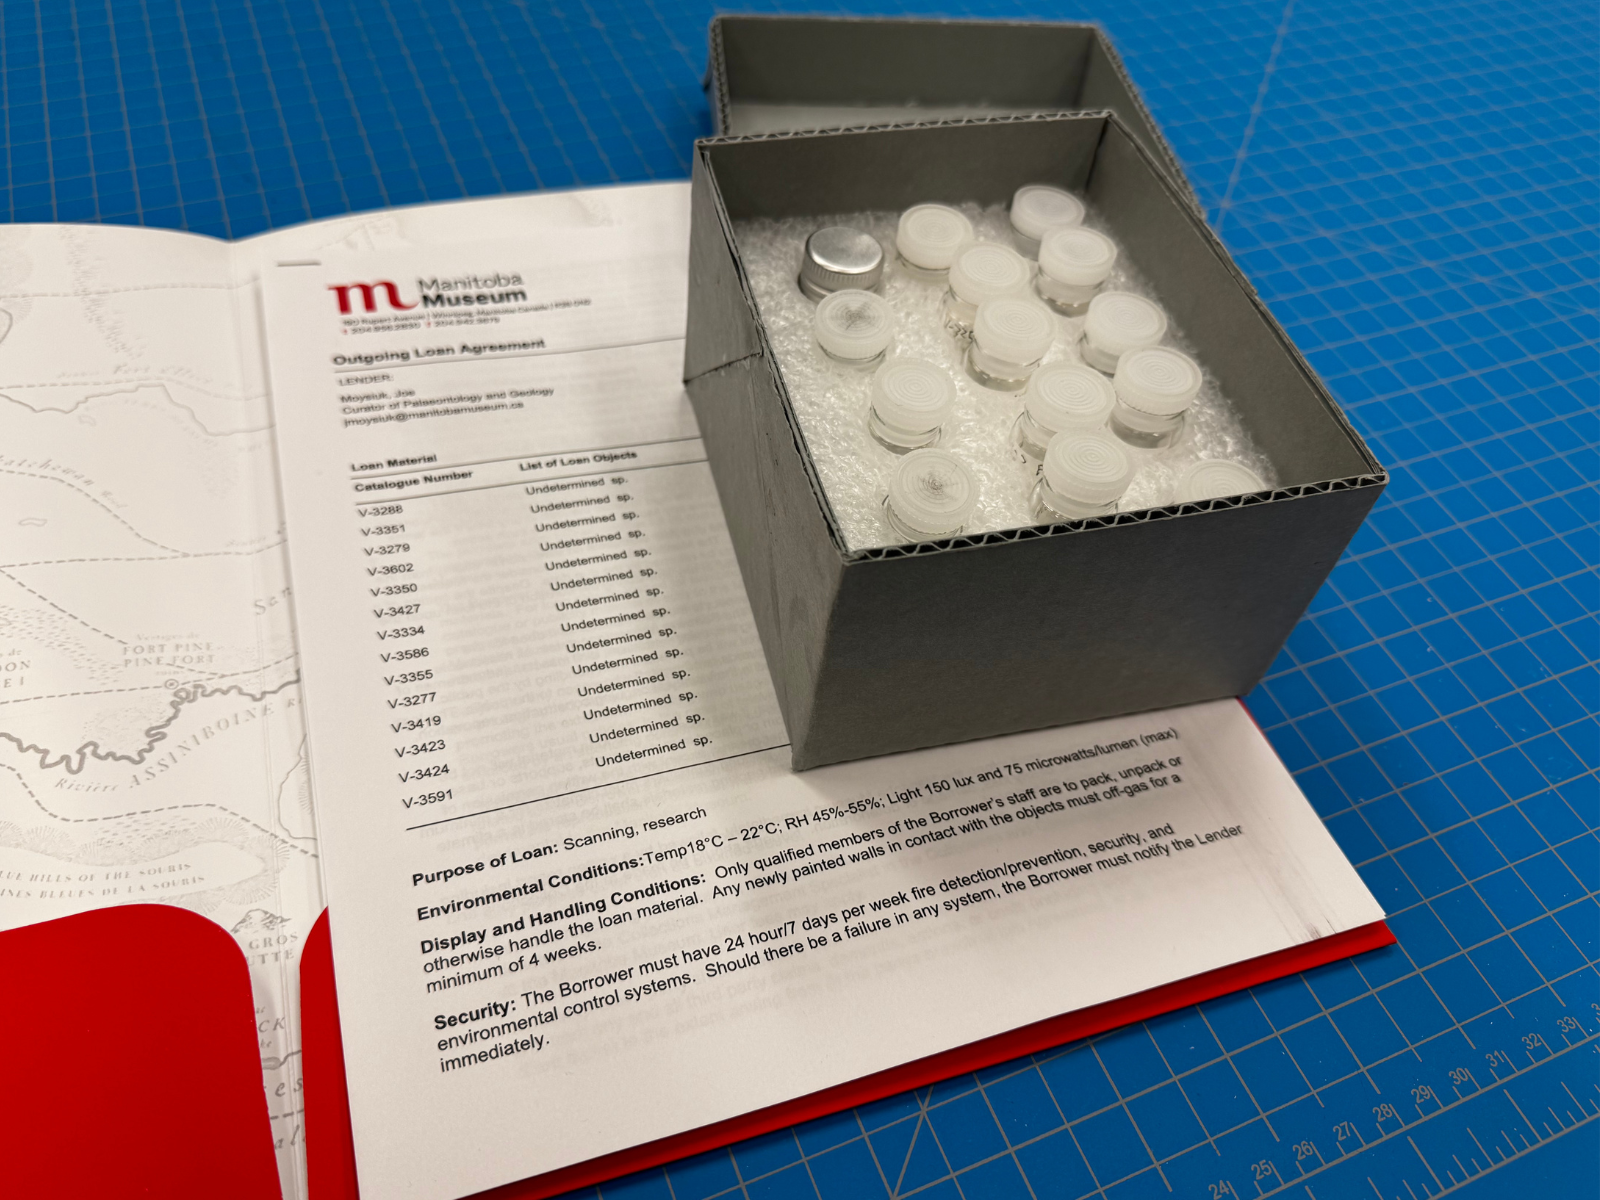
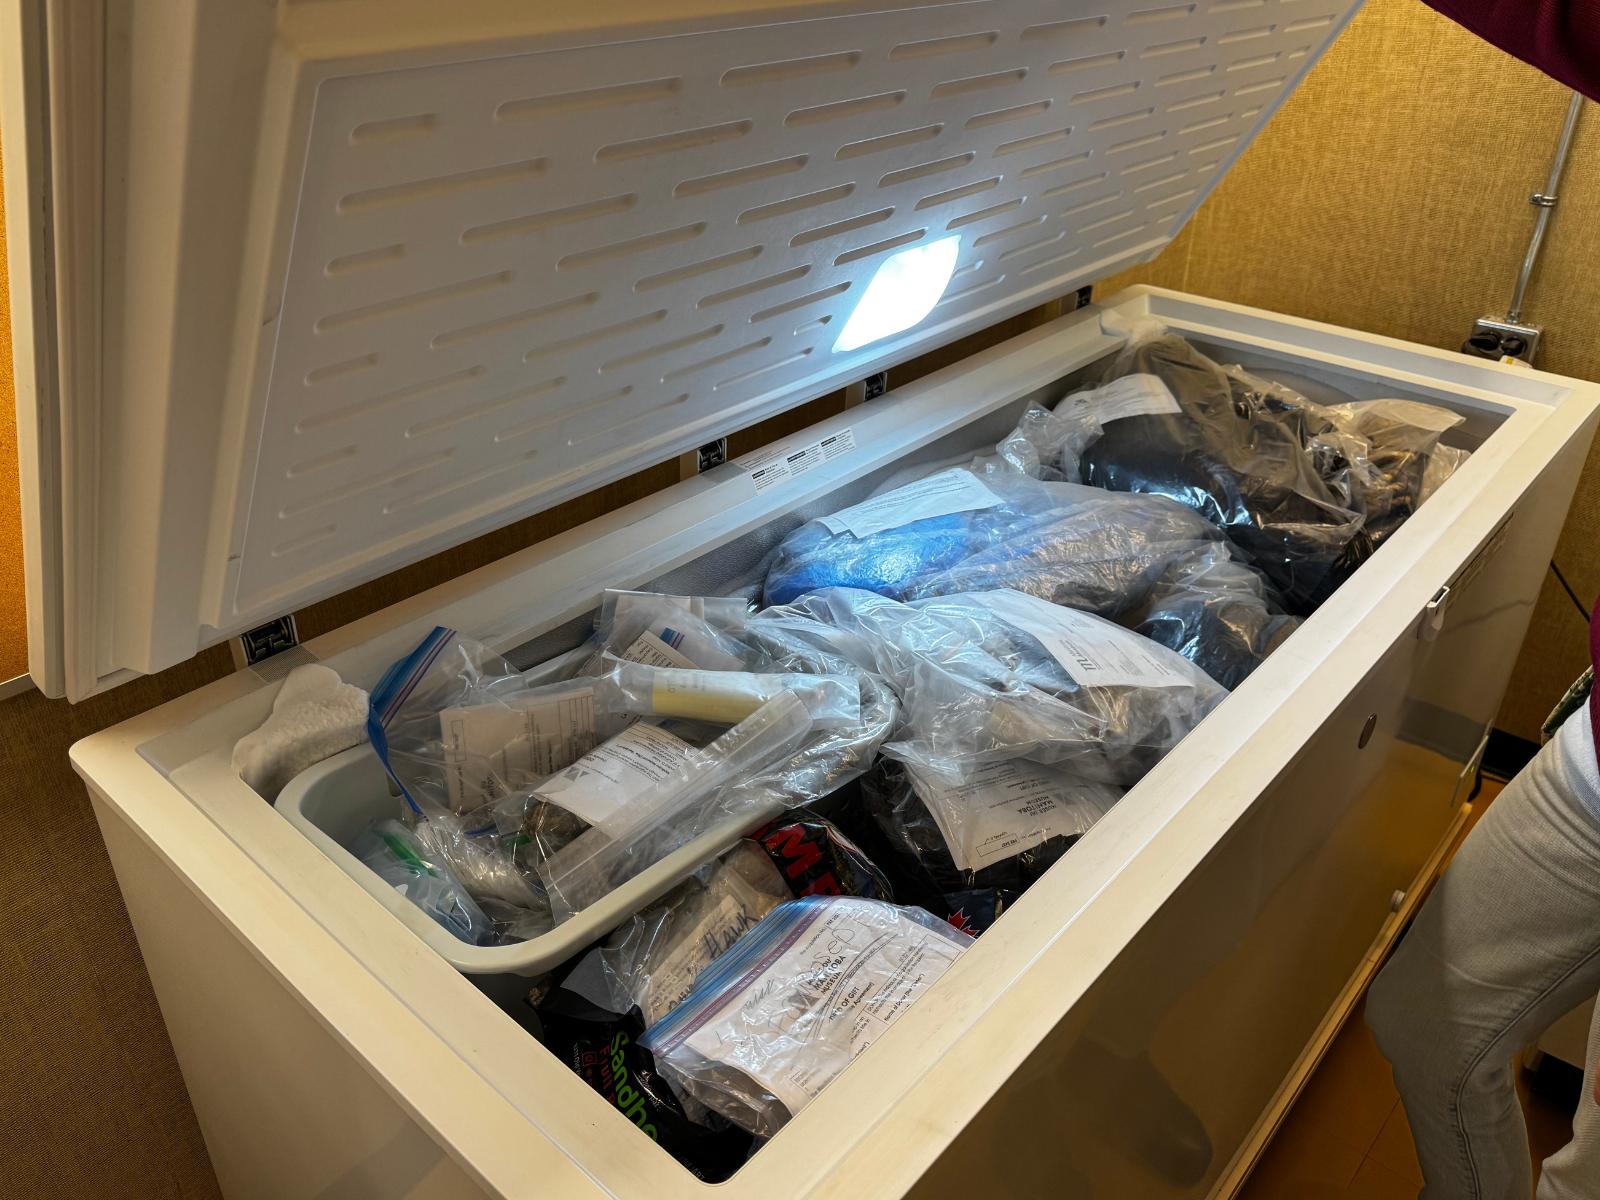
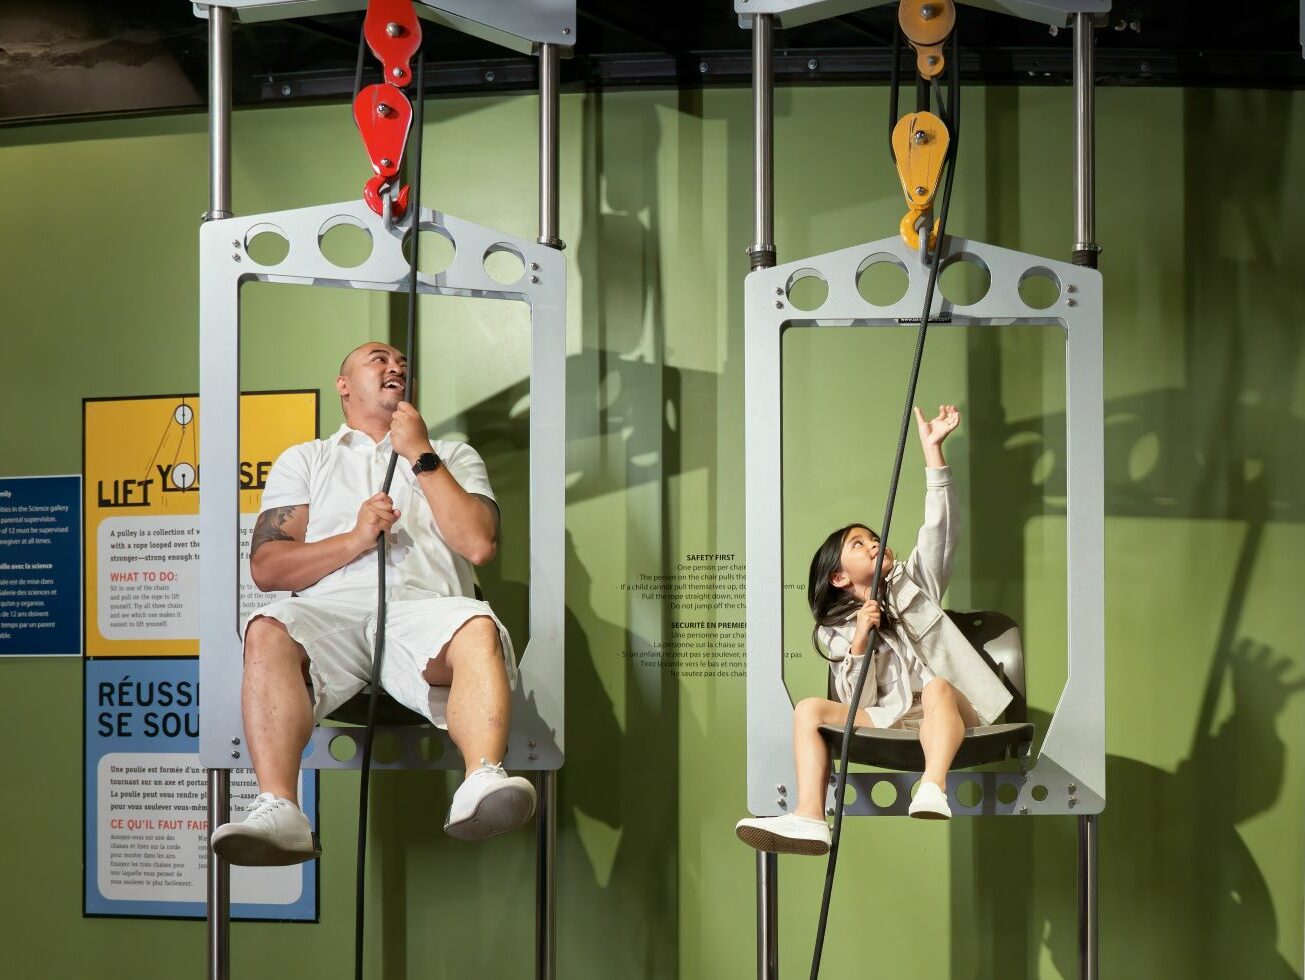
Keeping track of an object’s permanent location becomes even more important when you know that objects can be in temporary locations as well. Permanent locations tend to be shelves in storage rooms, but can also apply to objects permanently in the galleries. Temporary locations can refer to objects that are off-site, such as for outgoing loans, but can also refer to many on-site locations. Objects may need to be moved temporarily for short-term exhibits, conservation, preparation, short-term storage, or quarantine, and these spaces all have location codes that keep an object from getting lost, even while remaining within the building.
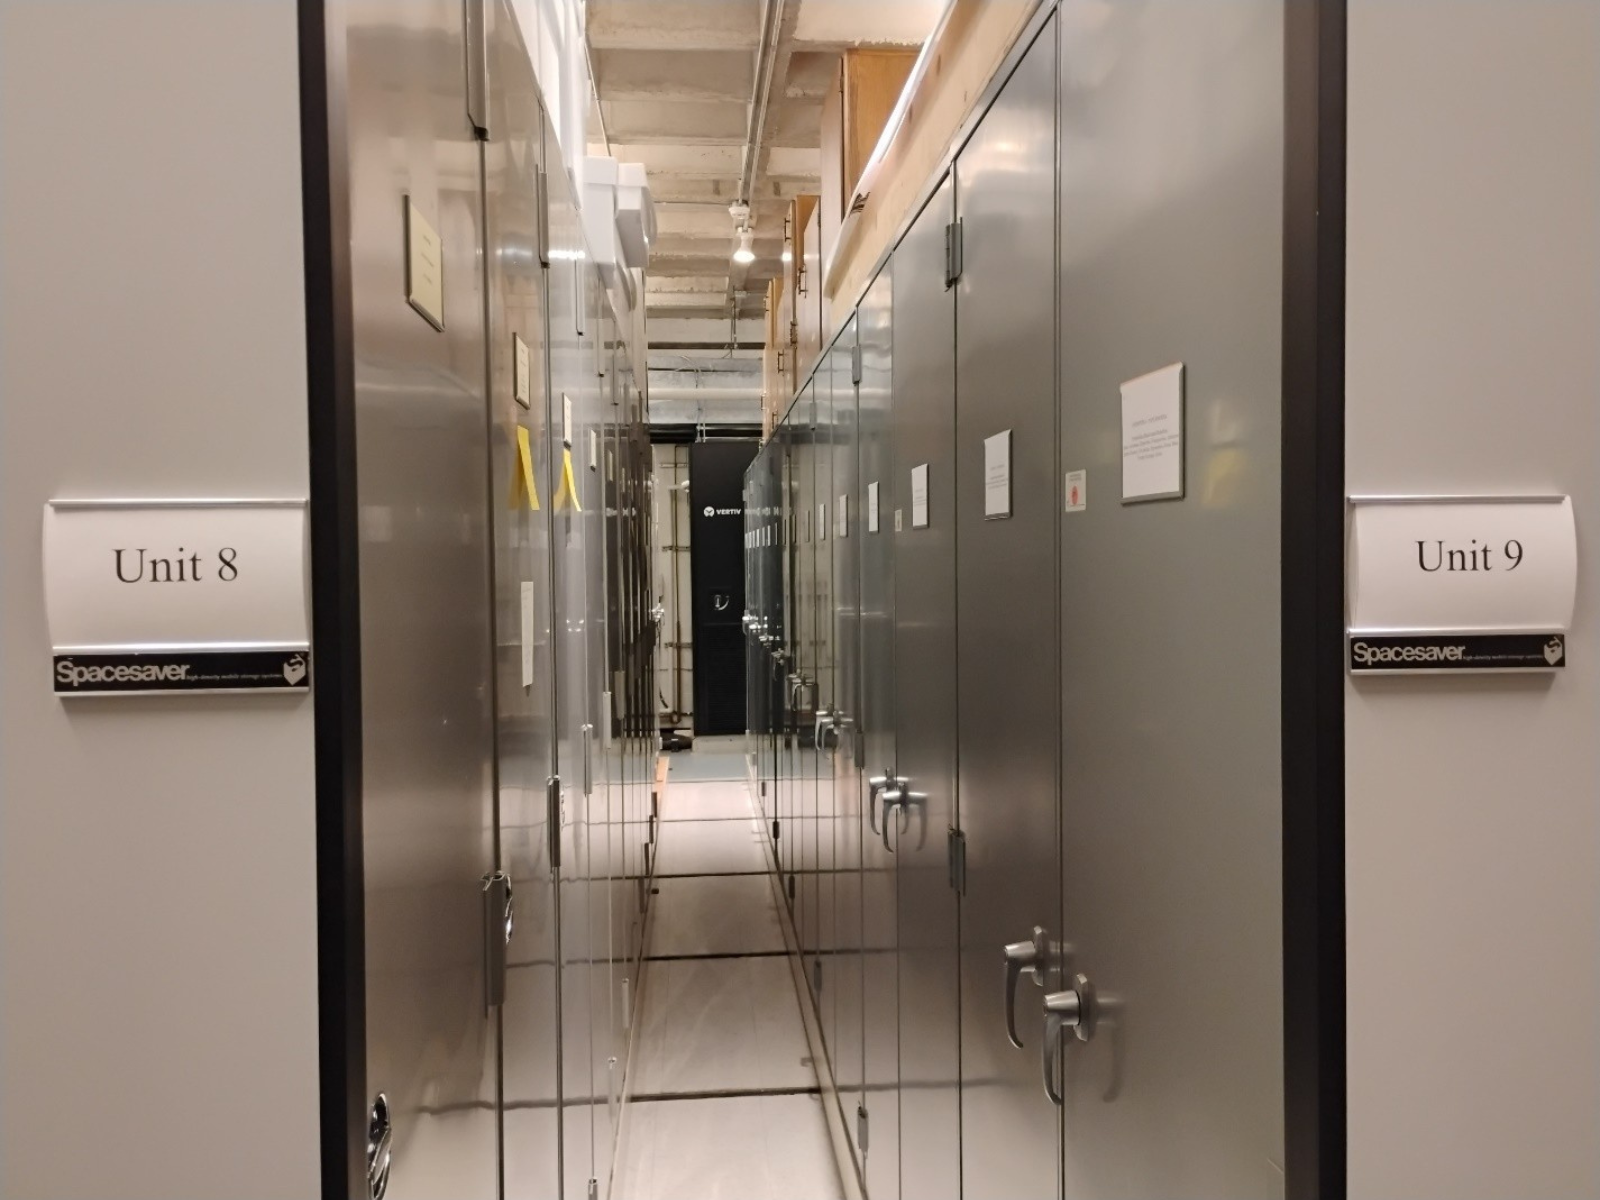
An aisle in natural history collections storage, with unit numbers and numbered cabinet labels.
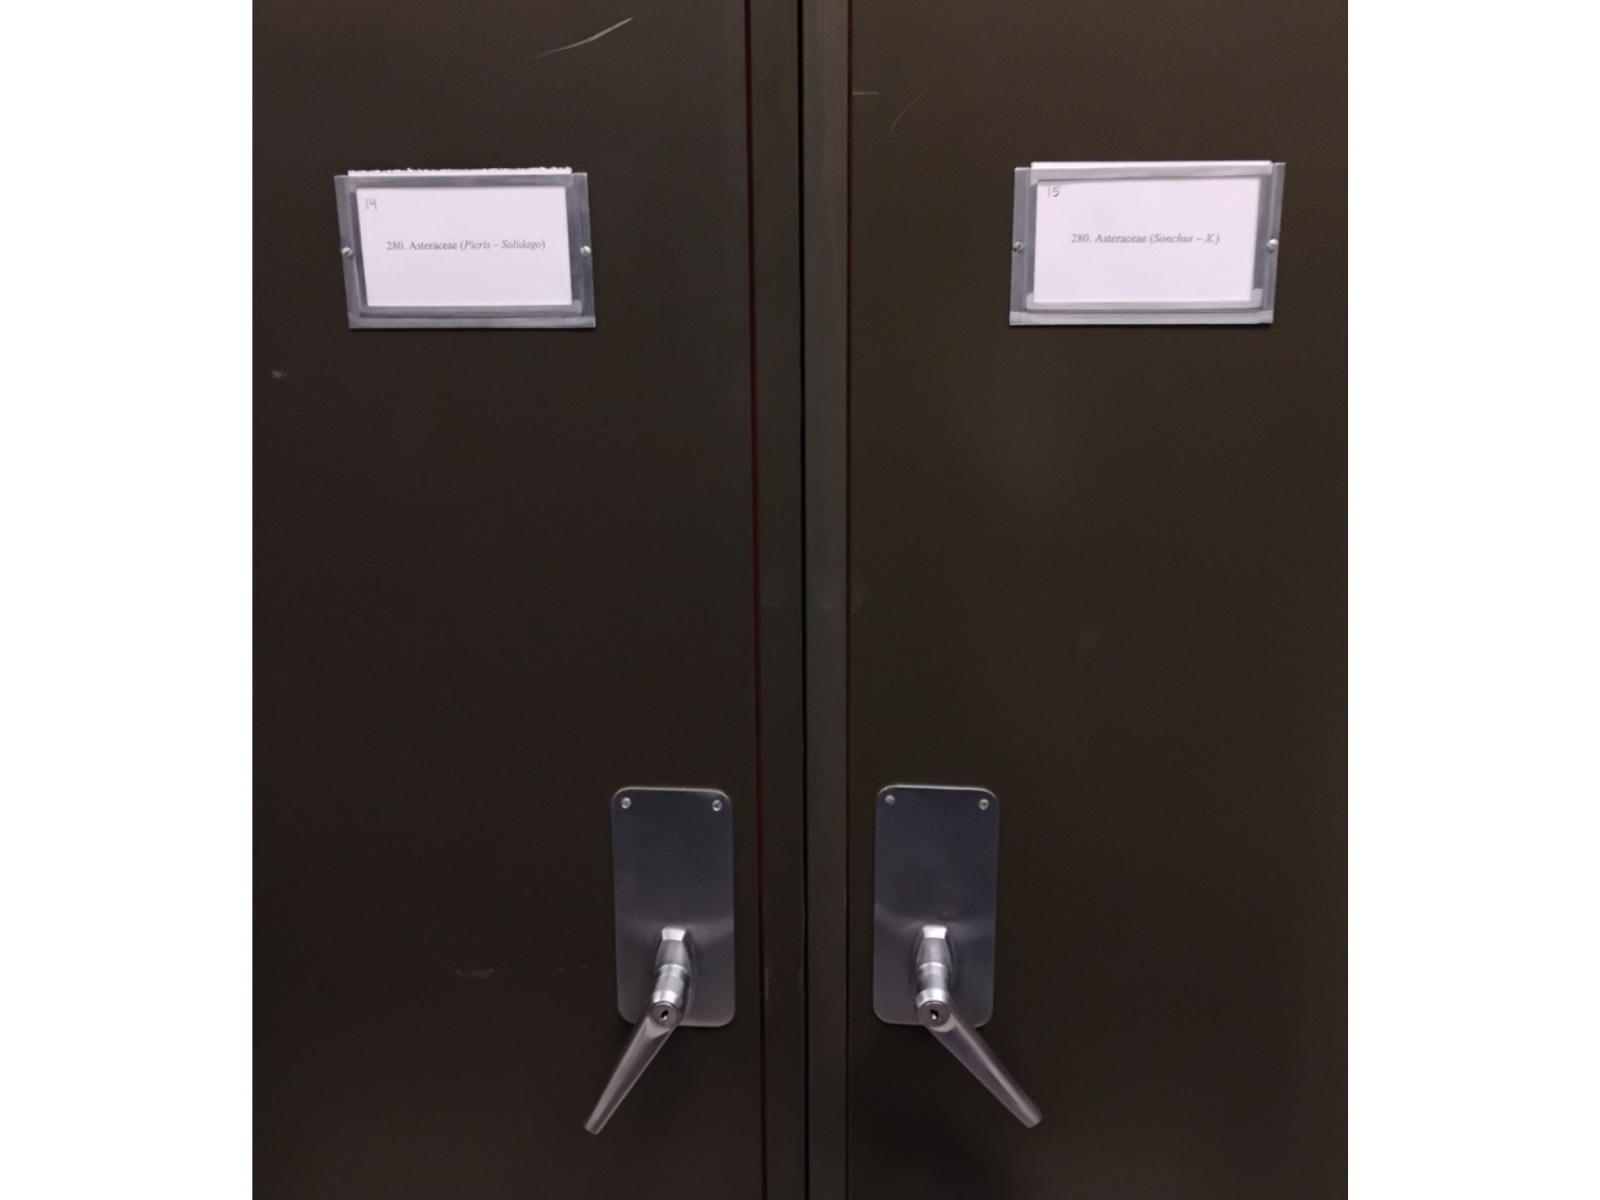
Cabinets 14 and 15 in an aisle in natural history collections storage, labelled with the taxonomic identifiers of the herbarium specimens they contain.
Utilizing location and movement control in the natural history collections means that we are able to store our specimens in specialized ways. Filing systems in collections storage can be based on taxonomy, age/stratigraphy, object size, catalogue number, special grouping, or a combination of these. The advantage to most of these systems is that they can enable browsing of similar collections material without jumping around to different areas of the collections. Location control works in the opposite way: to pinpoint objects among these complex systems, so that you can save time sifting through many potential locations.
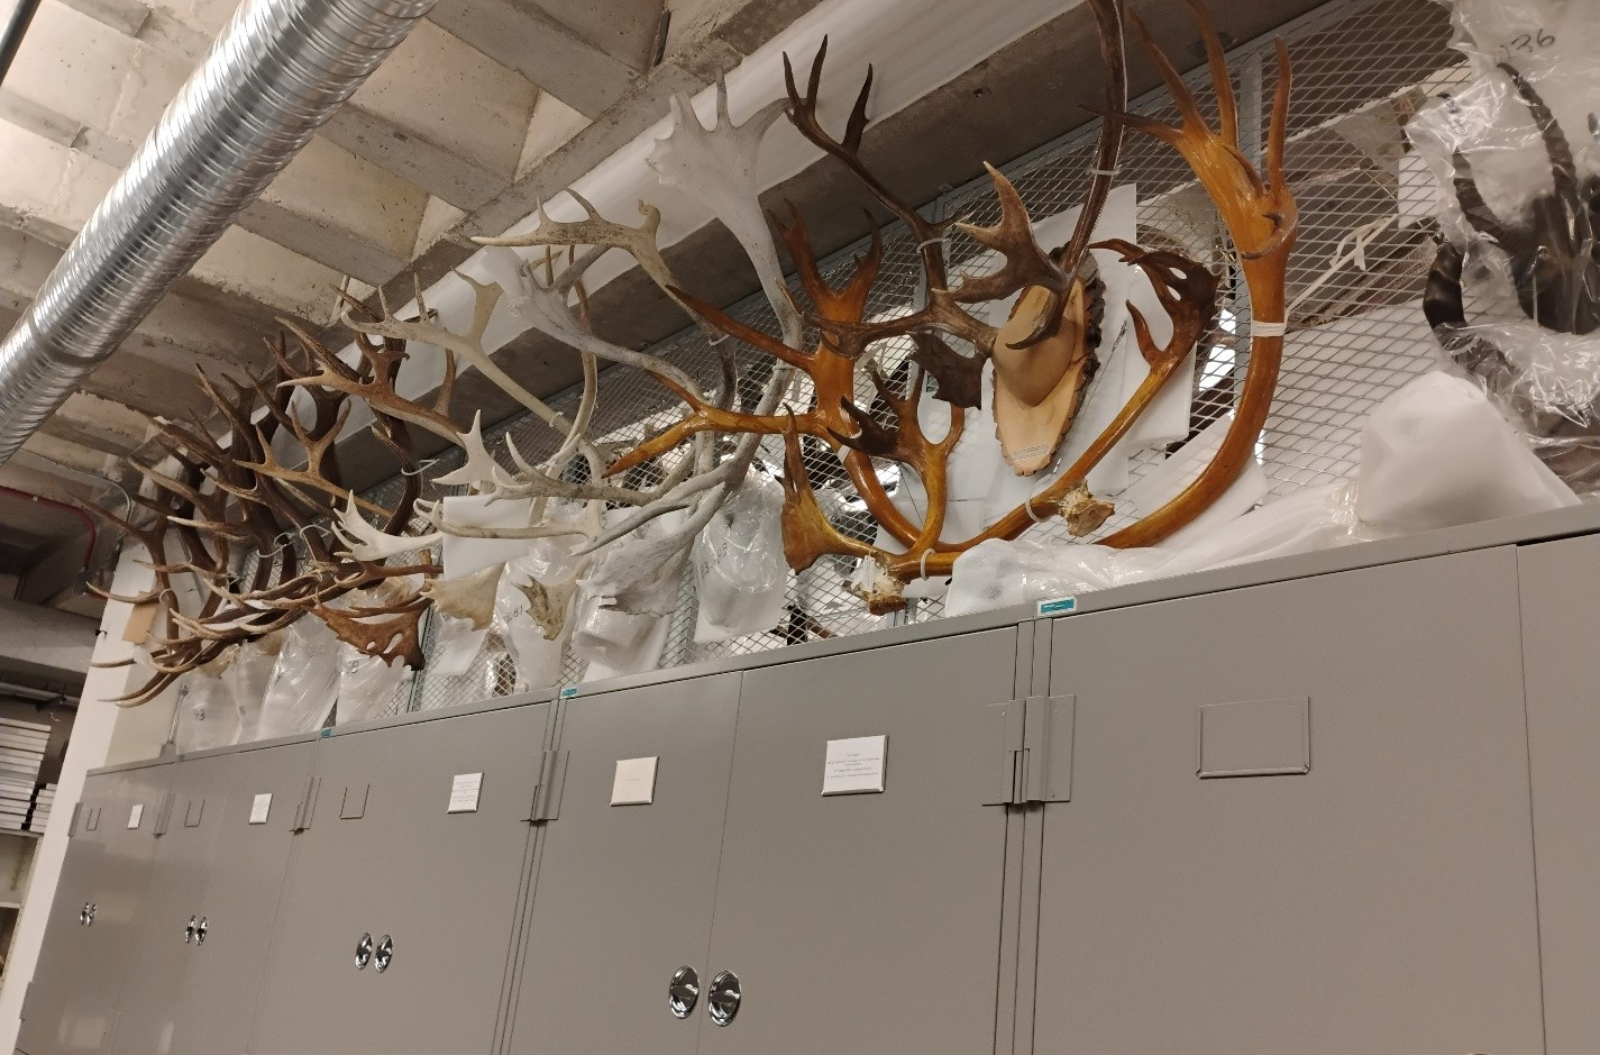
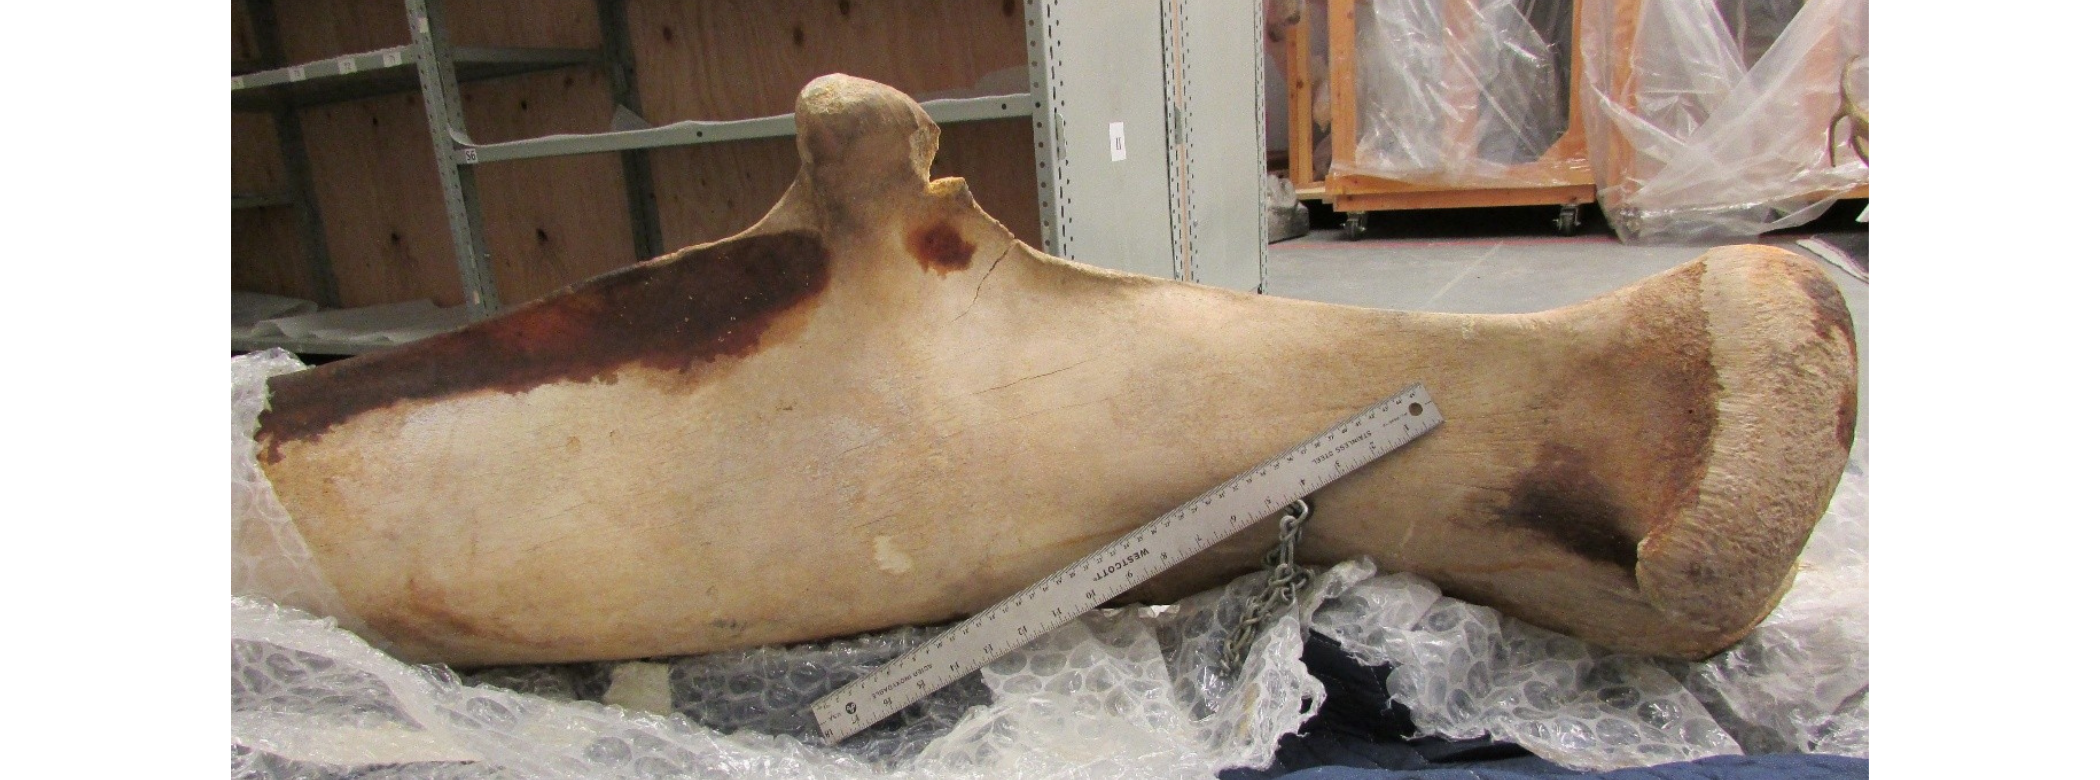
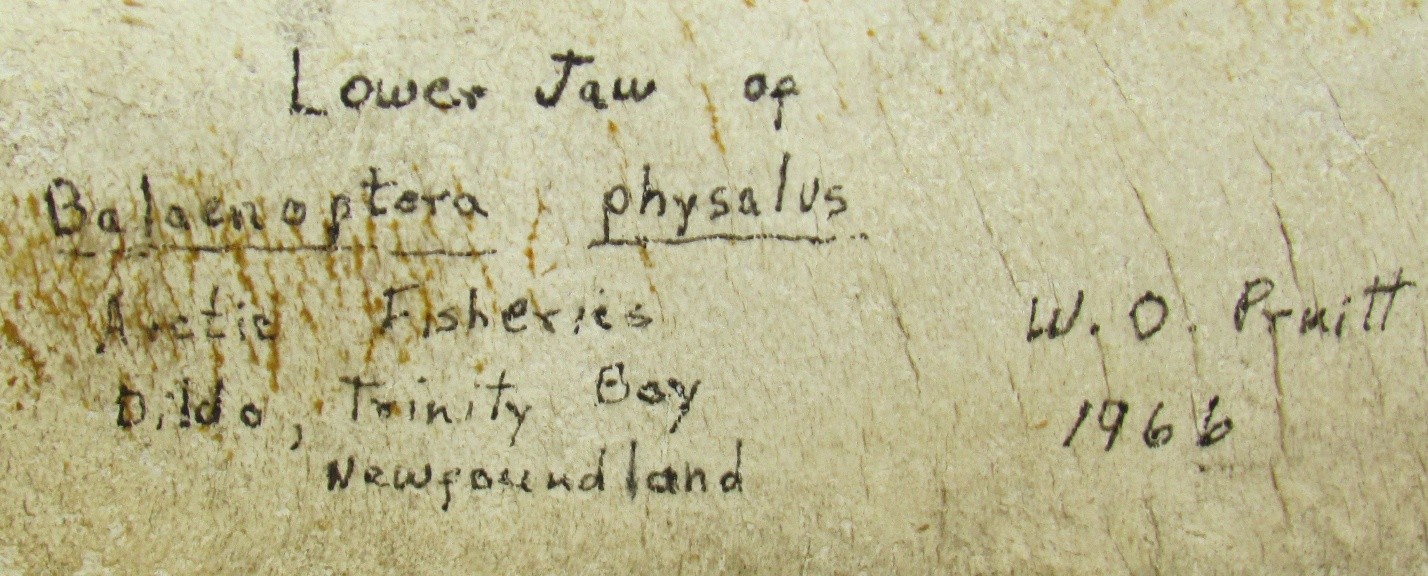
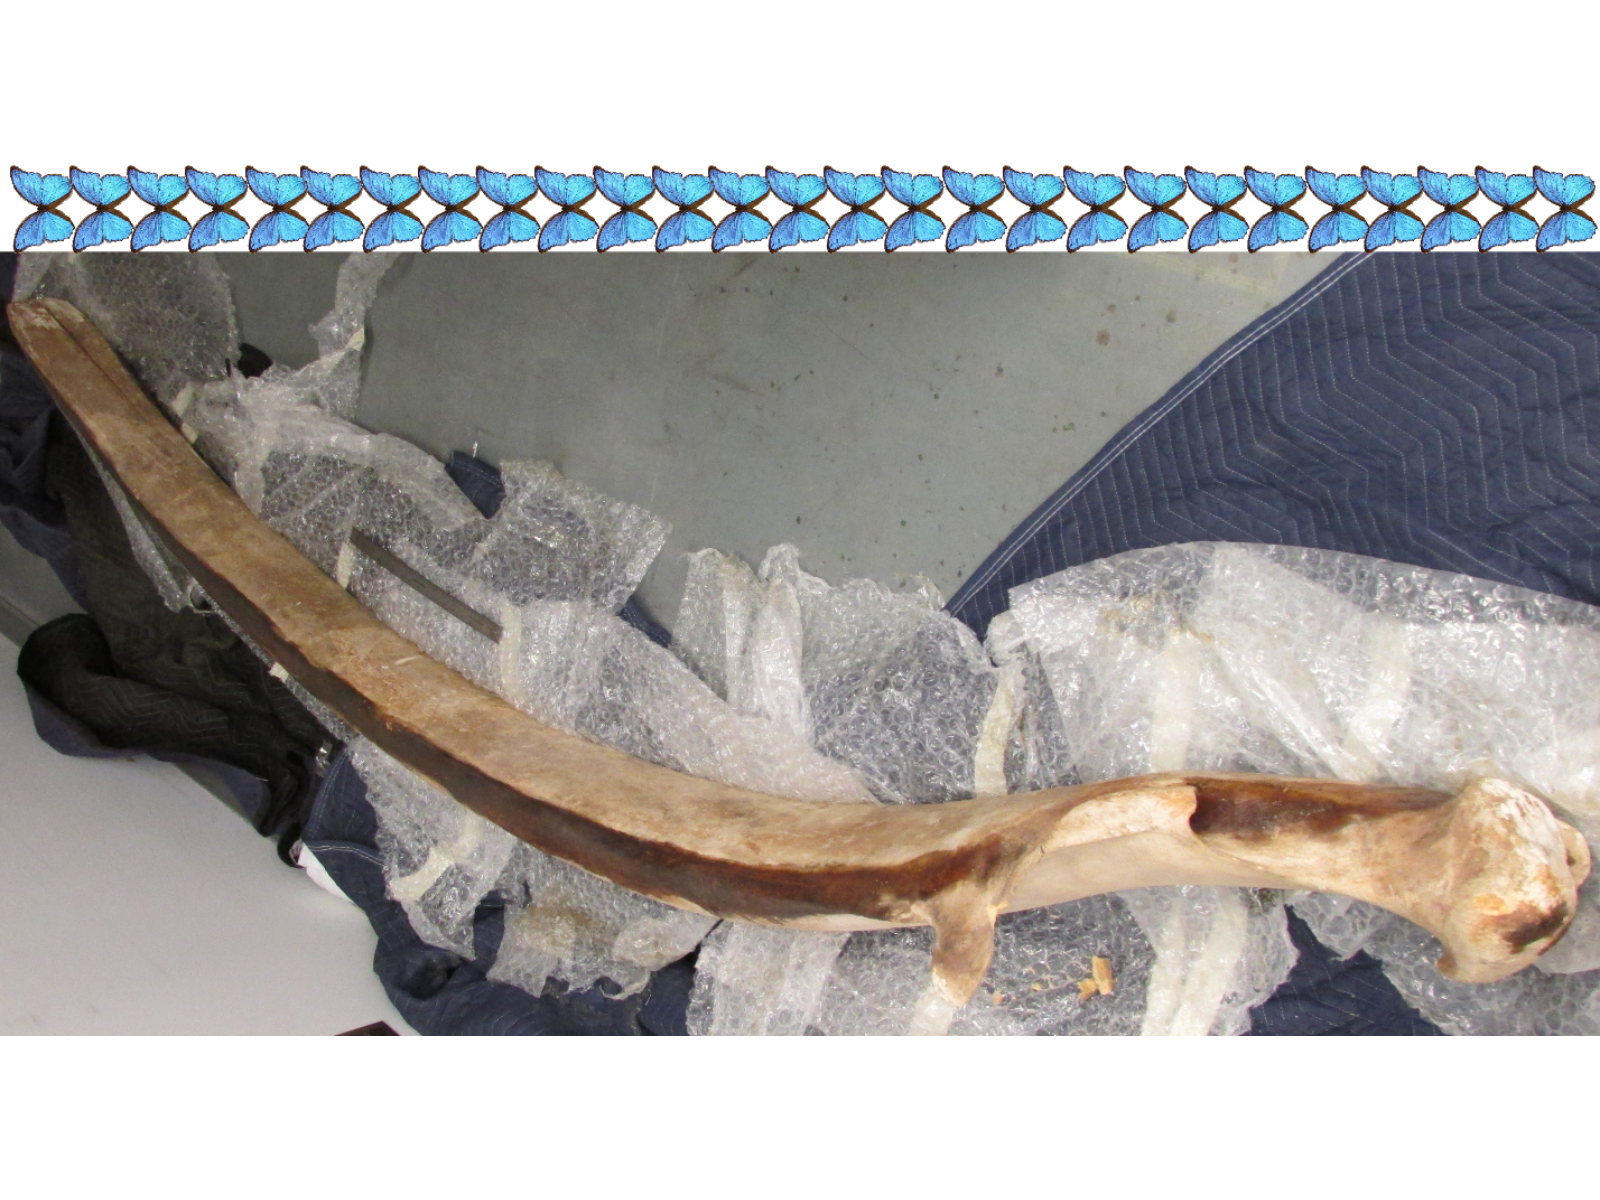
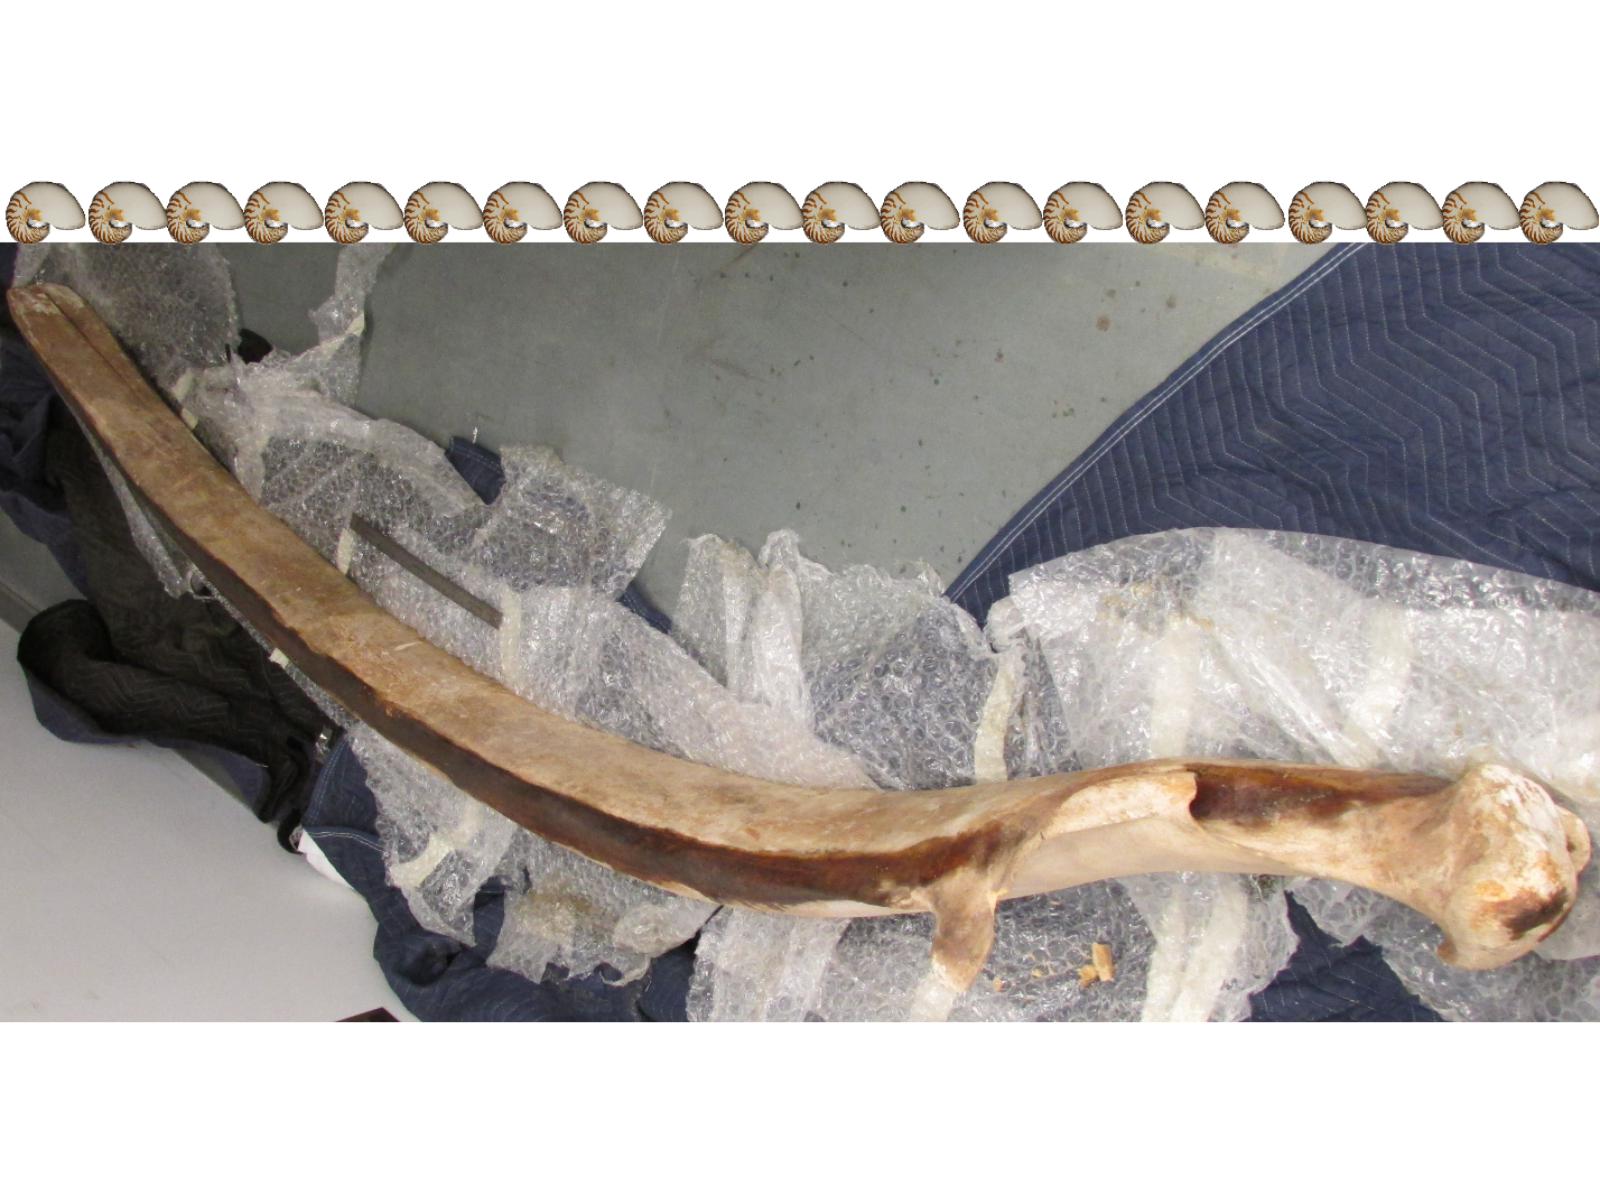
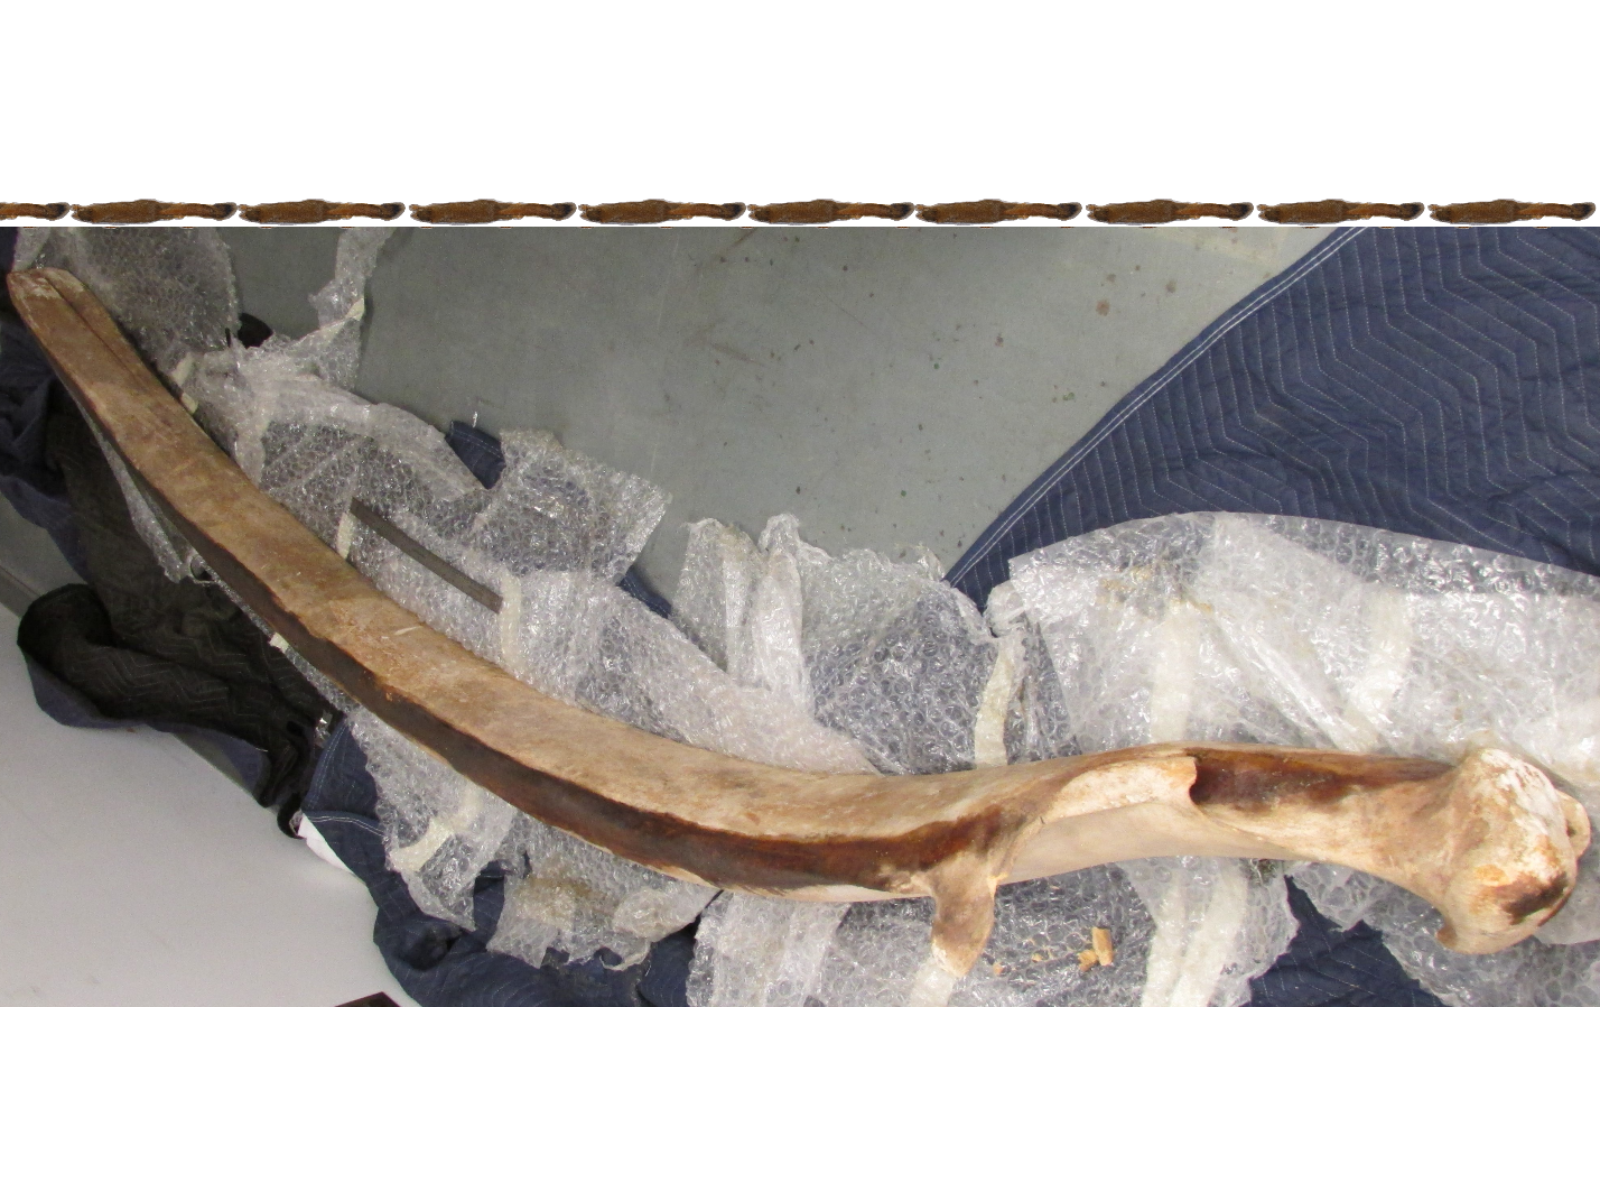
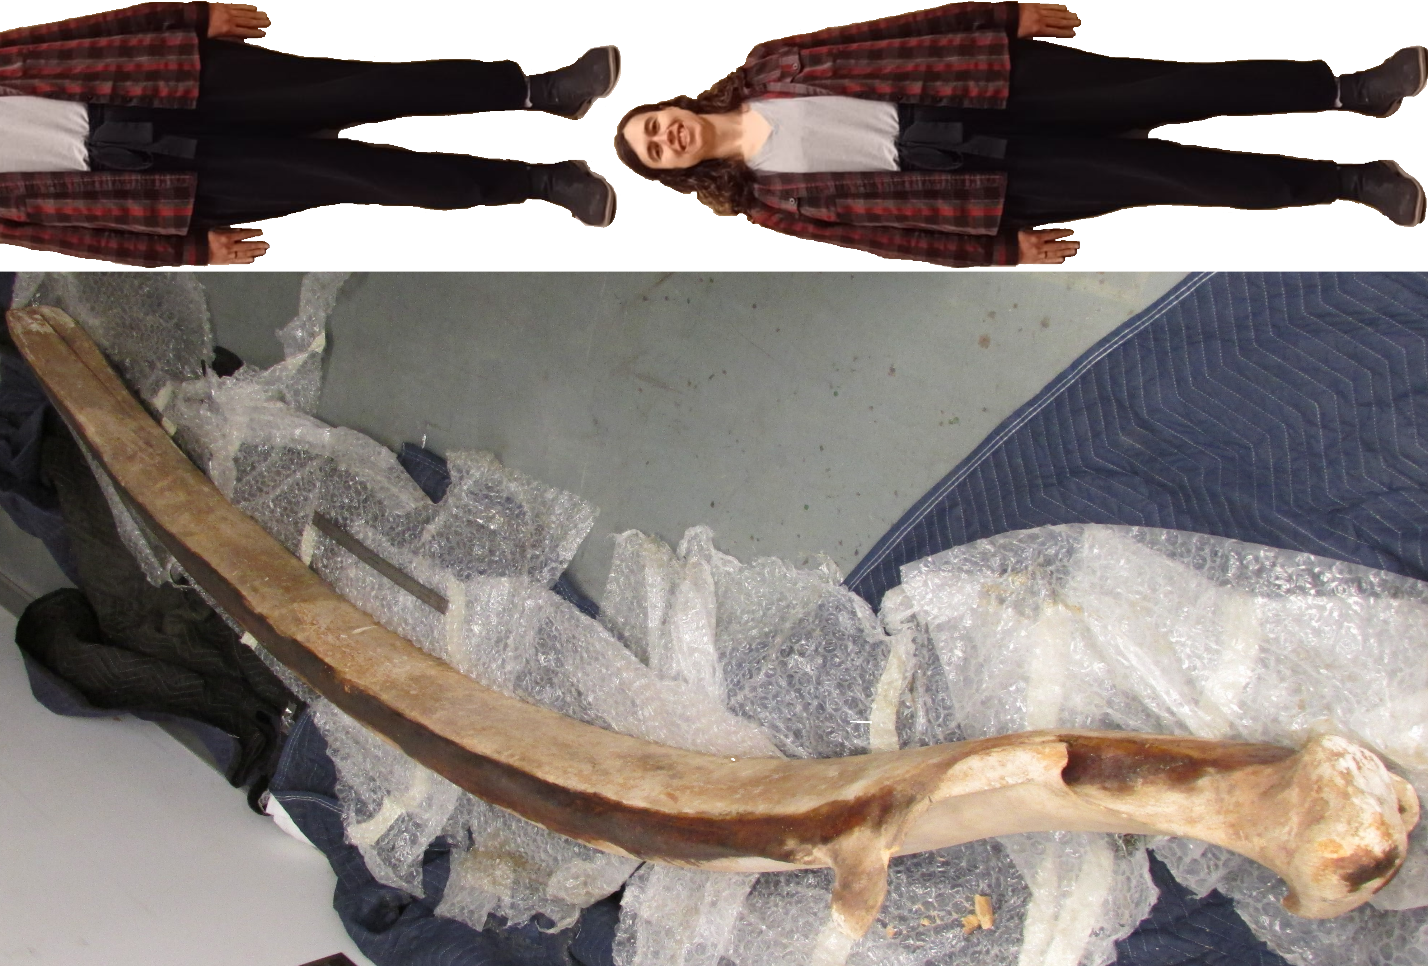
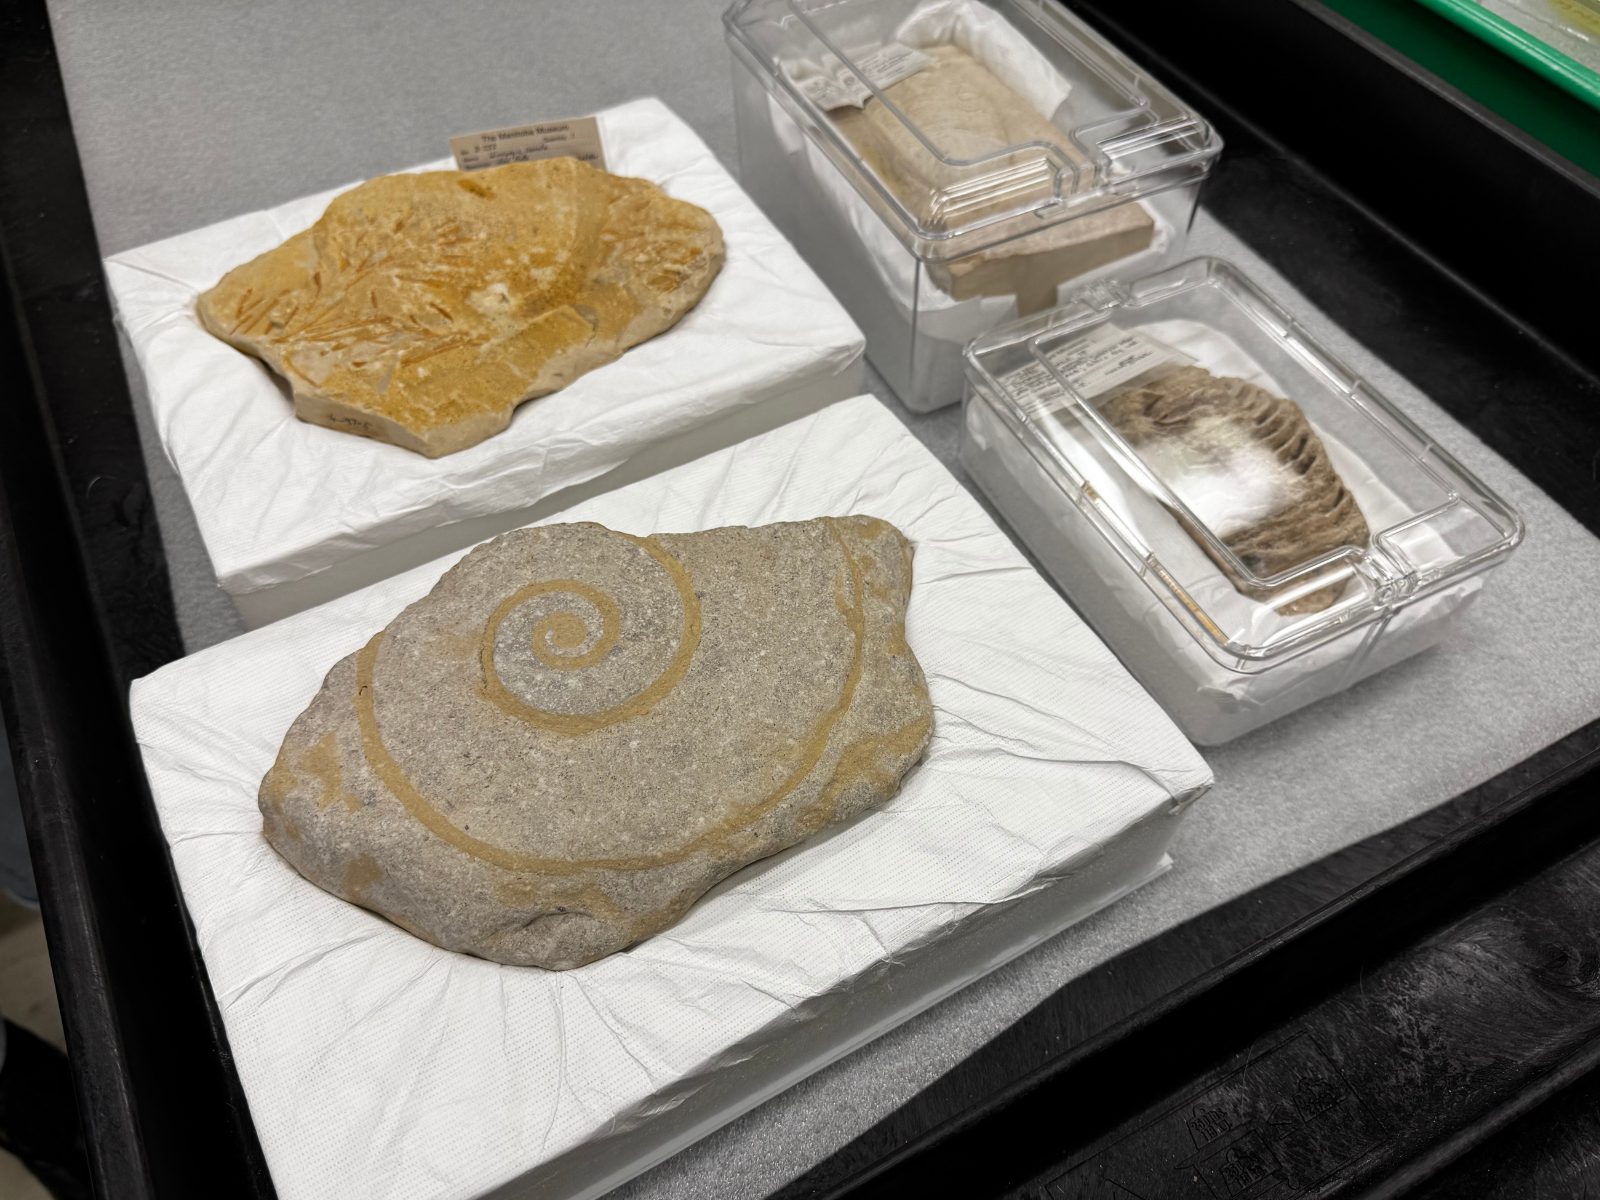
Specimens with multiple parts can also have multiple locations. For example, a skull and antlers may be stored on the wall rack, the skeleton of the same animal may be stored in one cabinet, and its tanned skin may be stored in another. All of these locations are listed in the object record, so that collections staff are able to find whichever particular element they’re looking for.
Image: Oversized antlers (and some attached skulls) stored on a wall rack in natural history collections storage. Some of their mandibles and other skeletal parts are stored inside the labelled and numbered cabinets below.
From a broader perspective, location and movement control is also helpful for inventories, audits, risk assessment, and object history. Imagine a scenario where an object has been located, and it has some damage. By looking at the object’s record in the database, collections and conservation staff can see that at one point in time the object was being stored in a location known to have had non-ideal storage conditions, which adversely affected a number of objects in the same way. If staff kept good records about its movement from the old location to the new location, this object’s damage could be traced back to the period of time when it was stored there. With the help of dated condition reports attached to the object record by conservation staff, we can even corroborate the cause of the object’s damage to its previous location.
However, if there is a gap in the record so that the location history of the object in this scenario was never updated to the new location, collections staff can ask questions like: Should this object be returned to the old location listed in the record, if that location was the cause of damage for this object? Is the place that I found this object meant to be its new storage location? If so, who authorized it to be moved here and when? What is the current location of other objects moved out of those poor storage conditions, and should I relocate this object to the same new location as them? As you can see, location and movement control is just one piece in the ever-evolving puzzle of proper collections management.
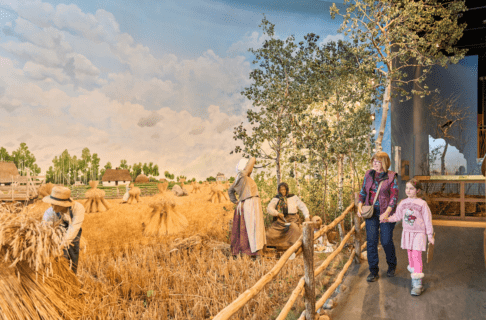
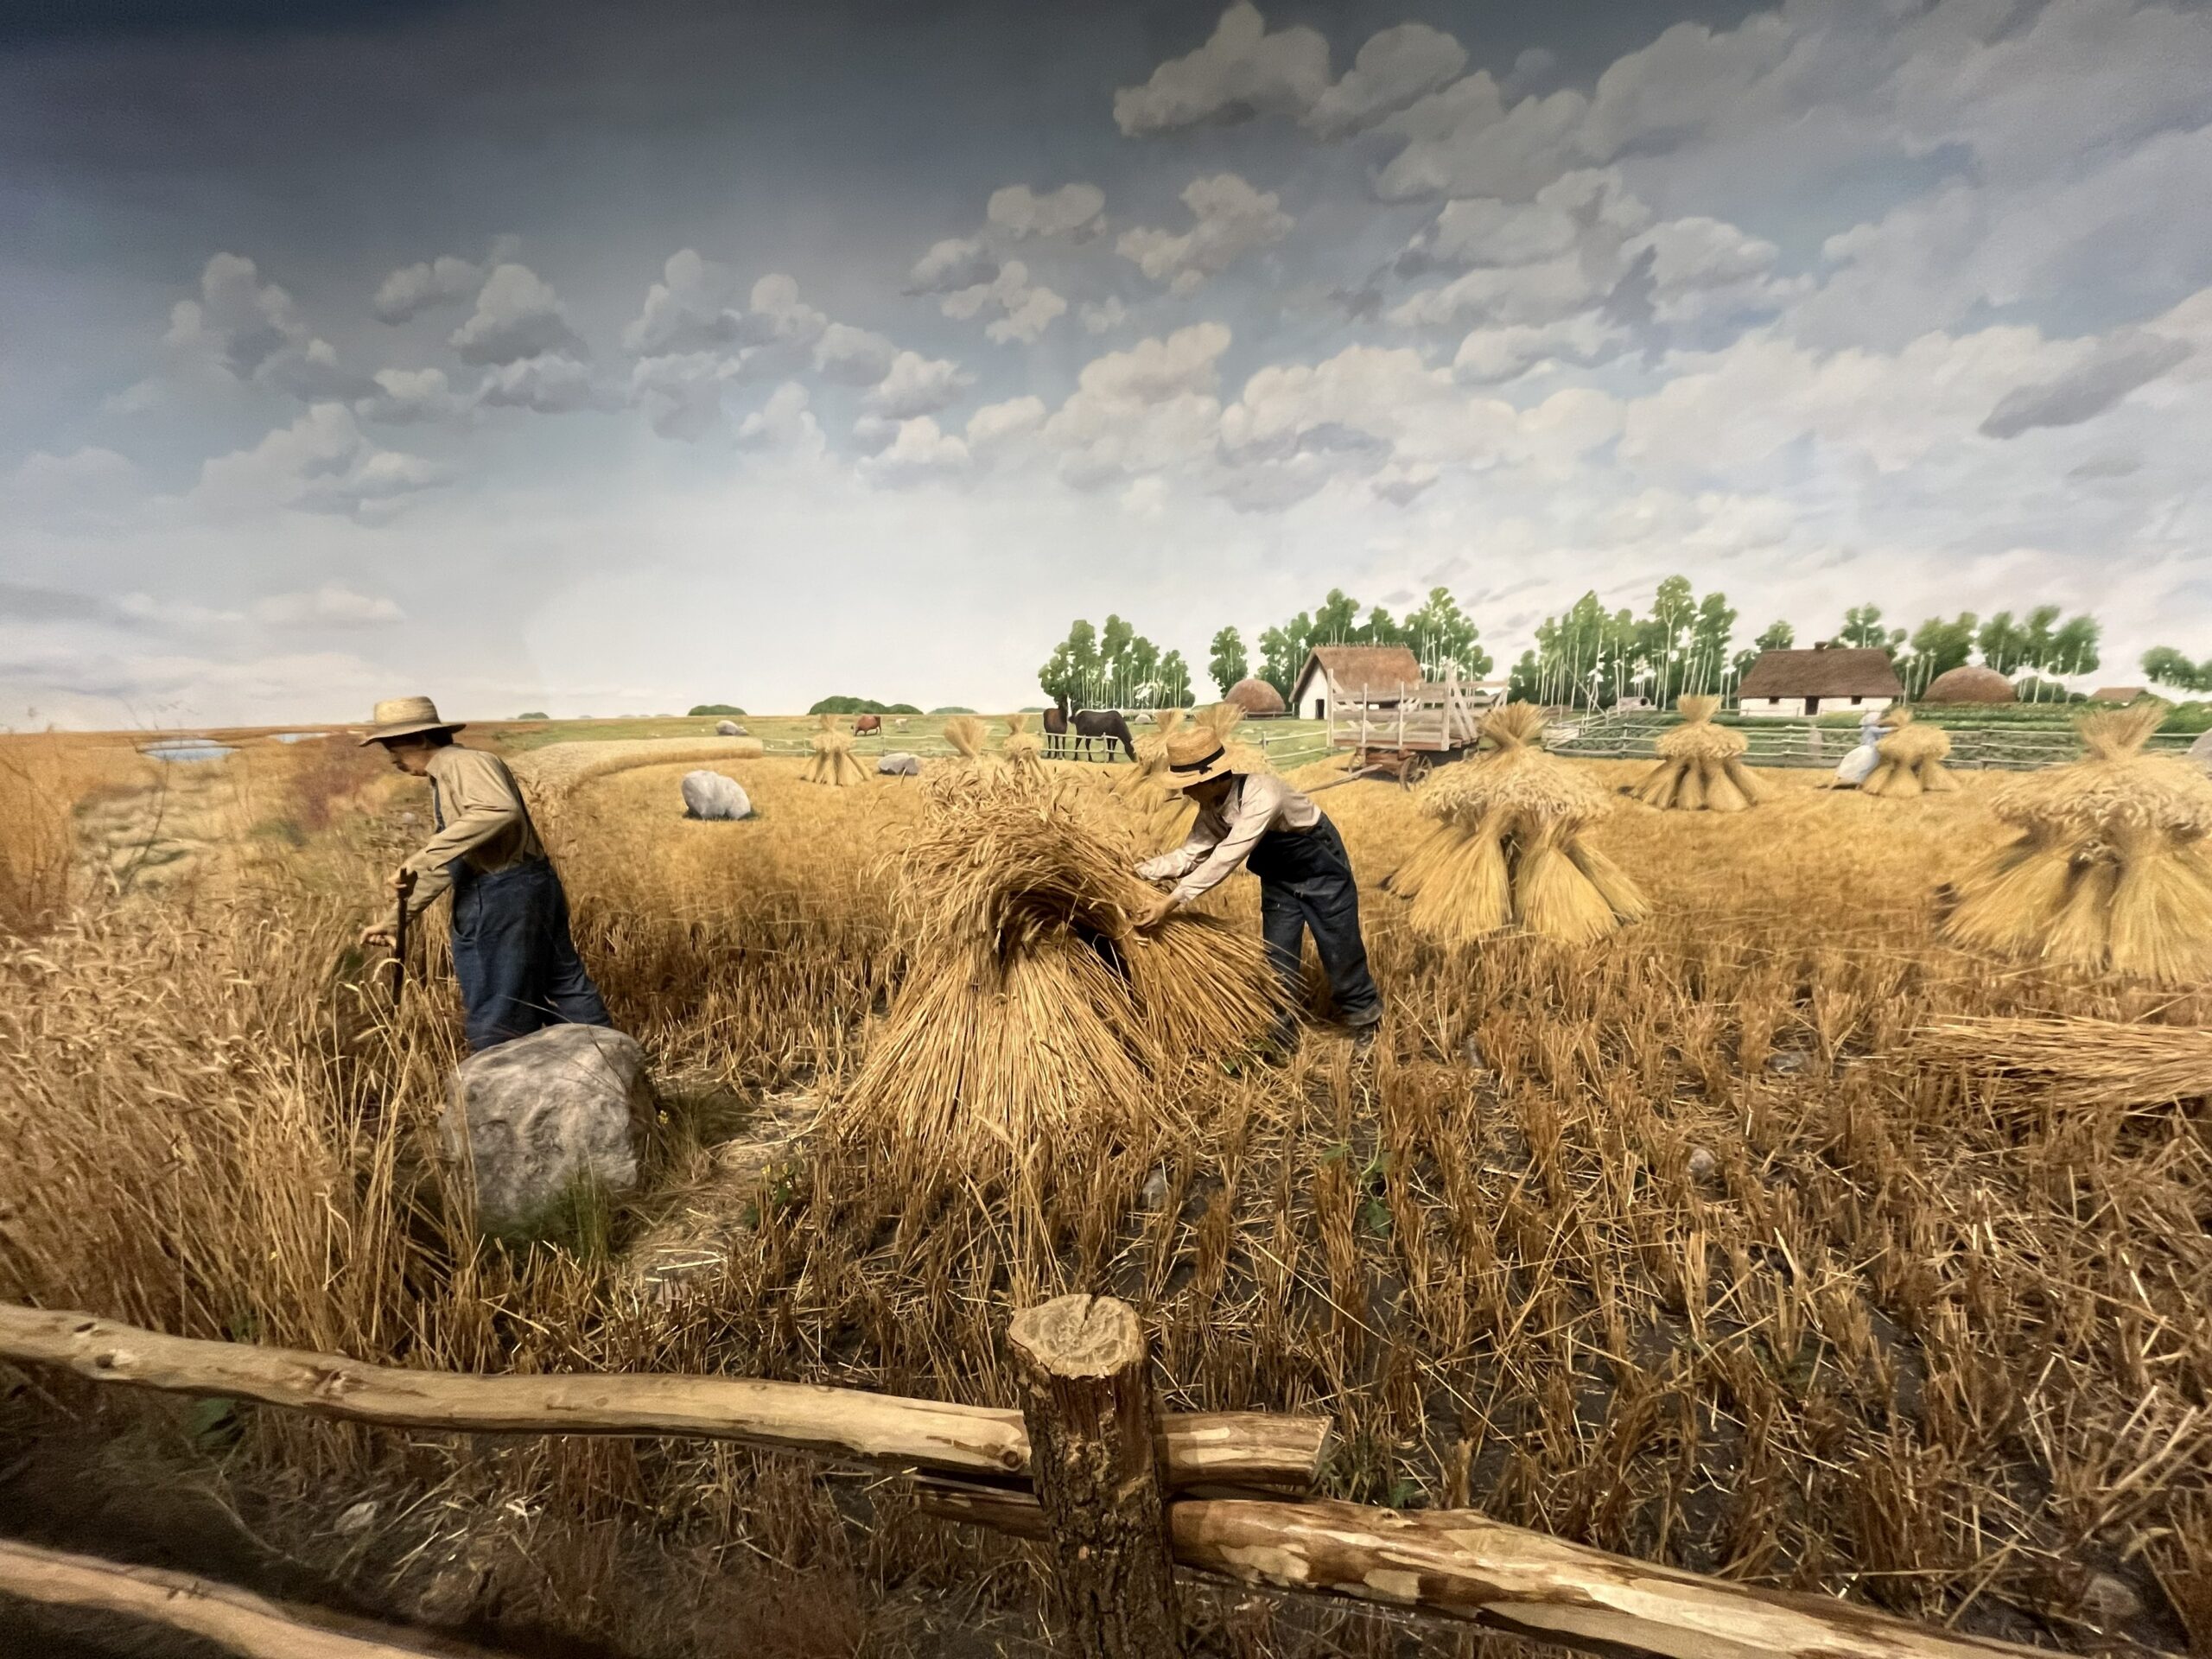
For a long time, the natural history collections at the Manitoba Museum didn’t have the resources to implement location codes more precise than storage room level. This can make it difficult to find and track where specimens are located. Without precise locations, we rely only on cabinet labels and general knowledge of the room layout. Unfortunately, these could change over time and misrepresent locations if not updated promptly, or may not take into account special storage conditions that require objects to be in different locations than expected. A specimen could even be on permanent display in the galleries, but if that information is not attached to the object record then collections staff could spend a lot of time looking in storage for something that is not there.
Over my last two years managing the natural history collections with our brand new database, I’ve been working to add and update location information to as many natural history specimens as possible. I can do this by making inventories, incorporating location information into cataloguing procedure, and updating a record when an object is accessed for research, a loan, or an exhibit. This important work helps make accessing all areas of the collections a smooth process for collections staff, conservators, and curators.