

Posted on: Thursday May 23, 2024
Picture this: You’re working alone in the collections room, inspecting the insect collection for evidence of pests, when you hear a noise coming from one of the cabinets behind you. The noise has a familiar skittering quality, similar to the dreaded sound of squirrels running around in your attic, followed by a loud thud. You think to yourself, “I looked in that cabinet just ten minutes ago, and I am very confident that there could not be a live squirrel in there.” You briefly (and humorously) consider that the cabinet could be haunted by the ghosts of the insects stored within, but that would be very silly as this is a collection of Natural History, not Supernatural History! With squirrels and ghost ruled out, you take a deep breath to steel yourself, and slowly open the cabinet door…
This is the situation in which I found myself at the beginning of April, and upon investigation I was able to determine the source of the sound. While a live rodent or a vengeful spirit would have been frightening, the real culprit was enough to make this Collection Technician’s blood run cold! The glass window in the lid of an insect drawer had peeled away from its adhesive (the skittering), followed by the pane of glass landing on the inner walls of the box below (the thud).
When I inspected the drawer in question just ten minutes earlier, I had removed the lid to take a close look at the specimens inside before putting the drawer back into the cabinet. It seems that even this small amount of movement was enough to set the ageing adhesive’s failure into motion. Thankfully, no insect specimens were harmed in this incident, but storage equipment failures like this can pose a major risk to museum collections. If the glass had fallen at an odd angle instead of landing flat on the inner walls of the box, or if the glass had shattered on impact, many specimens could have been damaged. At the Museum, we have hundreds of entomology drawers, most of which are several decades old. Unfortunately, the adhesive that was used in their original construction those many years ago has been found to fail over time. While replacing the drawers would be costly and time-consuming, they can be fixed so long as the glass pane and wooden lid are otherwise stable. At the moment, about two dozen drawers have been identified as having loose or detached glass, so it’s high time to get caught up on some repairs!
When people ask me what I do as a Collections Technician, I tell them that a lot of my work could be described as “crafty odd-jobs that keep our specimens safe and stable”, and this is a perfect example! Before starting any repairs, I consulted with our Senior Conservator about which kind of adhesive should be used to replace the original glue. In this case, we went with a non-acidic silicone-based caulk. Once set up with the tools and adhesive, my first step was to remove the remnants of the original glue from the lid and the window.
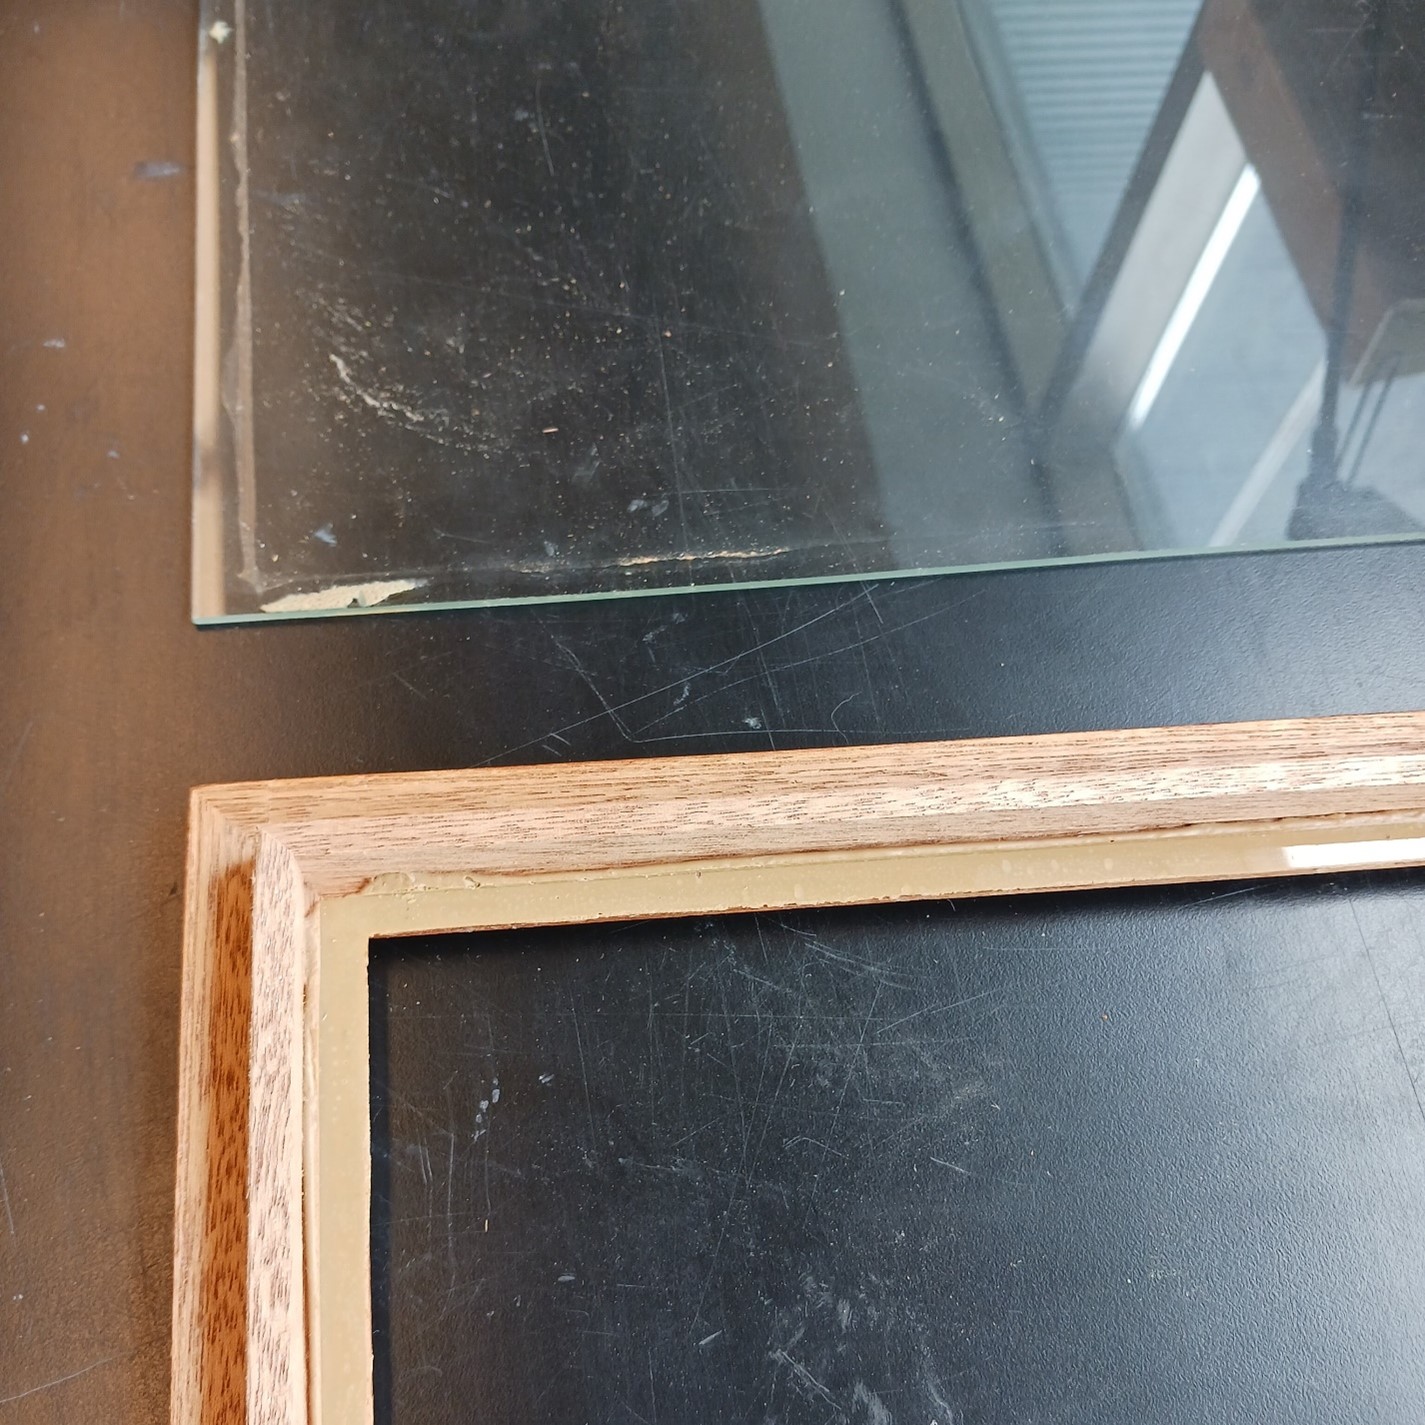
Image: With the glass removed from the lid, the old adhesive is exposed. © Manitoba Museum
The old glue came off the glass easily, needing nothing more than a firm rub with some damp paper towel, but the lids were more stubborn. For those, I used a utility knife to peel, pick, and pry at the glue until it was all gone. With the old glue out of the way, I cleaned both the glass pane and the lid with damp paper towels, and let both dry. Next, I applied a thin layer of caulk to the lid everywhere that it was supposed to make contact with the glass, and gently laid the window into its place. A bit of gentle pressure was applied to the other side of the glass to spread the adhesive around for complete and even contact between the wood, caulk, and glass. To finish the job, I wiped away the excess caulk leave everything clean and tidy.
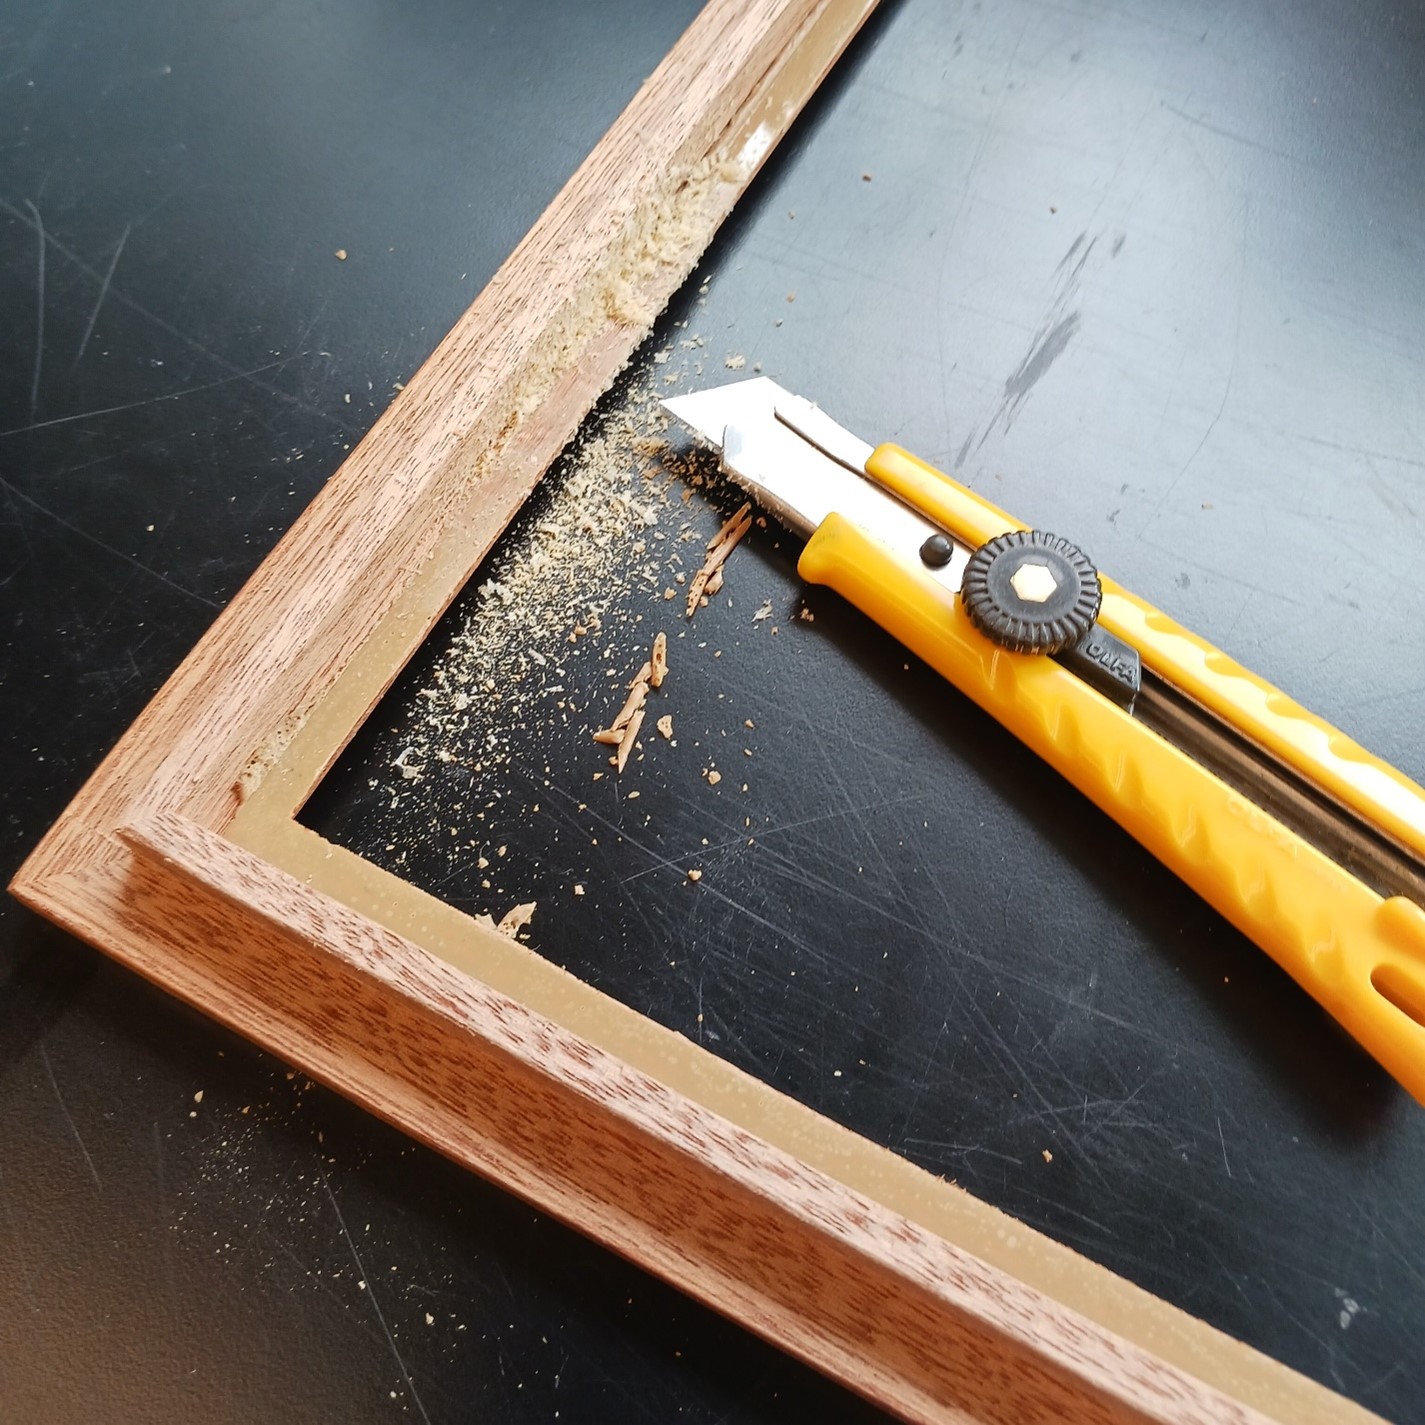
Scraping the old adhesive away, bit by bit by bit. Image: © Manitoba Museum
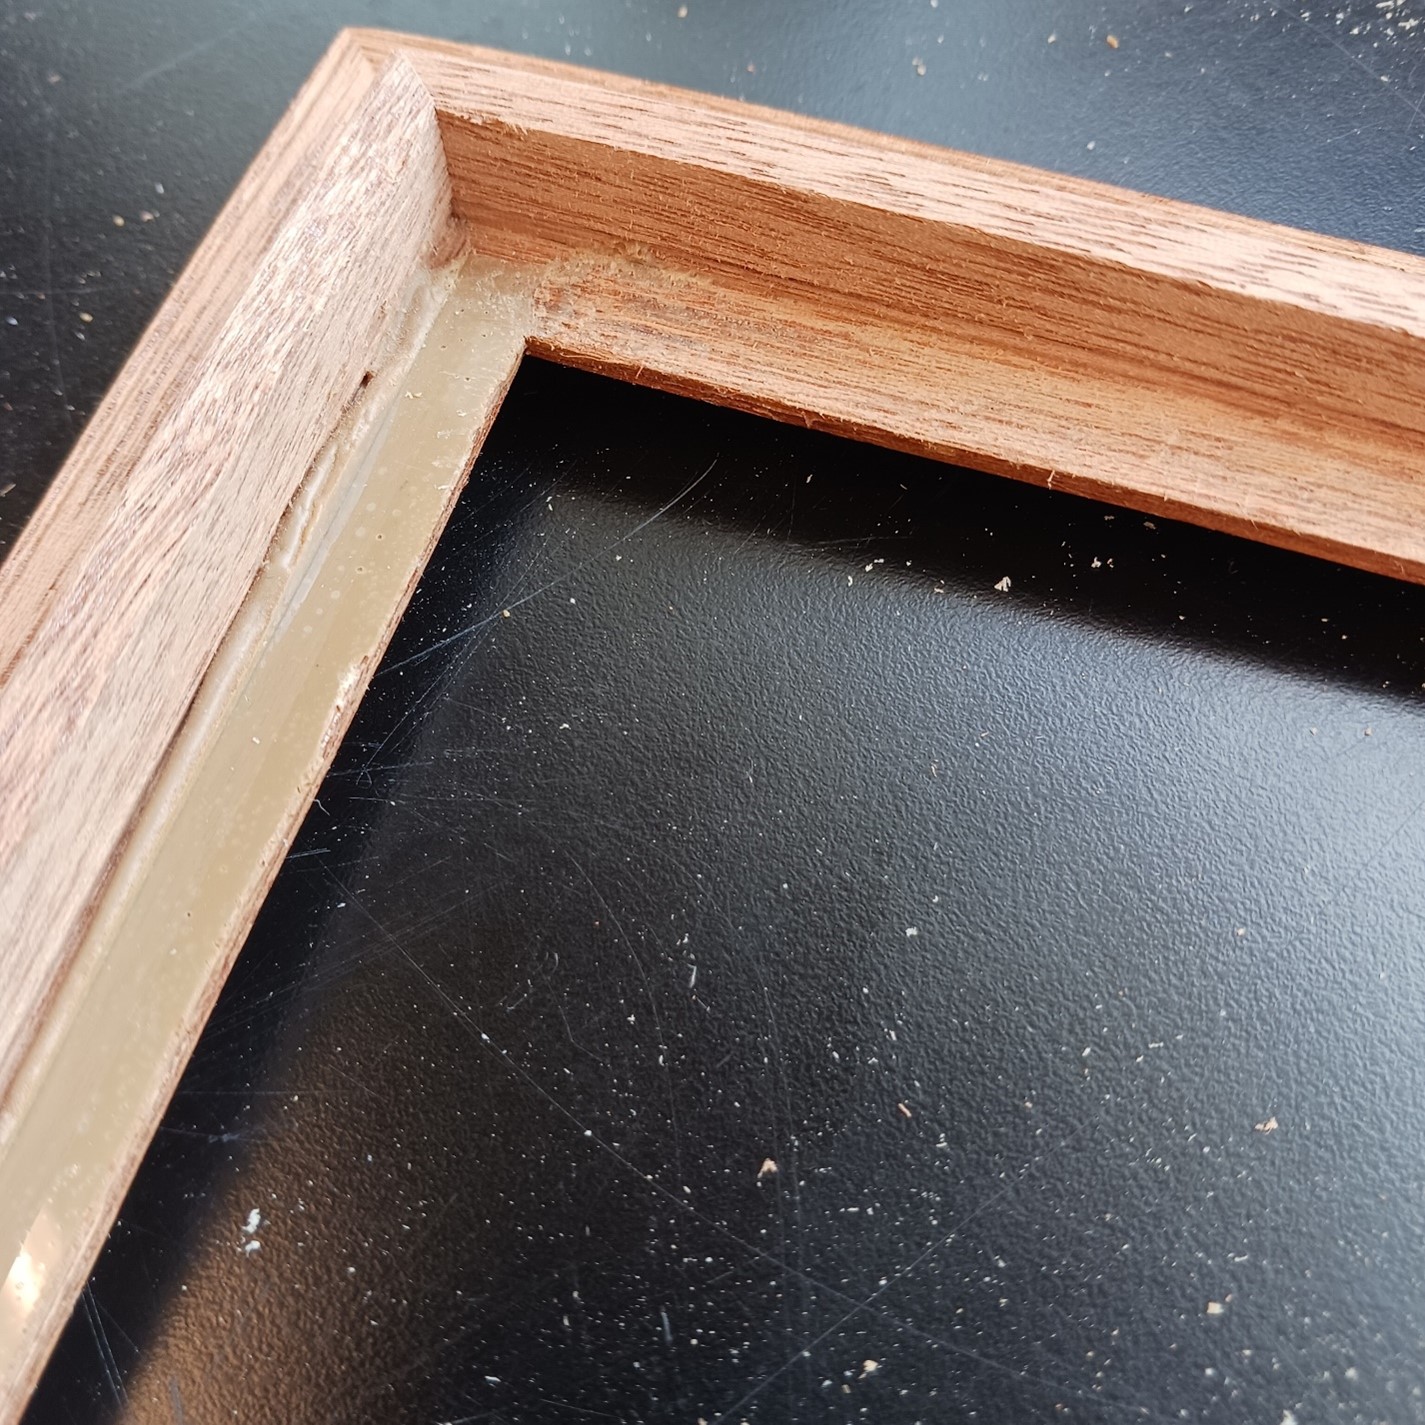
An in-progress photo, with one side untouched and the other scraped down to the wood. Image: © Manitoba Museum
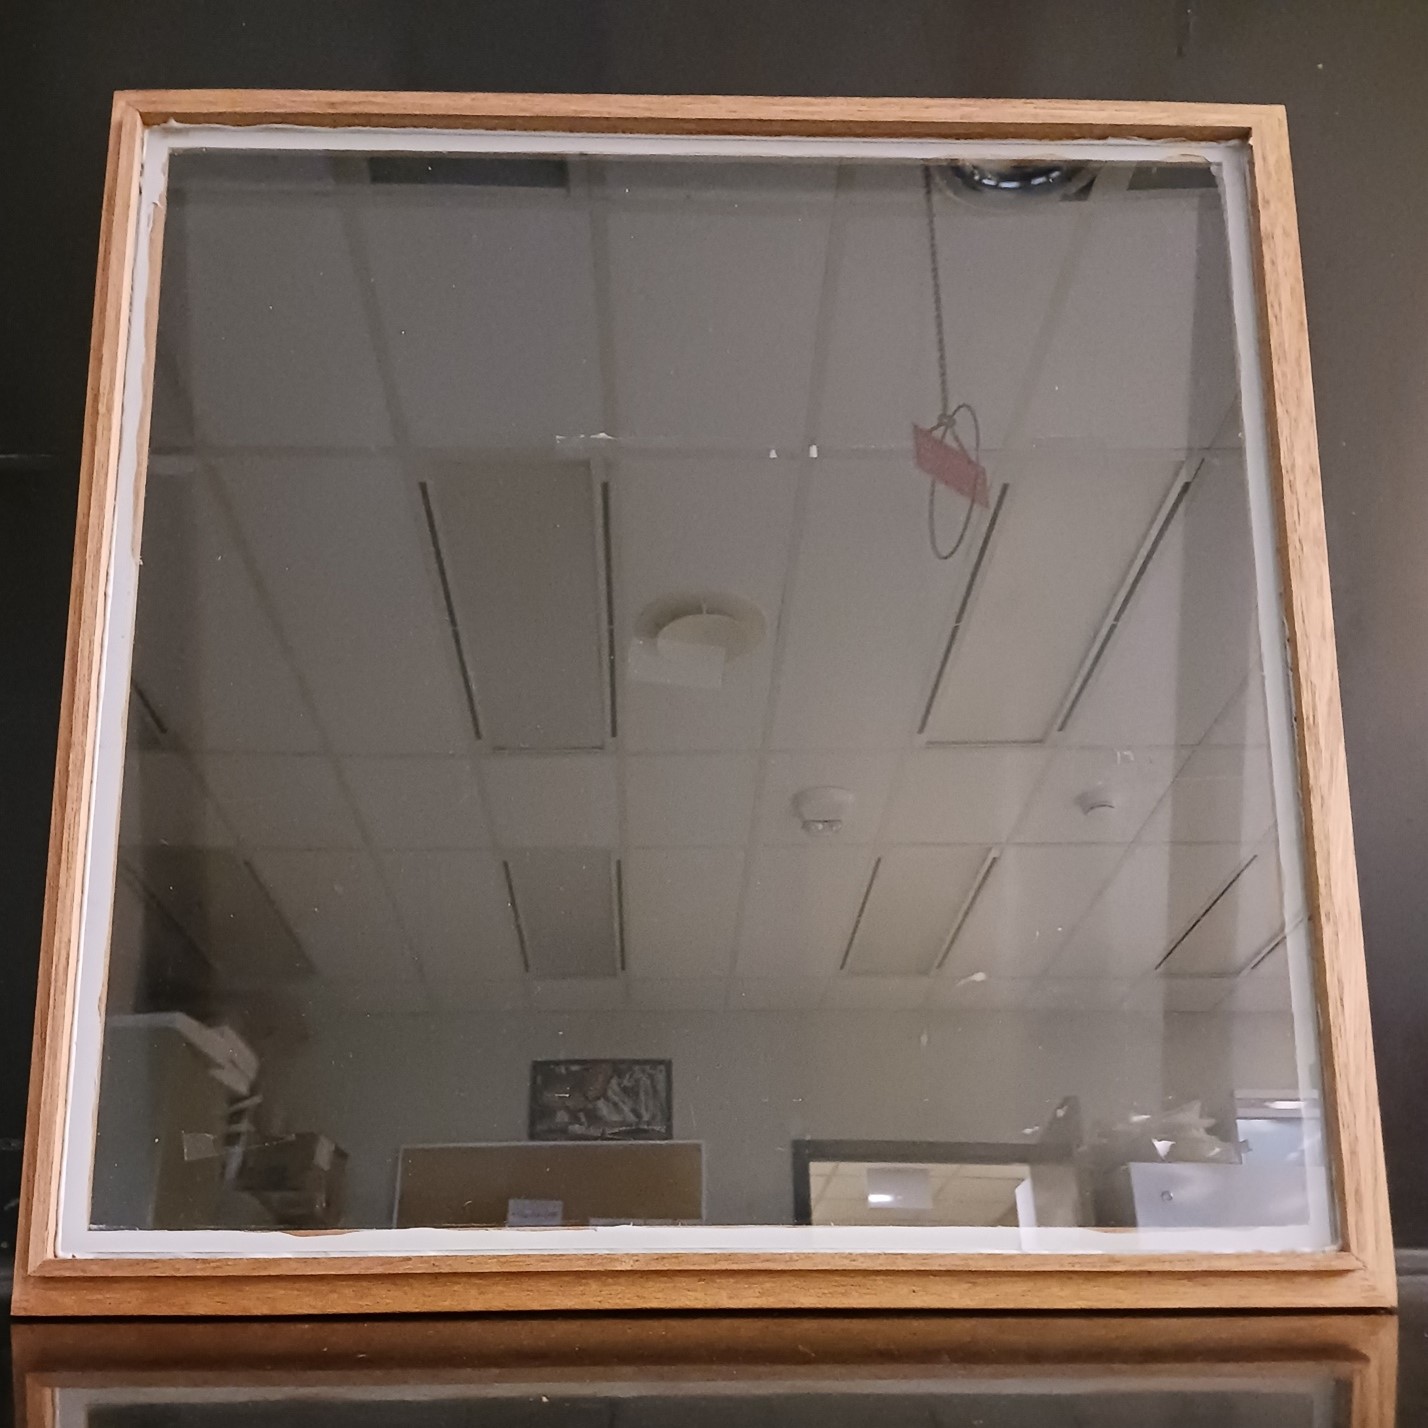
A completed lid! The old beige adhesive has been replaced with grey silicone caulk, and the glass is bonded to the wood of the lid. Image: © Manitoba Museum
Repairing a batch of just five lids is a solid afternoon’s work. With the fix complete, the adhesive needs a day to cure properly, but the lids need to sit for thirty days before they can be put to use in our collection space. This time allows any volatile chemicals that may be present in the caulk to off-gas completely, and is an important step for the protection of our specimens. If used immediately, certain chemicals that may come out of the adhesive as gasses that could chemically react with the exoskeletons and dried tissues of the insect specimens in the drawer. This hazard is best avoided, and that is easily done with a little patience.
Once the month for off-gassing has passed, the drawers can be re-introduced to the collections room and swapped out for other lids that need fixing. Before too long, all of our deteriorating lids will be fixed, and I’ll be moving on to other projects to keep our Natural History collection safe and stable for decades to come.
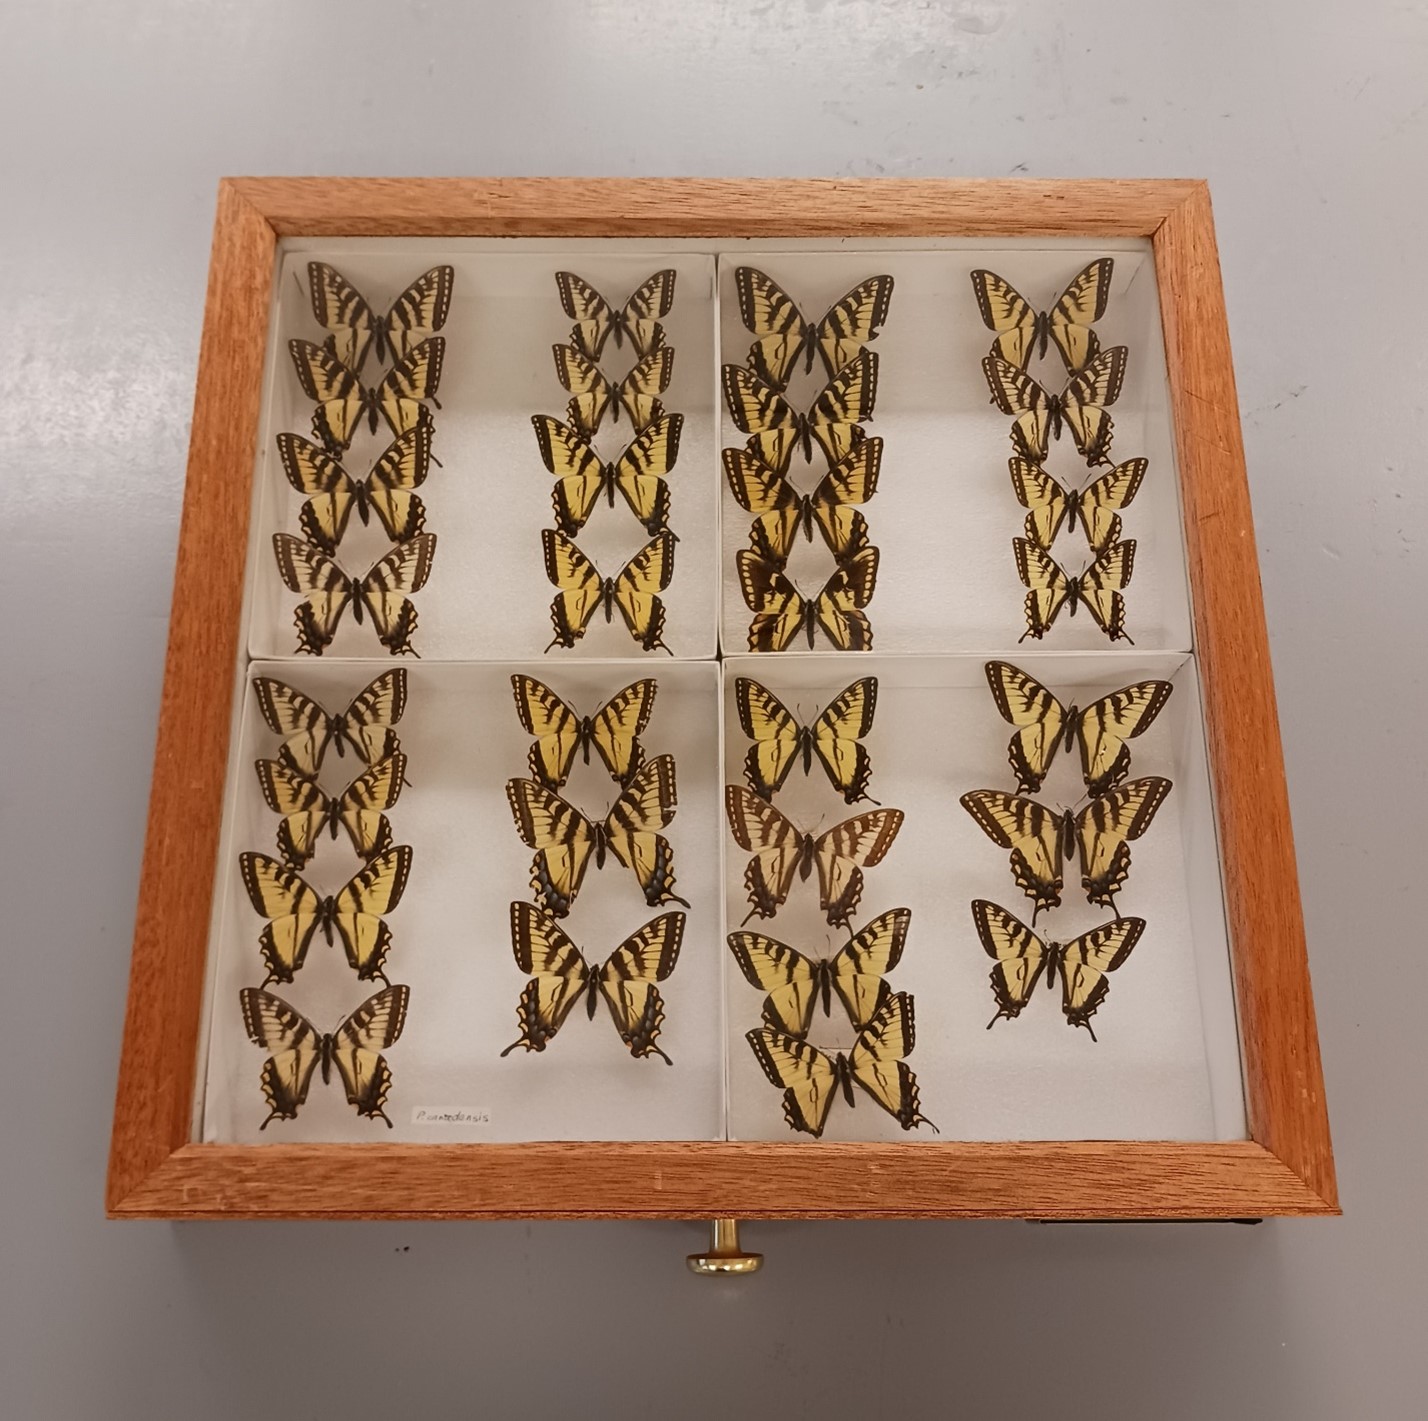
Image: A box of butterflies with a repaired lid–safe and sound! © Manitoba Museum