


Posted on: Friday December 31, 2010
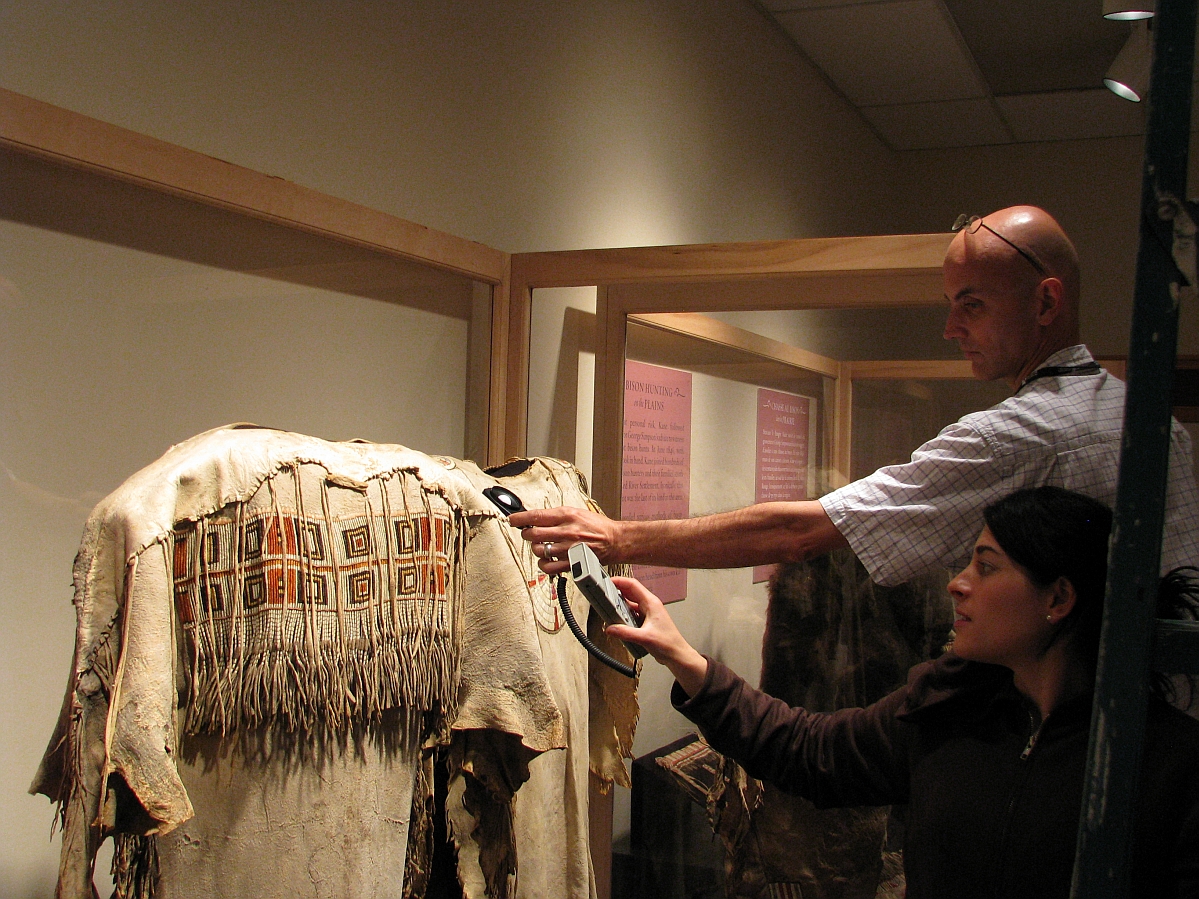
In order to remain aware of the conditions surrounding The Manitoba Museum’s collections, the Conservators undertake a program of regular monitoring. Once each month, a Conservator goes through all areas where collections are stored or displayed with a hand held thermohygrometer, which measures temperature and relative humidity (RH) via sensors in an attached probe.
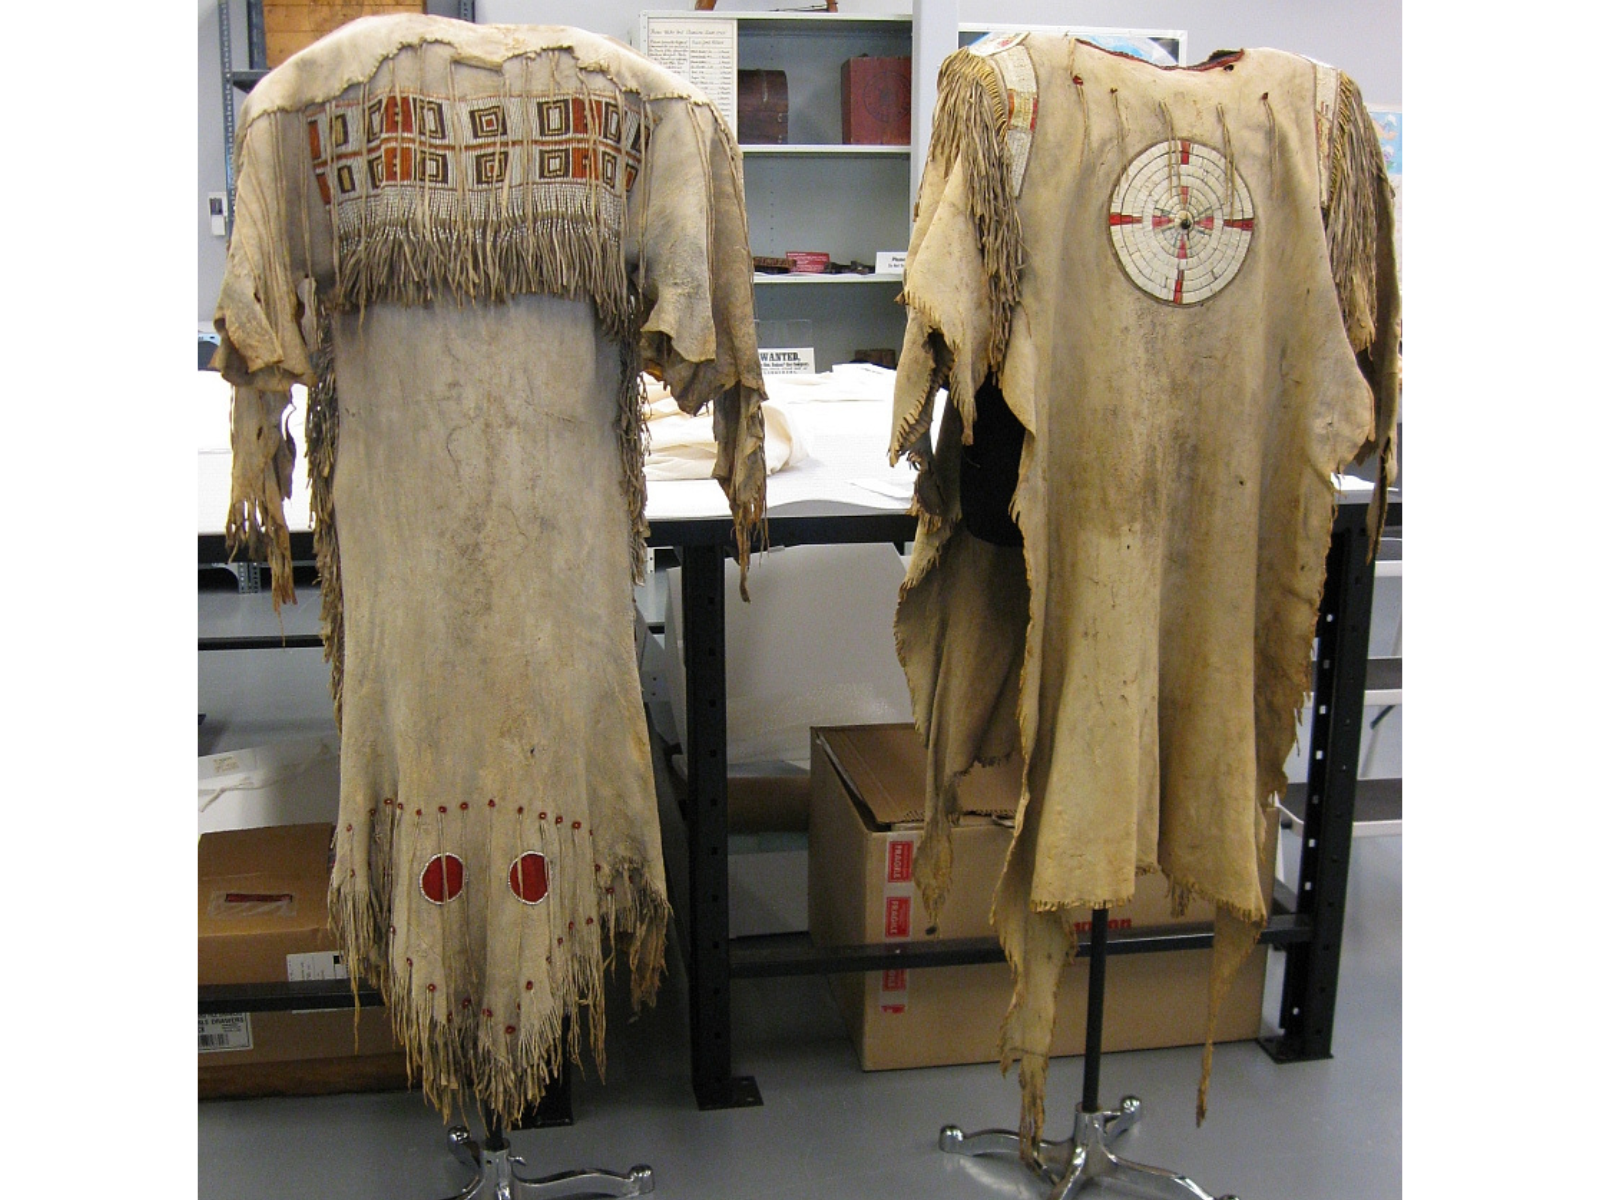
Ideally, temperature and RH should be as stable as possible, allowing for some drift as the outside weather changes through the seasons. Extremes of temperature or RH, as well as sudden dramatic changes, can be harmful to some materials. For example, dry wood can swell and even crack if exposed to sudden high RH. Very high RH over a length of time can cause mould, or corrosion on metal. Checking the temperature and RH each month, the Conservator is checking for stability and flagging any problems.
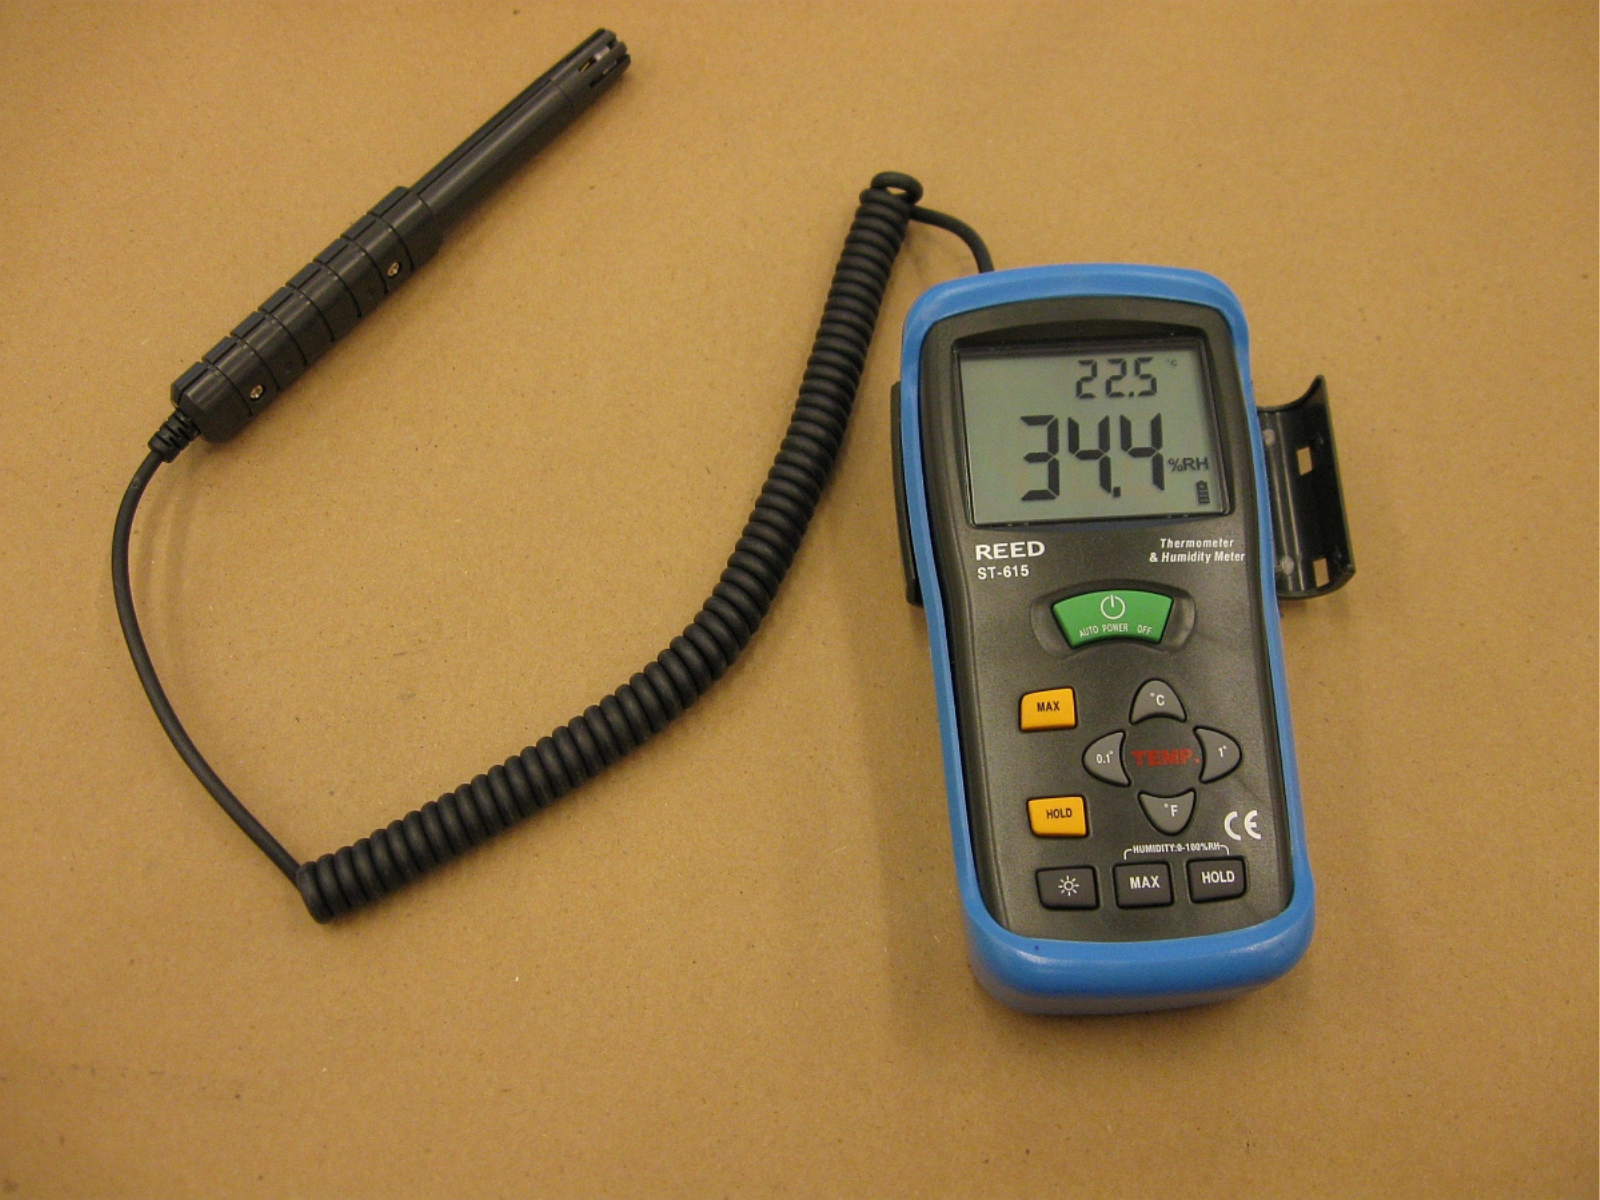
Digital thermohygrometer.
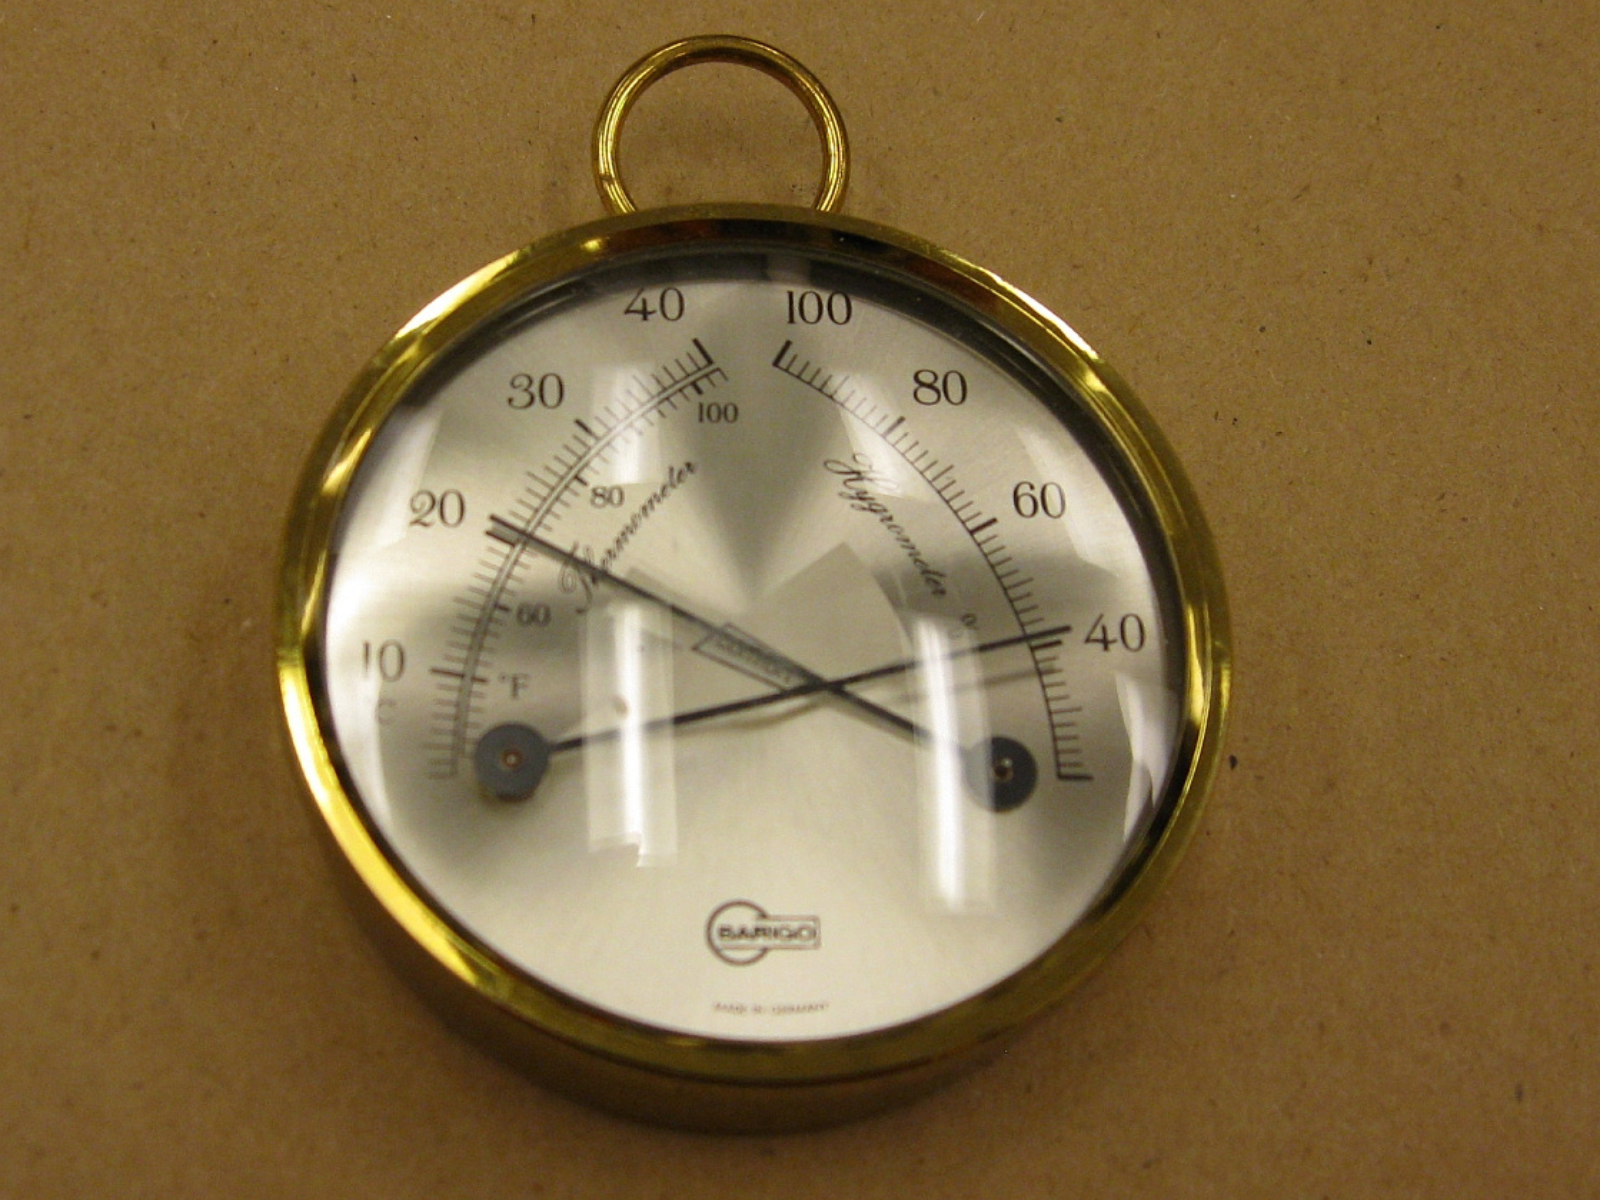
These dials are in many of our exhibit cases.
The monthly thermohygrometer monitoring is in addition to regular checks in the galleries. Several times weekly, the Conservators record readings they take by looking at temperature/RH dials that are placed in many exhibit cases. Thus, conditions both inside display cases, and in the general gallery air, as well as storage areas, are all measured and recorded.
A regular program of monitoring means we’re aware of any environmental problems, such as a spike in RH, and can deal with them quickly.