


This summer I went from Manitoba’s southern-most border all the way to its northern one within just a week. I was fascinated to see how differences in climate had influenced the plant communities. The massive trees of the south give way to nearly treeless tundra in the far north. But despite being separated by over 1,000 kilometers, both places had something in common: climate change was beginning to impact the plants.
To the Southeast
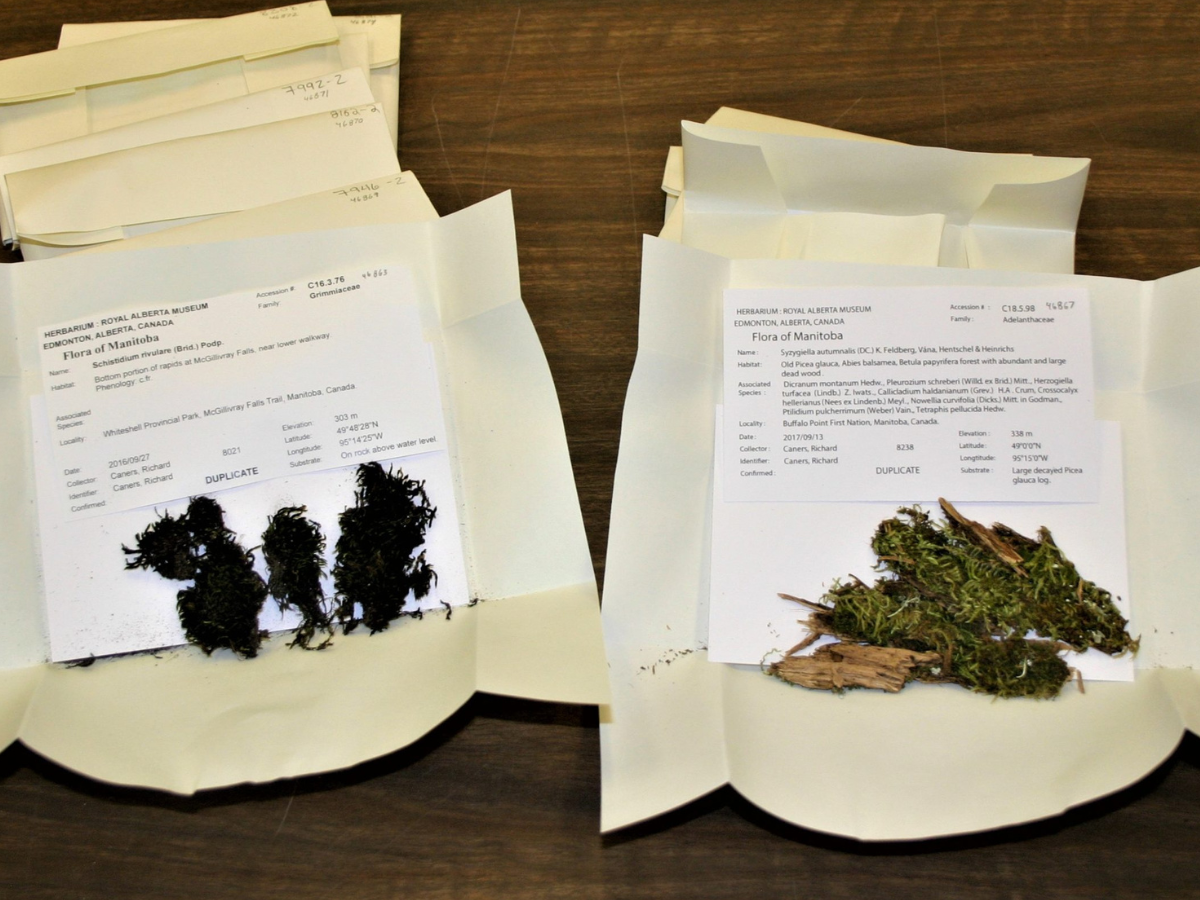
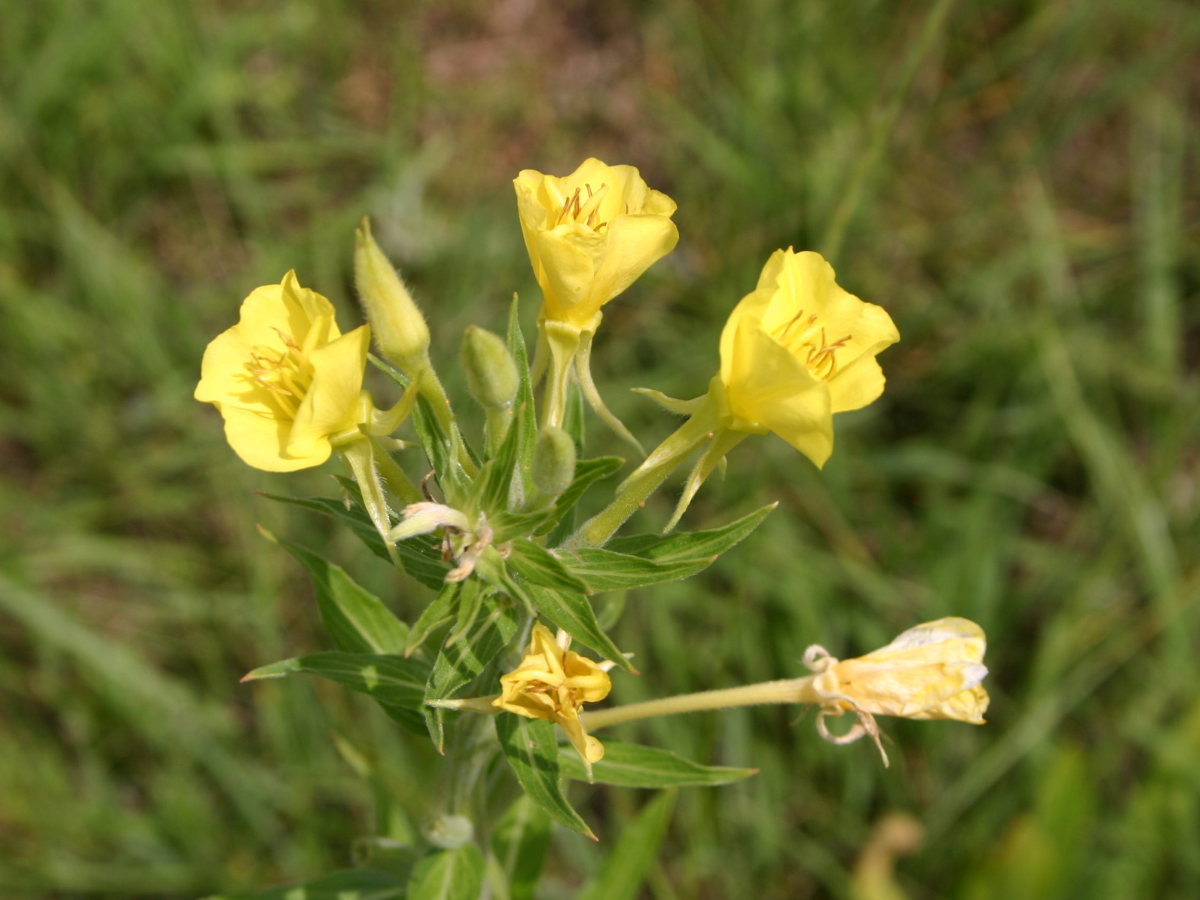
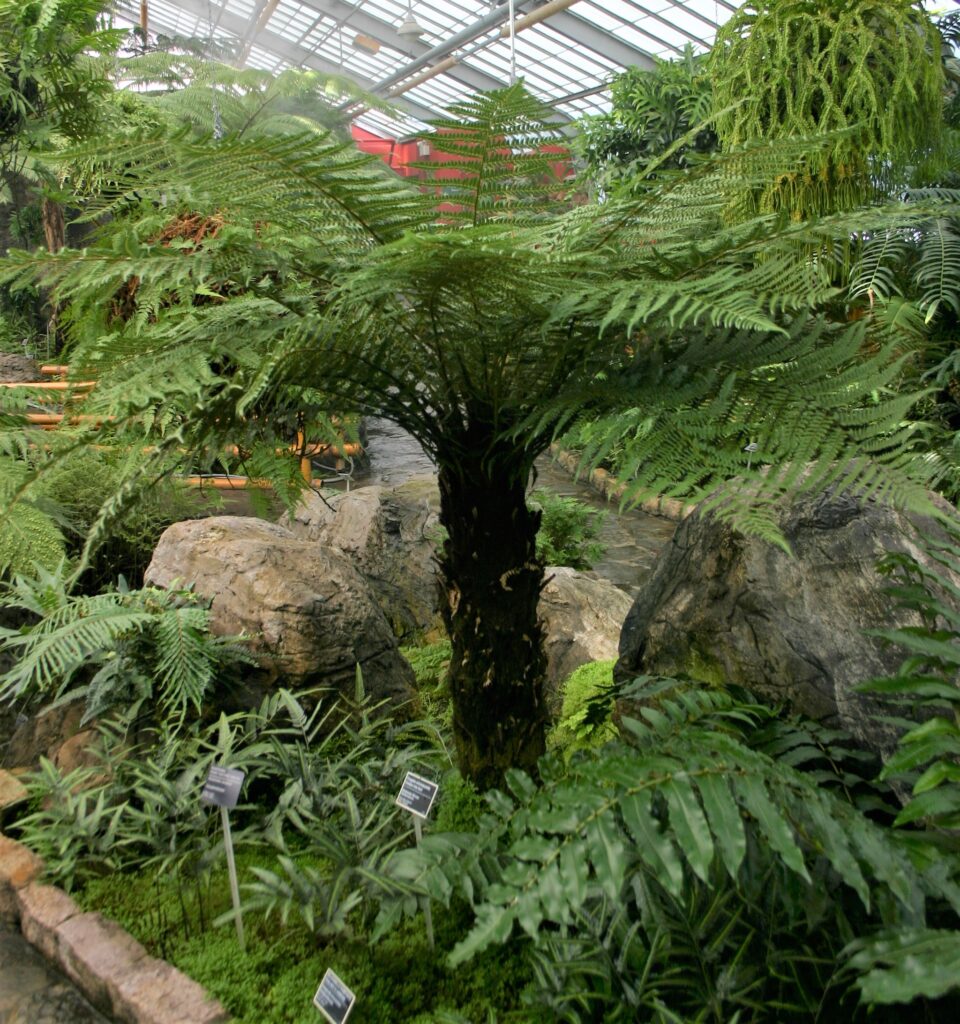
In early August, I drove to Buffalo Point First Nation to search for rare plants, with the permission of the community. Buffalo Point is in the extreme southeastern corner of the province. Many plants reach their northeastern limit in that part of the province, including Interrupted Fern (Osmunda claytoniana).
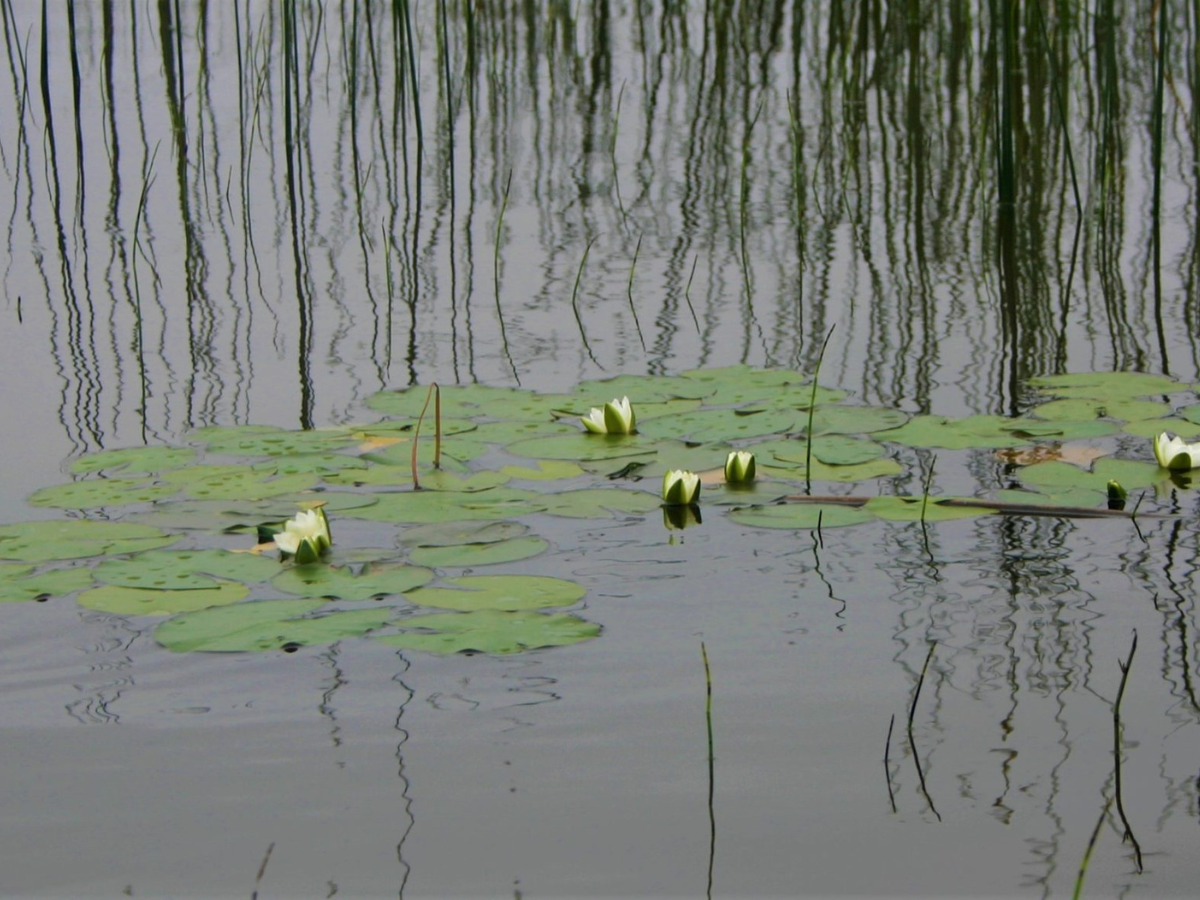
In addition to hiking the trails there, I travelled by boat down the Reed River with two Indigenous guides. I was looking for rare plants that grow on shorelines. Alas, they were not there. Due to the heavy snow and rain this year, the water level was higher than my guides had ever seen in their lives. The water extended right into the forest, killing some of the waterlogged trees and flooding once productive beds of Wild Rice (Zizania palustris).
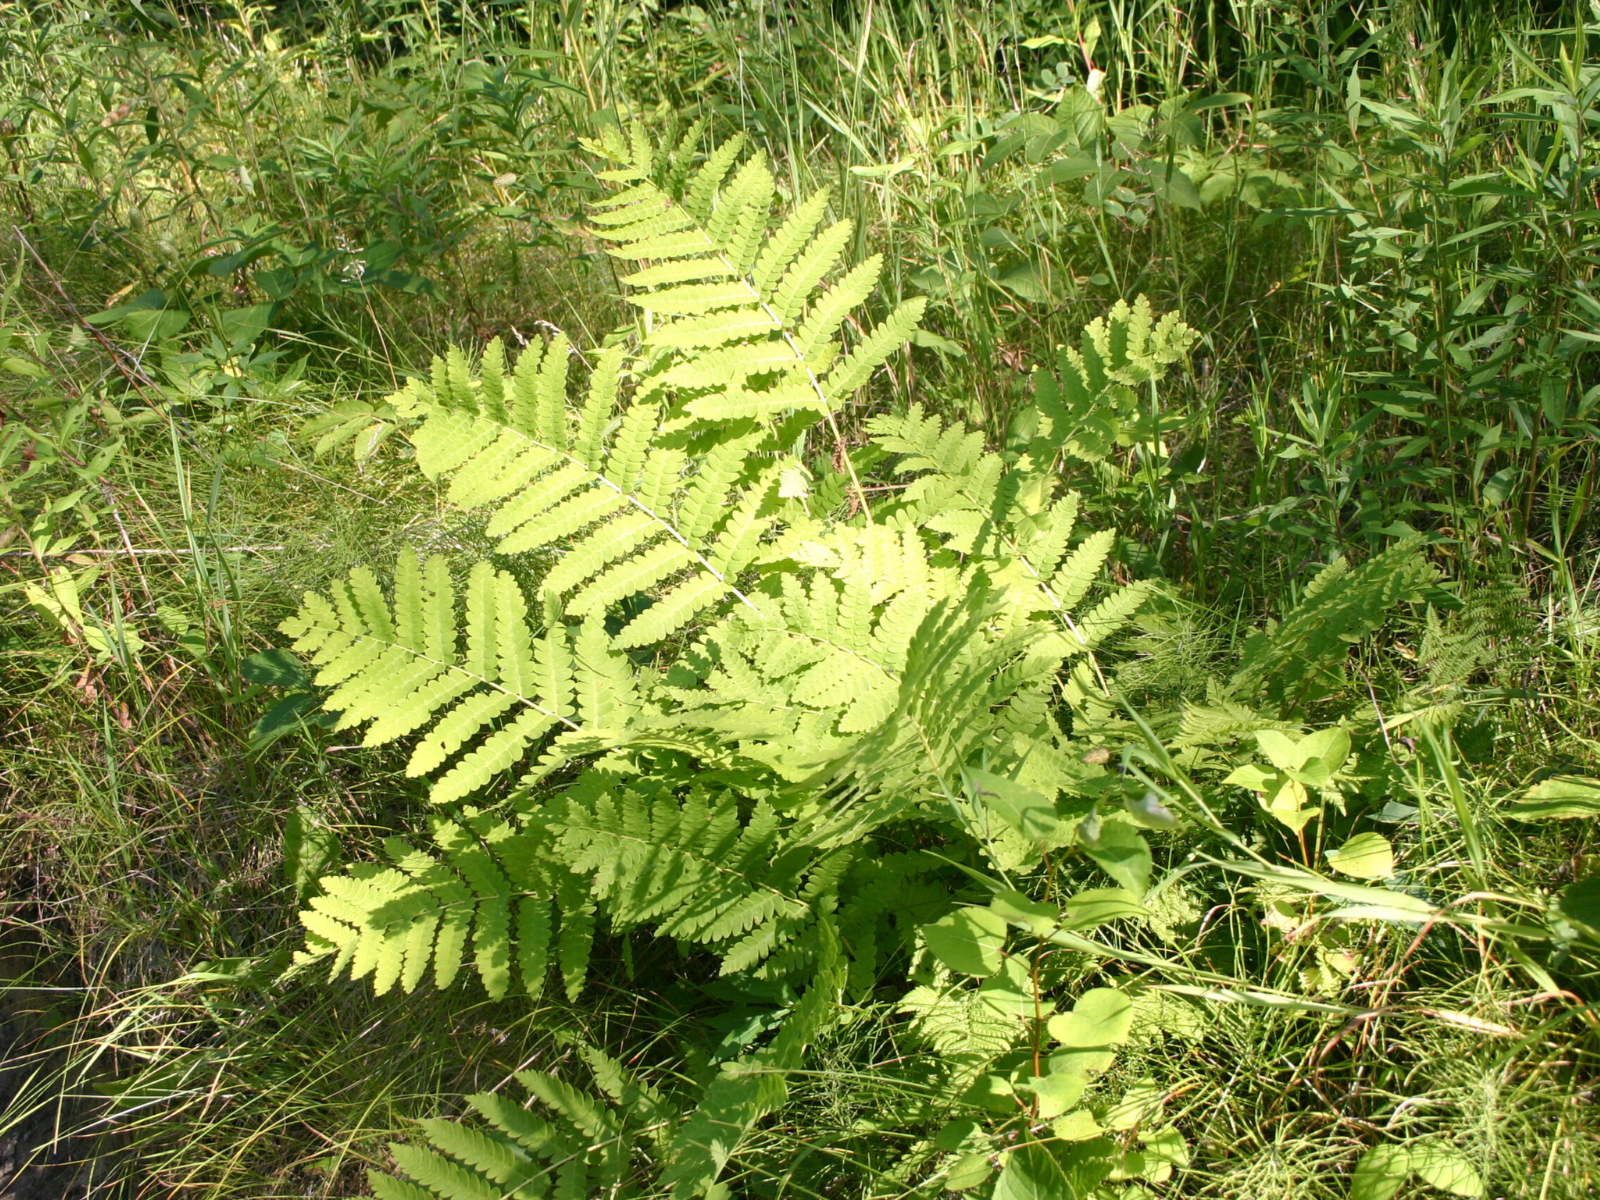
Interrupted Fern (Osmunda claytoniana) only grows in the southeastern part of the province. © Manitoba Museum
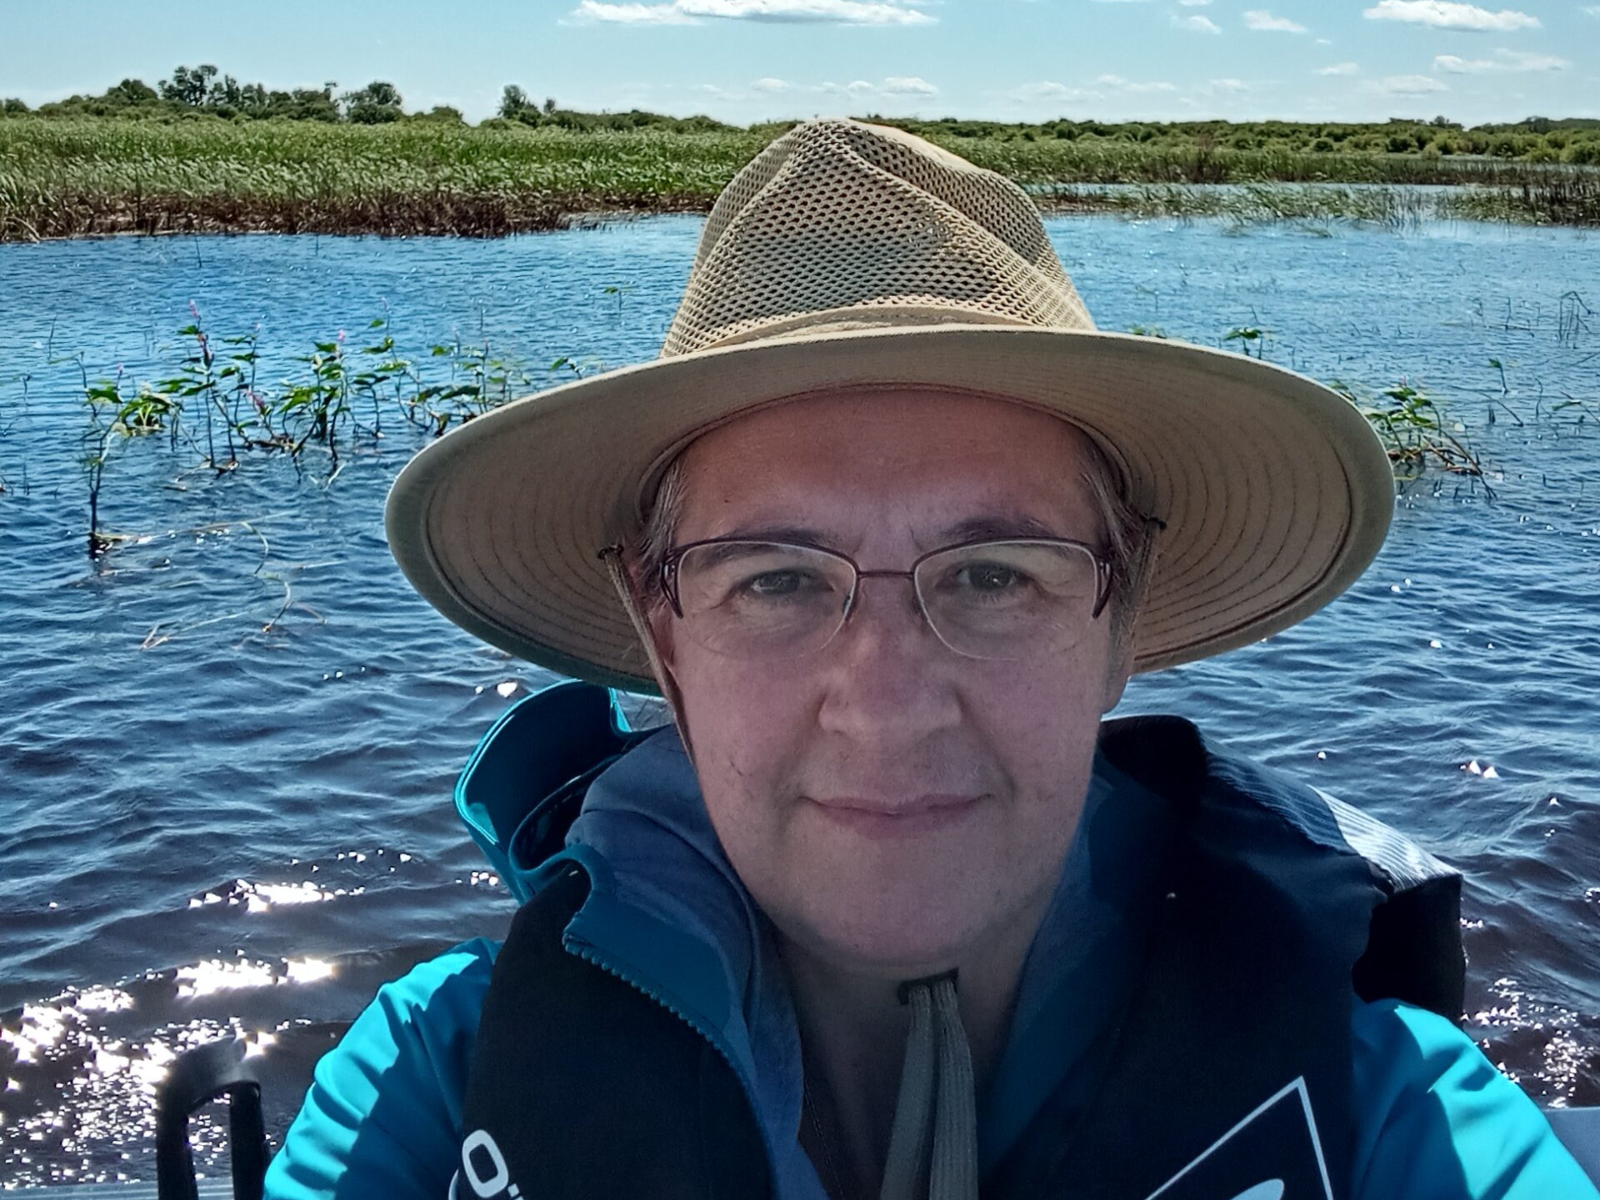
I went by motor boat to the pristine Reed River to look for rare plants. © Manitoba Museum
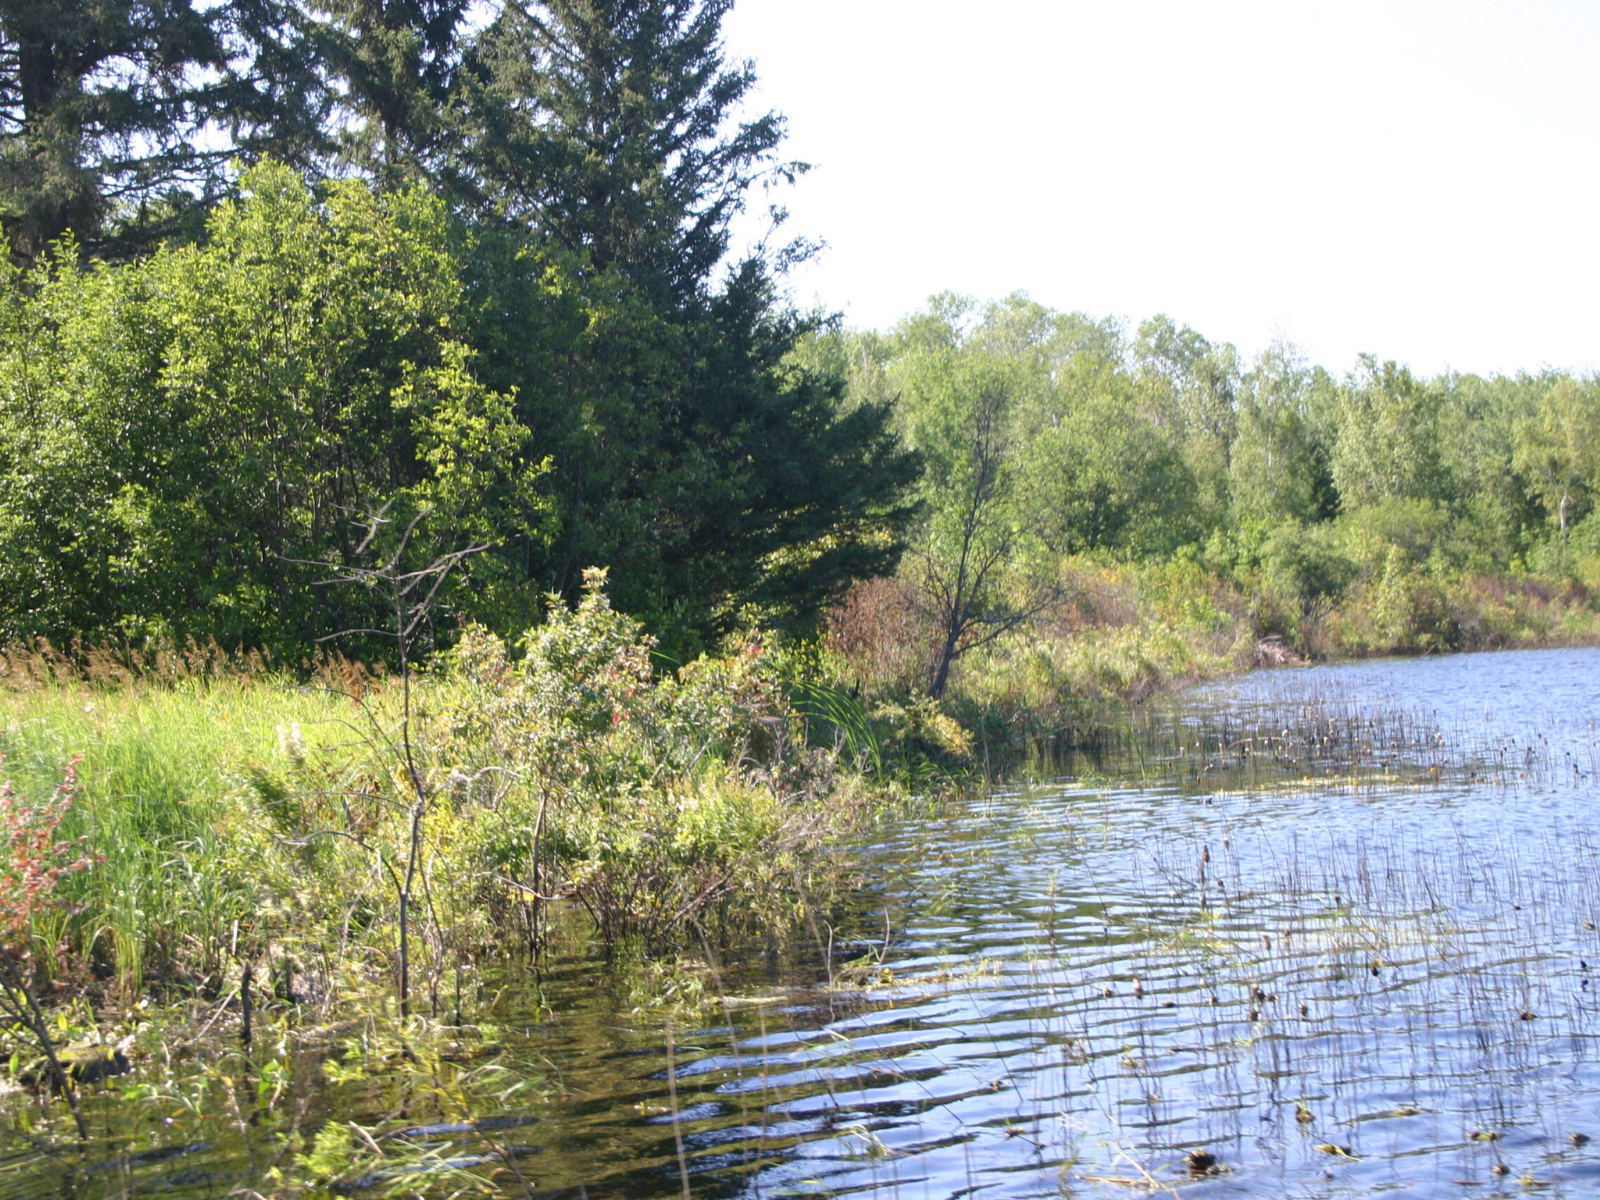
High water levels in the Reed River flooded areas where beds of Wild Rice (Zizania palustris) used to grow. © Manitoba Museum
To the North
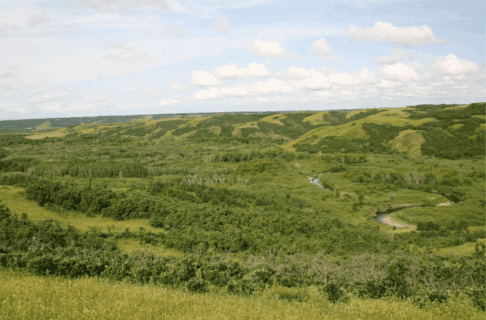
A week later, I was on a plane to Churchill to search for rare plants in that part of the province. Once again, I visited a river that was swollen beyond its usual level: the Churchill River. My Indigenous guide commented that the normal shoreline vegetation was completely covered by water. But it wasn’t just the river vegetation that was being impacted, either.
Another Indigenous person I met told me that her 70-year old grandfather had witnessed huge changes in the tundra around Churchill in his lifetime. Tall shrubs, like Silver Willow (Salix candida), were much less common in the past. These tall species are now increasing in abundance, as they can out-compete the short, tundra vegetation when temperatures are warmer (Mekonnen, 2021). With continued warming, this “shrubification” will likely continue, completely changing the plant communities in the far north.
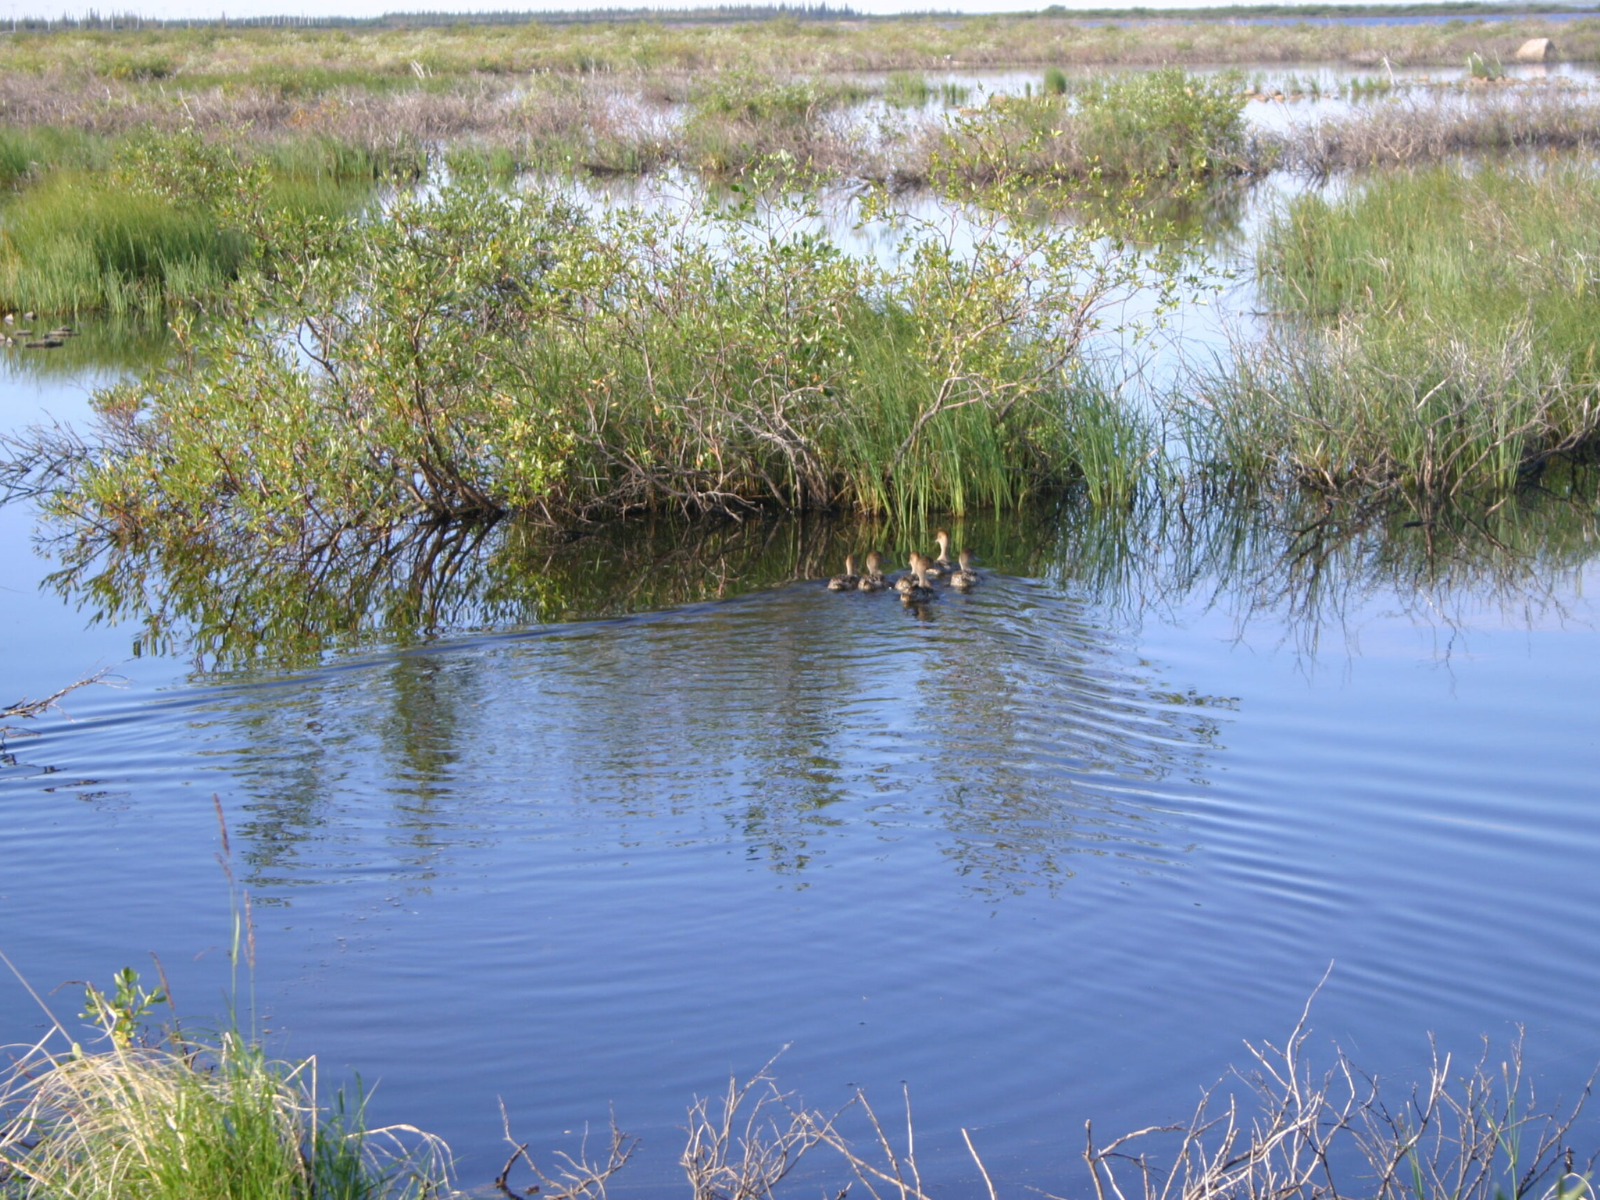
Vegetation along the Churchill River was flooded in 2022. © Manitoba Museum
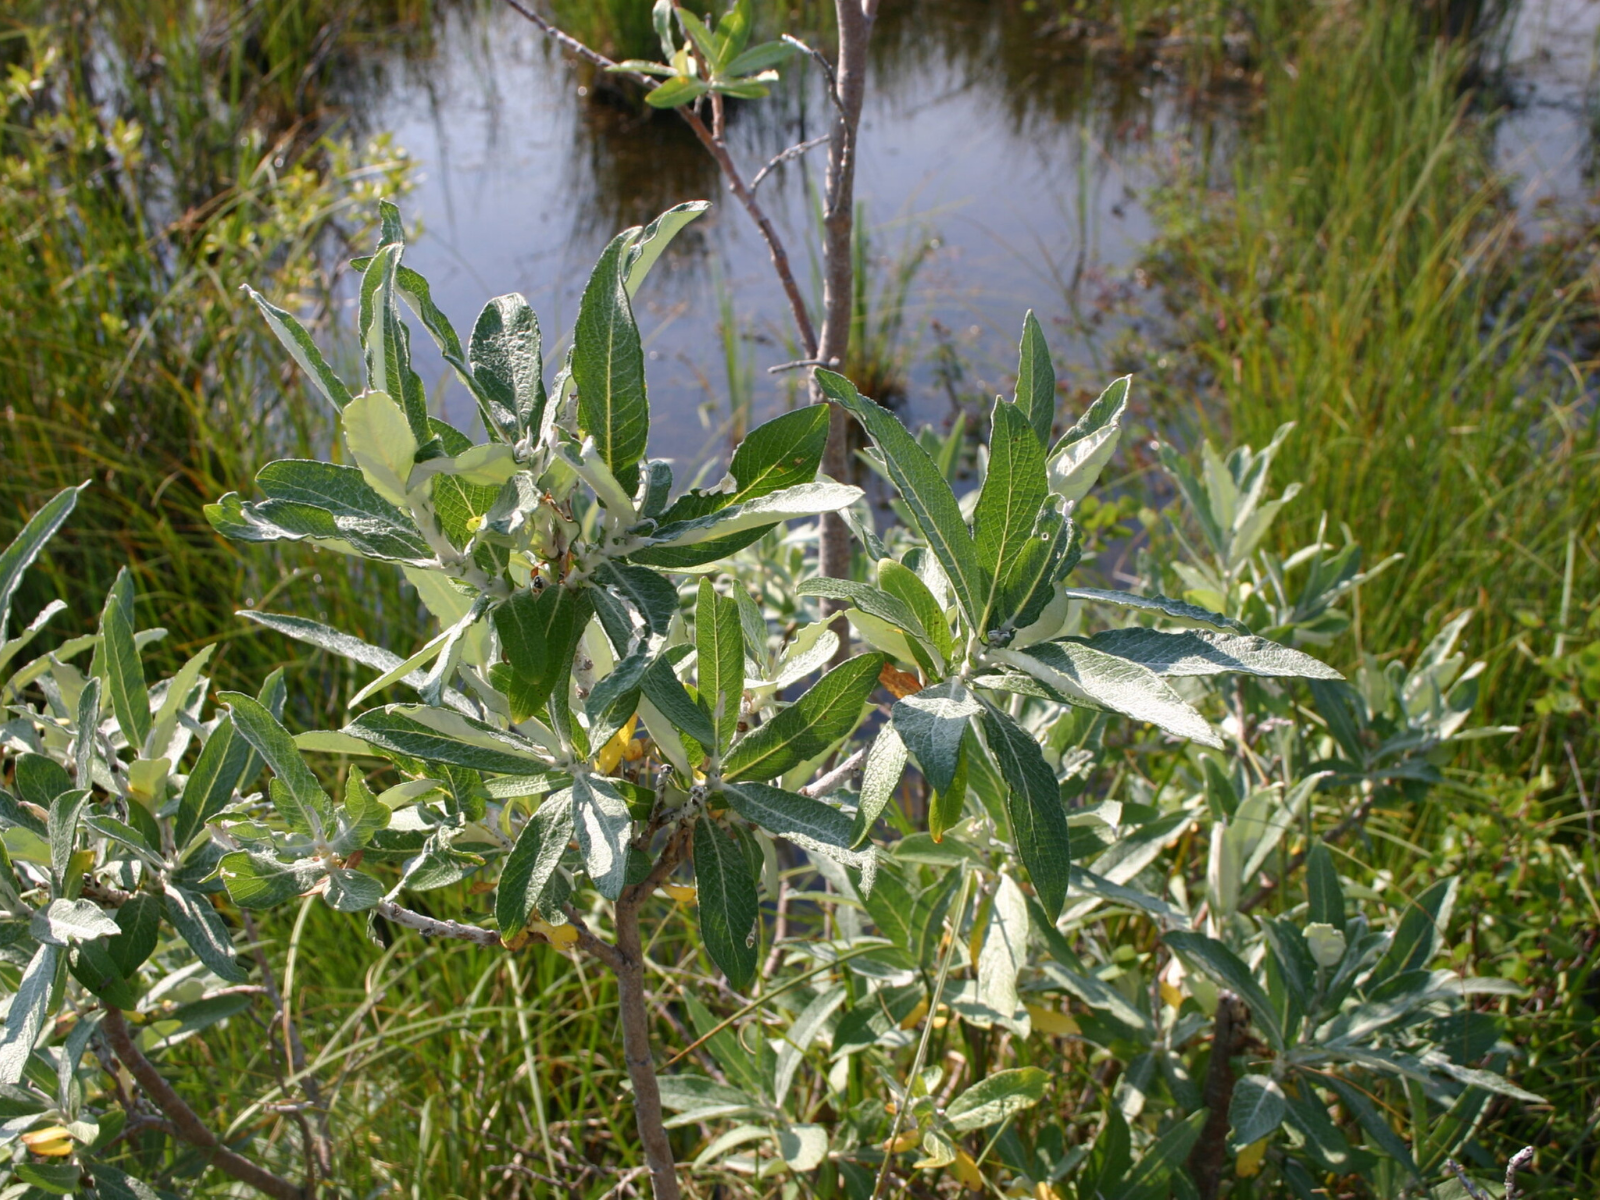
Silver Willow (Salix candida) and other tall shrubs are encroaching on the tundra. © Manitoba Museum
Climate Change Consequences
I reflected that droughts and higher air temperatures are not the only consequences of adding greenhouse gases into the atmosphere. Warm air holds more water than colder air, paving the way for unusually heavy snowfalls and torrential downpours (Konapala et al., 2020; Willett, 2020). Fewer natural wetlands in Manitoba’s south means that much of that moisture flows quickly into our rivers, causing floods, instead of being stored on the landscape. The huge Great Hay Marsh (southwest of Winnipeg), which used to cover an astonishing 194 km2, was completely drained in the early 1900’s, and no longer exists (Hanuta, 2001). Its water storage and filtration functions, which might have helped build resiliency to climate change, are now unavailable.
This summer was a stark reminder that the consequences of humanity’s behavior reverberates in the remotest areas of the globe. We have the ability to alter the ecosystems of the world, for good or ill. Protecting and restoring ecosystems, like wetlands, is just one way to help humanity weather the changes that are ahead.
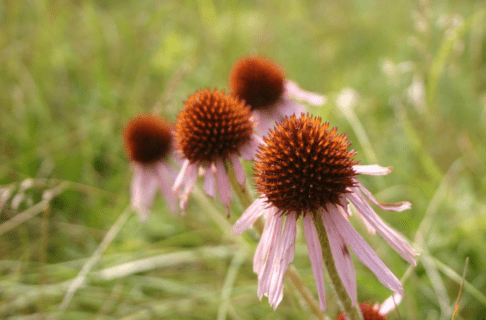
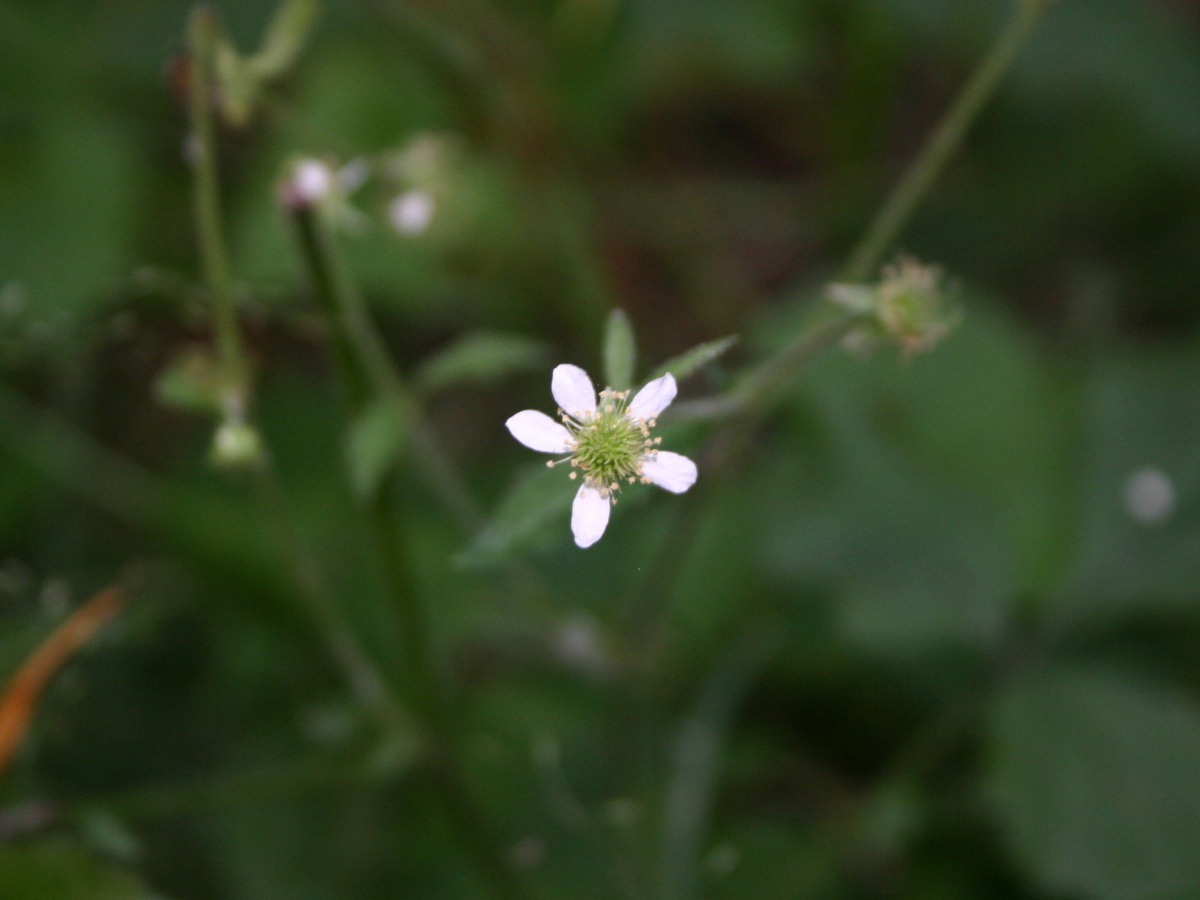
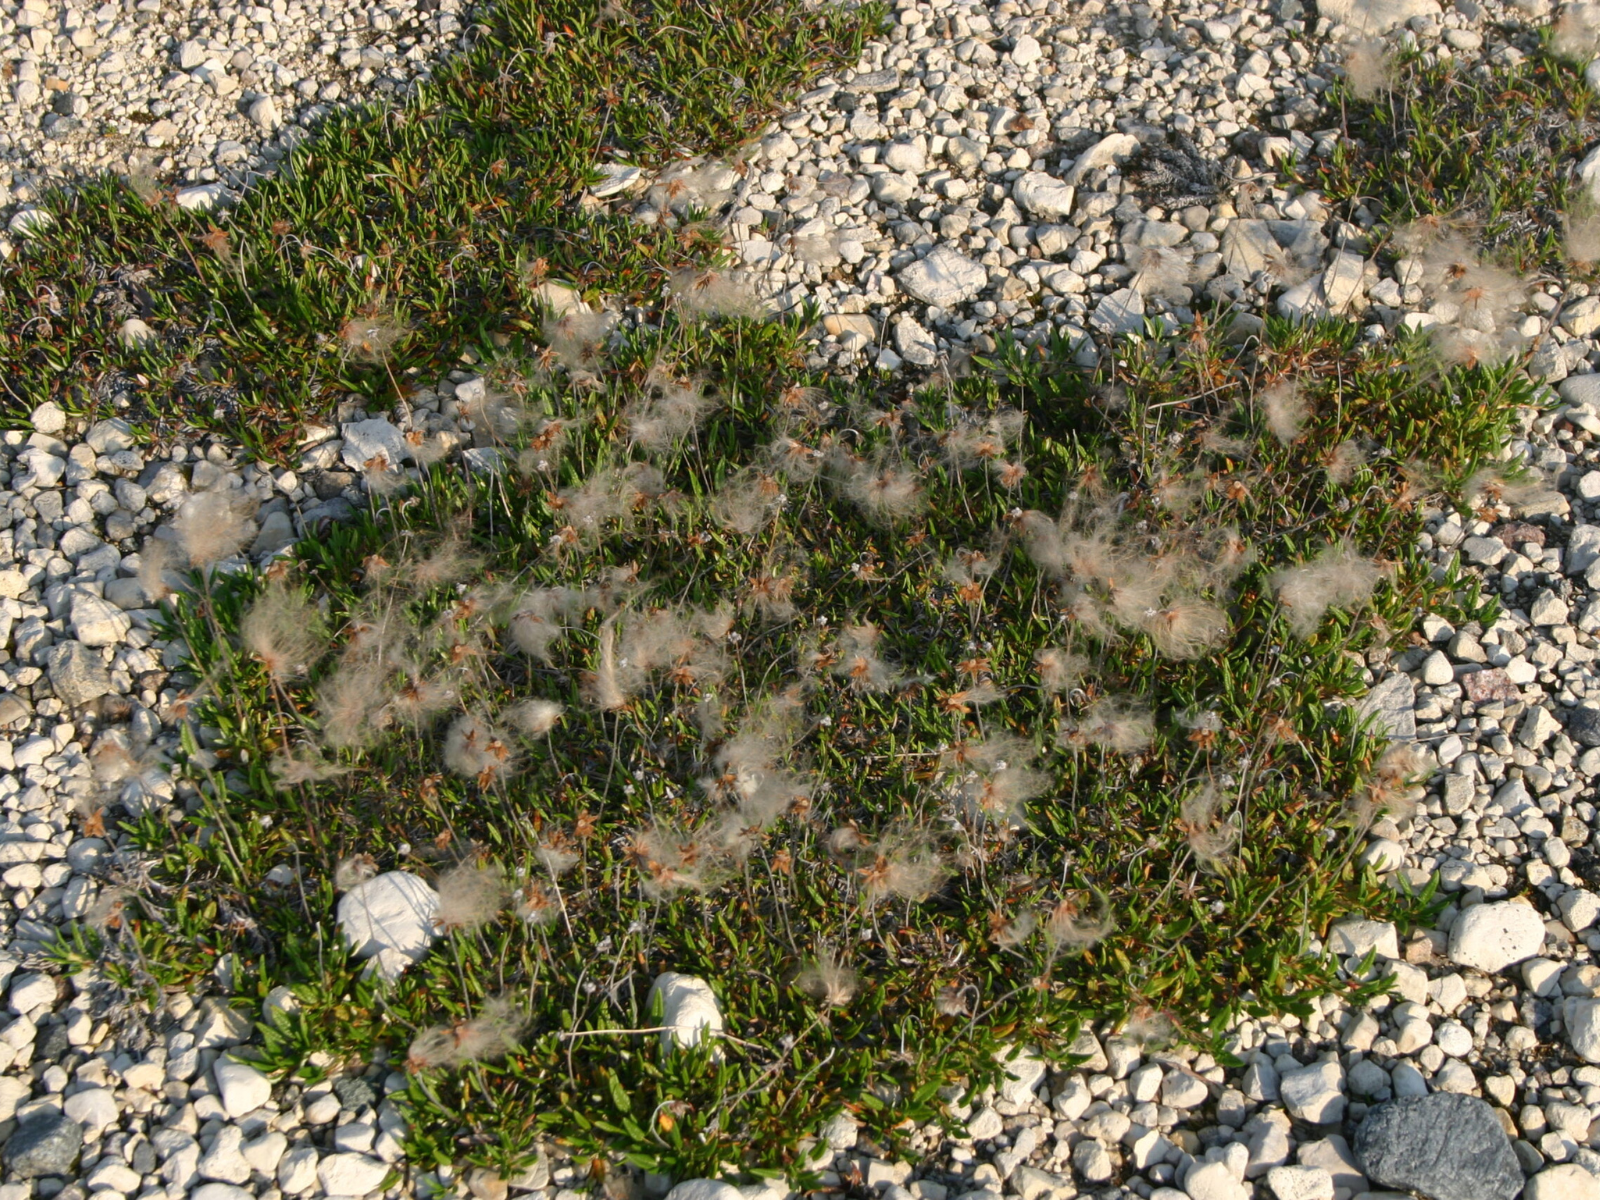
Short, tundra plants like White Mountain Avens (Dryas integrifolia), shown above in fruit, may become rare in Manitoba, as climate change increases arctic temperatures and thaws permafrost. © Manitoba Museum
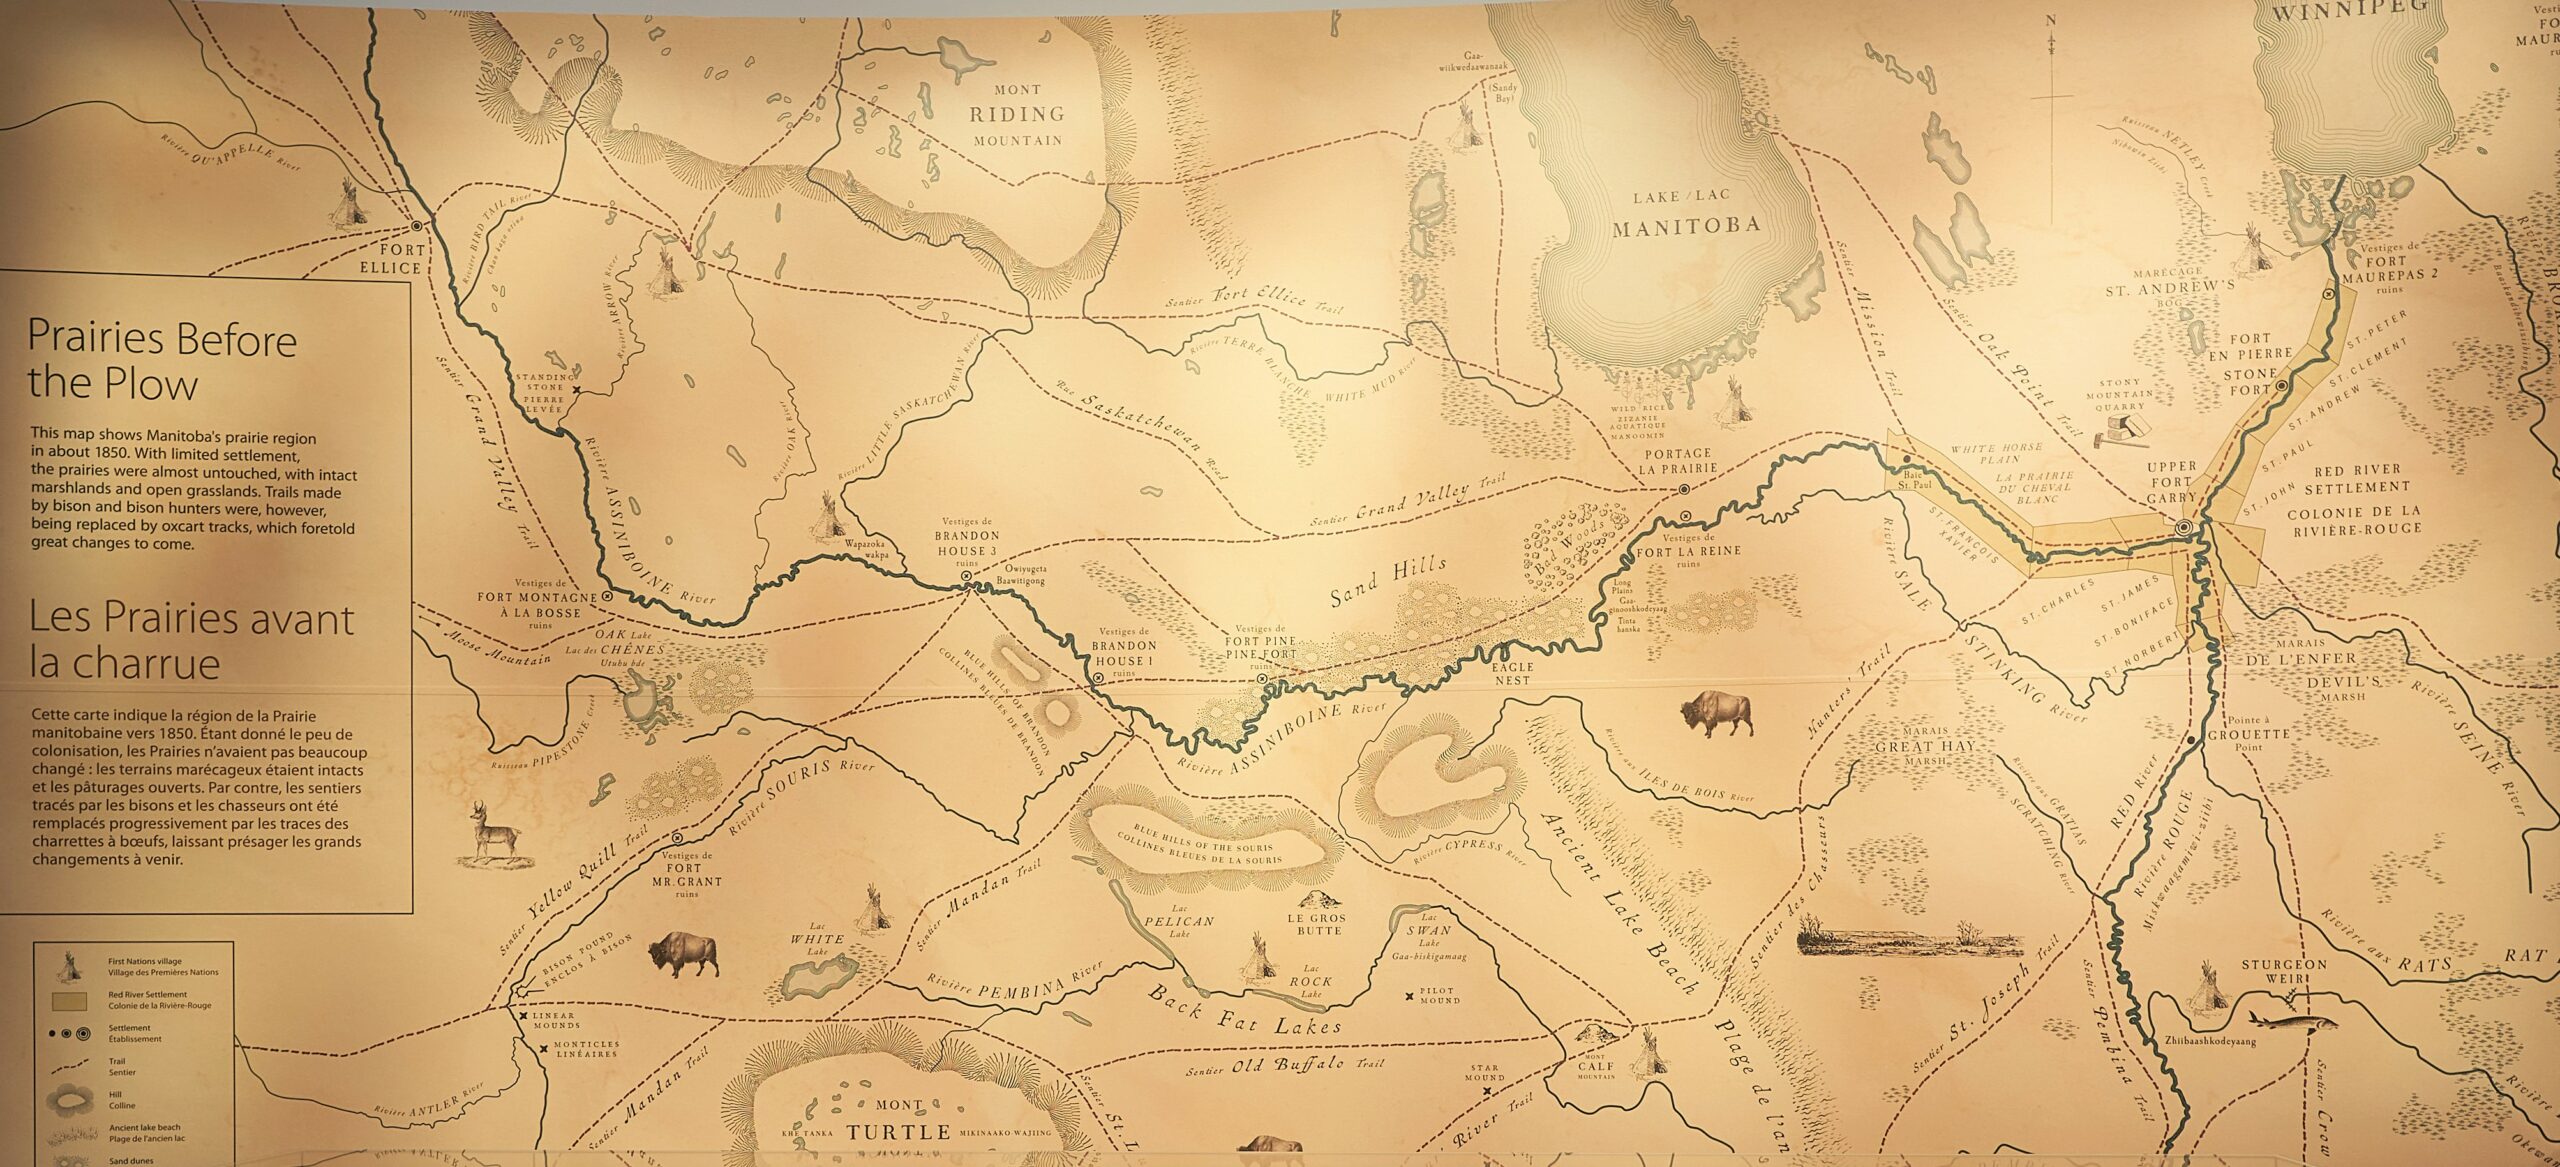
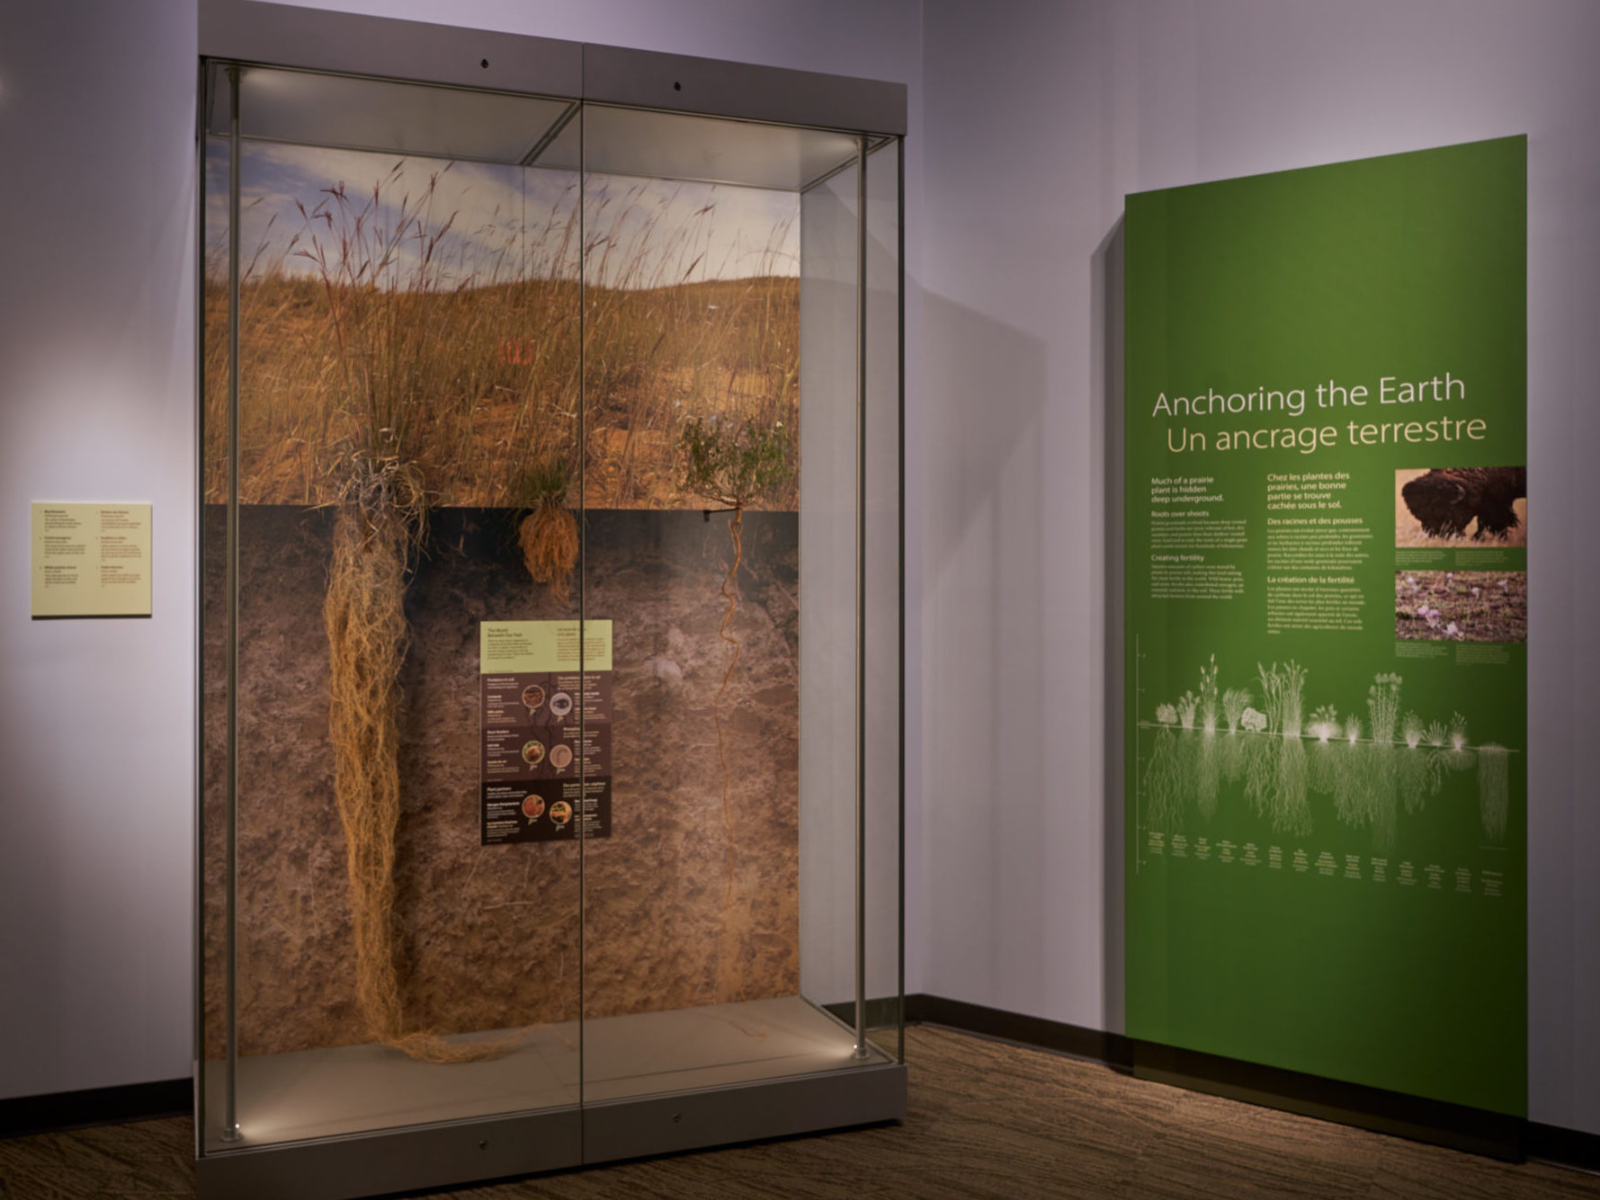
The new map in the Museum’s Prairies Gallery shows the location of now extinct wetlands like the Great Hay Marsh. © Manitoba Museum