
Over the past two years, the COVID-19 pandemic has played a central, and disruptive role in all our lives. In the coming decades will COVID become a significant cultural memory, or will we begin to suffer from historic amnesia? Terabytes of information may be deposited in archives around the world. For museums, even ordinary artifacts will become powerful tools to engage visitors.
At the Manitoba Museum, there were no artifacts with which we could relate the story of the influenza pandemic of a century ago. Museums around the world saw the need to begin collecting today for tomorrow. A call was put out for objects that would help mark this event from the Manitoba perspective. To date, over 70 Manitobans have responded to the call.
Over the past months, as I have been integrating these objects and their stories into the permanent collections of the Manitoba Museum, I have been amazed by the breadth and variety of the items. Here’s an initial glimpse our growing COVID-19 collection.
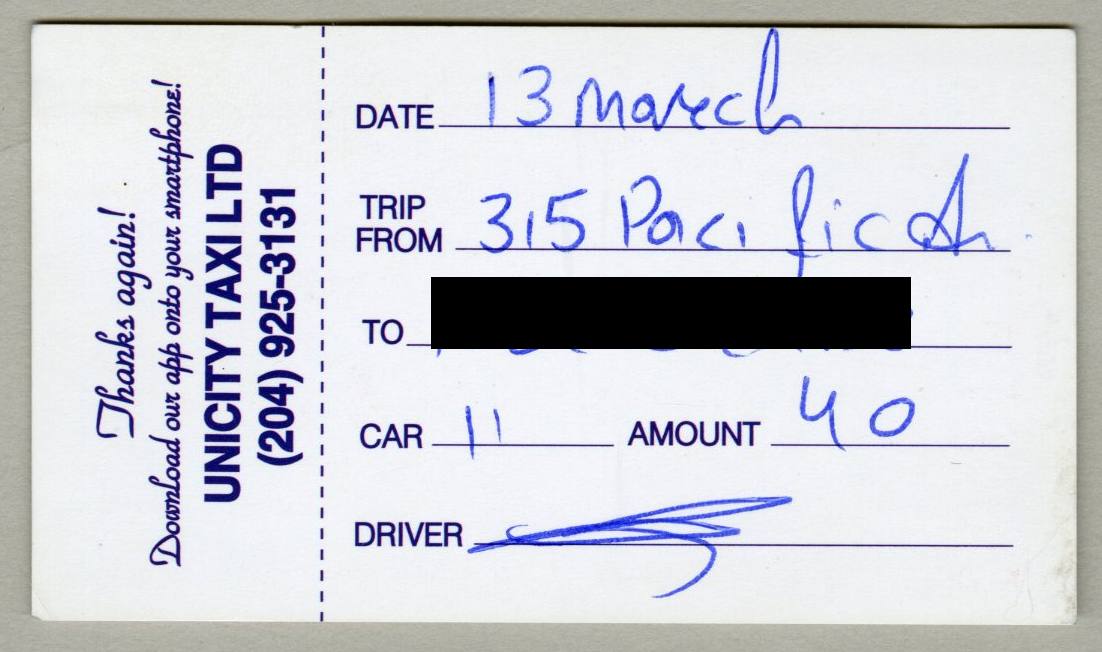
Can you pinpoint the moment that the pandemic became a reality in your life? Leslie Nakonechny’s employer offered to cover her taxi fare so that she could transport her desktop computer as she headed to work from home. Initially she thought the pandemic would blow over in a few weeks and that she could turn in her receipt once they were back to working on-site. As the lockdown continued the receipt became a memento in her wallet.
Image: © Manitoba Museum, H9-39-443
Manitoba’s volunteer spirit was evident early in the pandemic. Sewing machines were dusted off and used to create thousands of masks, gowns, and surgical caps to protect health care workers, friends, and family. We all strove to maintain a sense of community during the pandemic. Signs sprang up in windows, on fences, and along walking paths offering messages of encouragement.
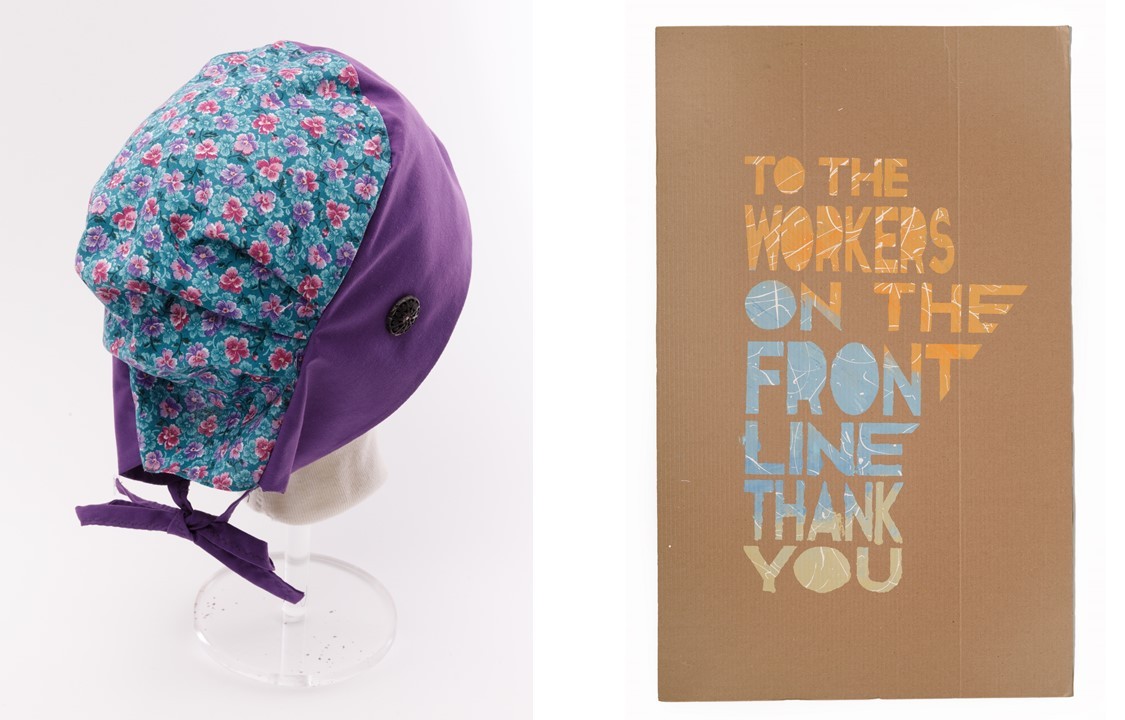
L: Surgical cap from Surgical Caps for Front Line Care Staff. Image: © Manitoba Museum, H9-39-730
R: Sign from Keith Moen, Judy Dyck, Leif & Ruby Moen. Image: © Manitoba Museum, H9-39-348
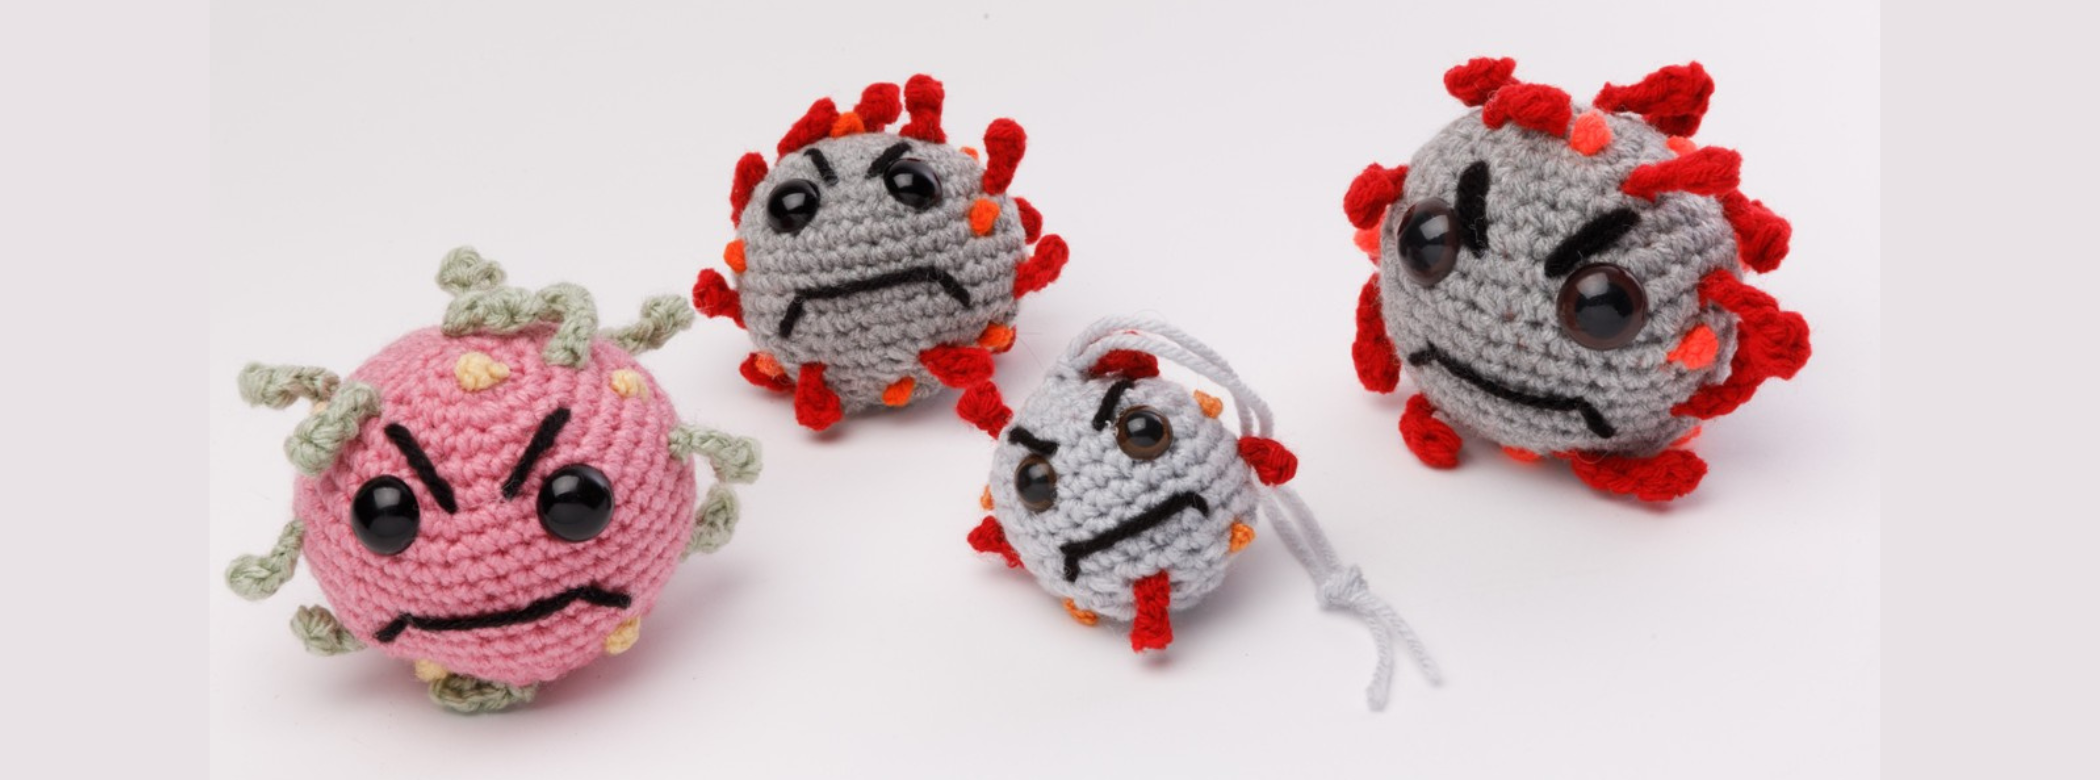
In early 2020, graphic images of a spiked ball began popping up in the media as stories circulated of a new, potentially dangerous virus. Soon the image was being used in inventive ways. The creativity of Manitobans is evident in many of the donations that use a wide variety of media.
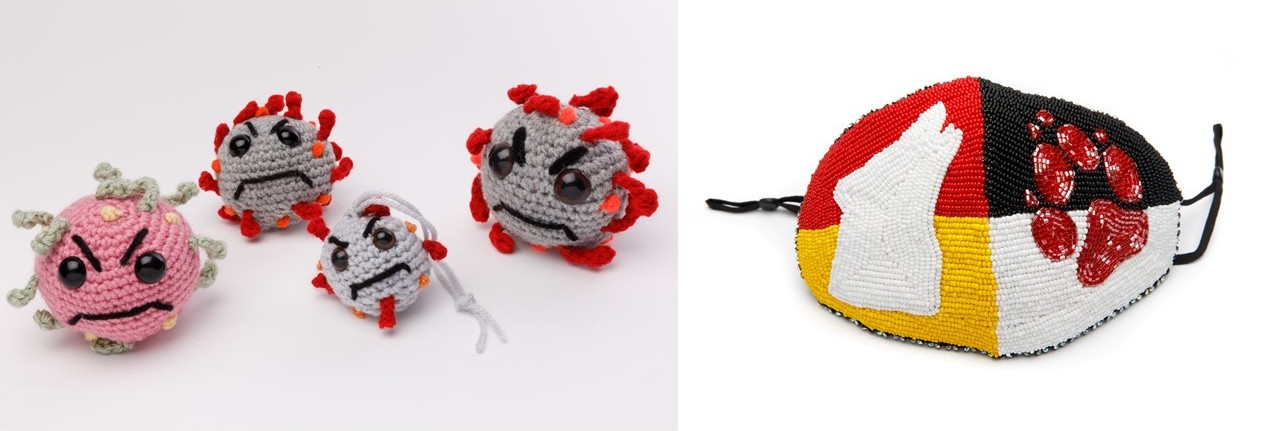
L: Crocheted COVID balls created by Karen Matthews. Image: © Manitoba Museum, H9-39-729
R: Beaded mask created by Kayla Eaglestick. Image: © Manitoba Museum, H4-2-621
The artists’ statements that accompany many of the pieces demonstrate how people seek solace in the arts in a time of disruption. Christen Rachul stamped his pottery with a tiny letter ‘Q’ for Quarantine. Gail Wence took up her embroidery needle, Jacqueline Trudeau her paint brush, and Laurie Fischer returned to writing poetry.
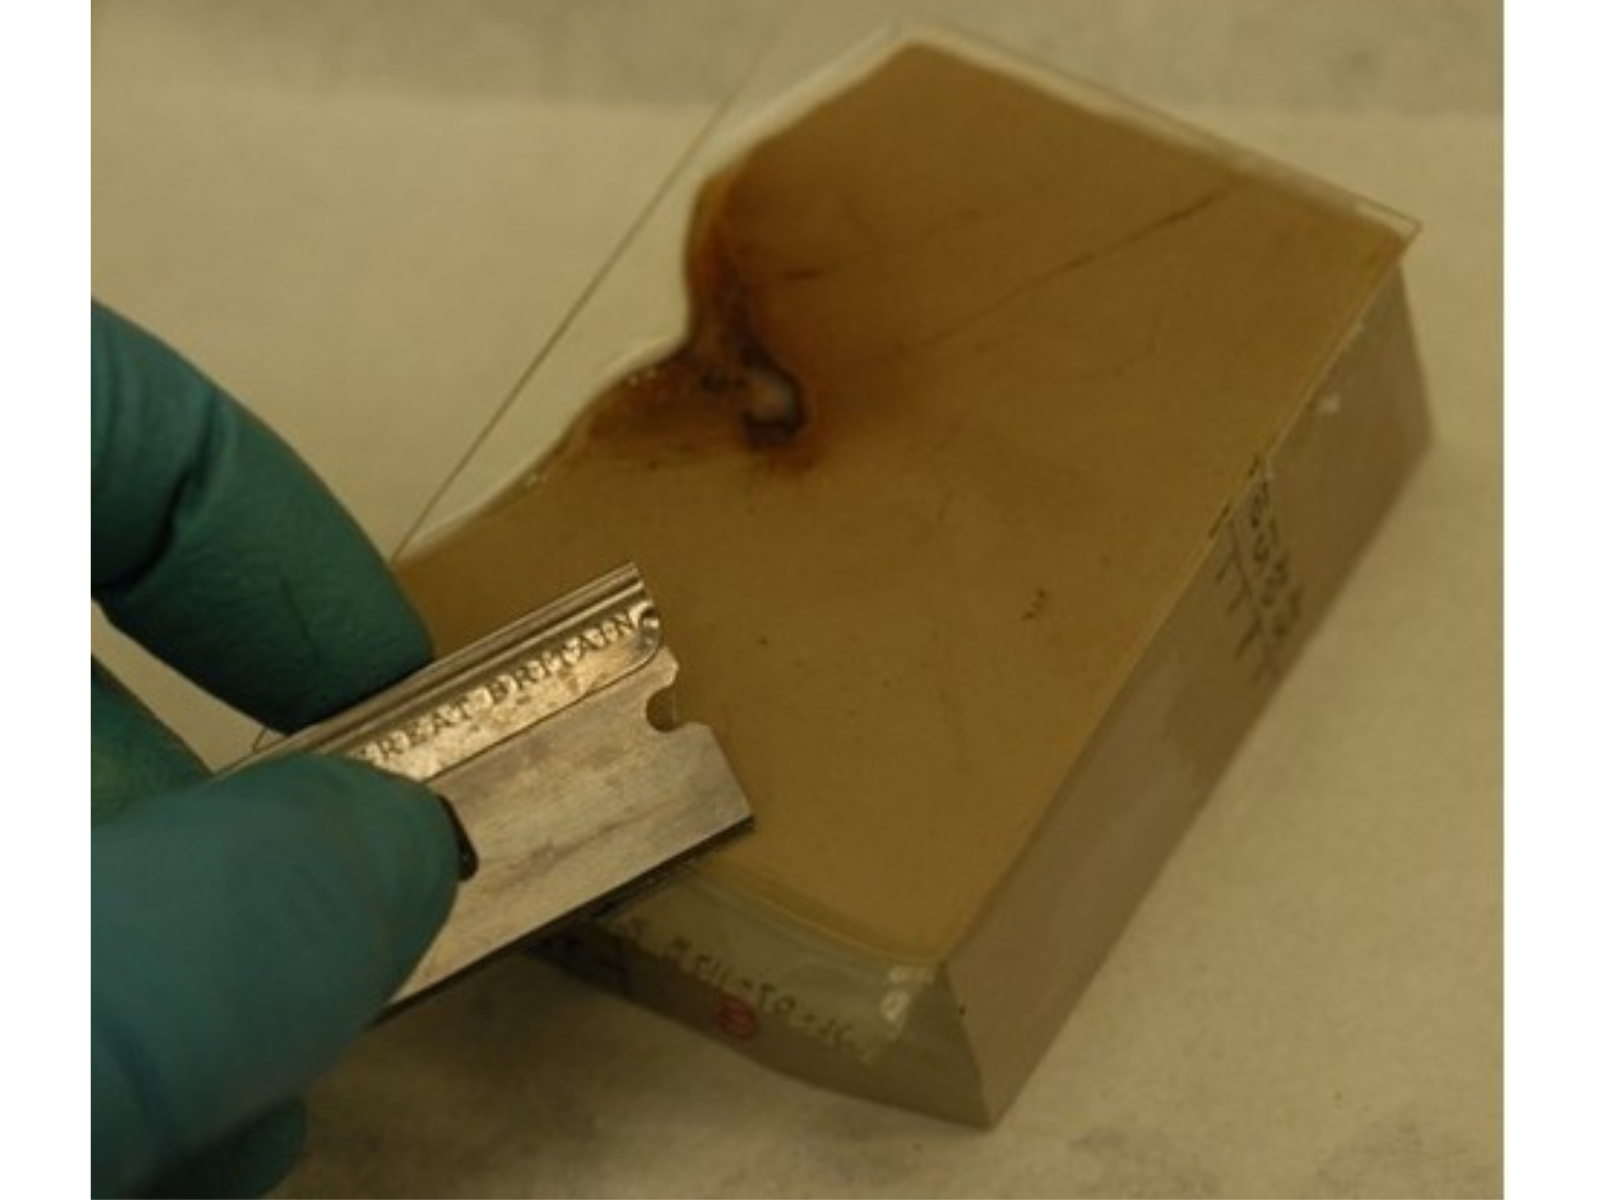
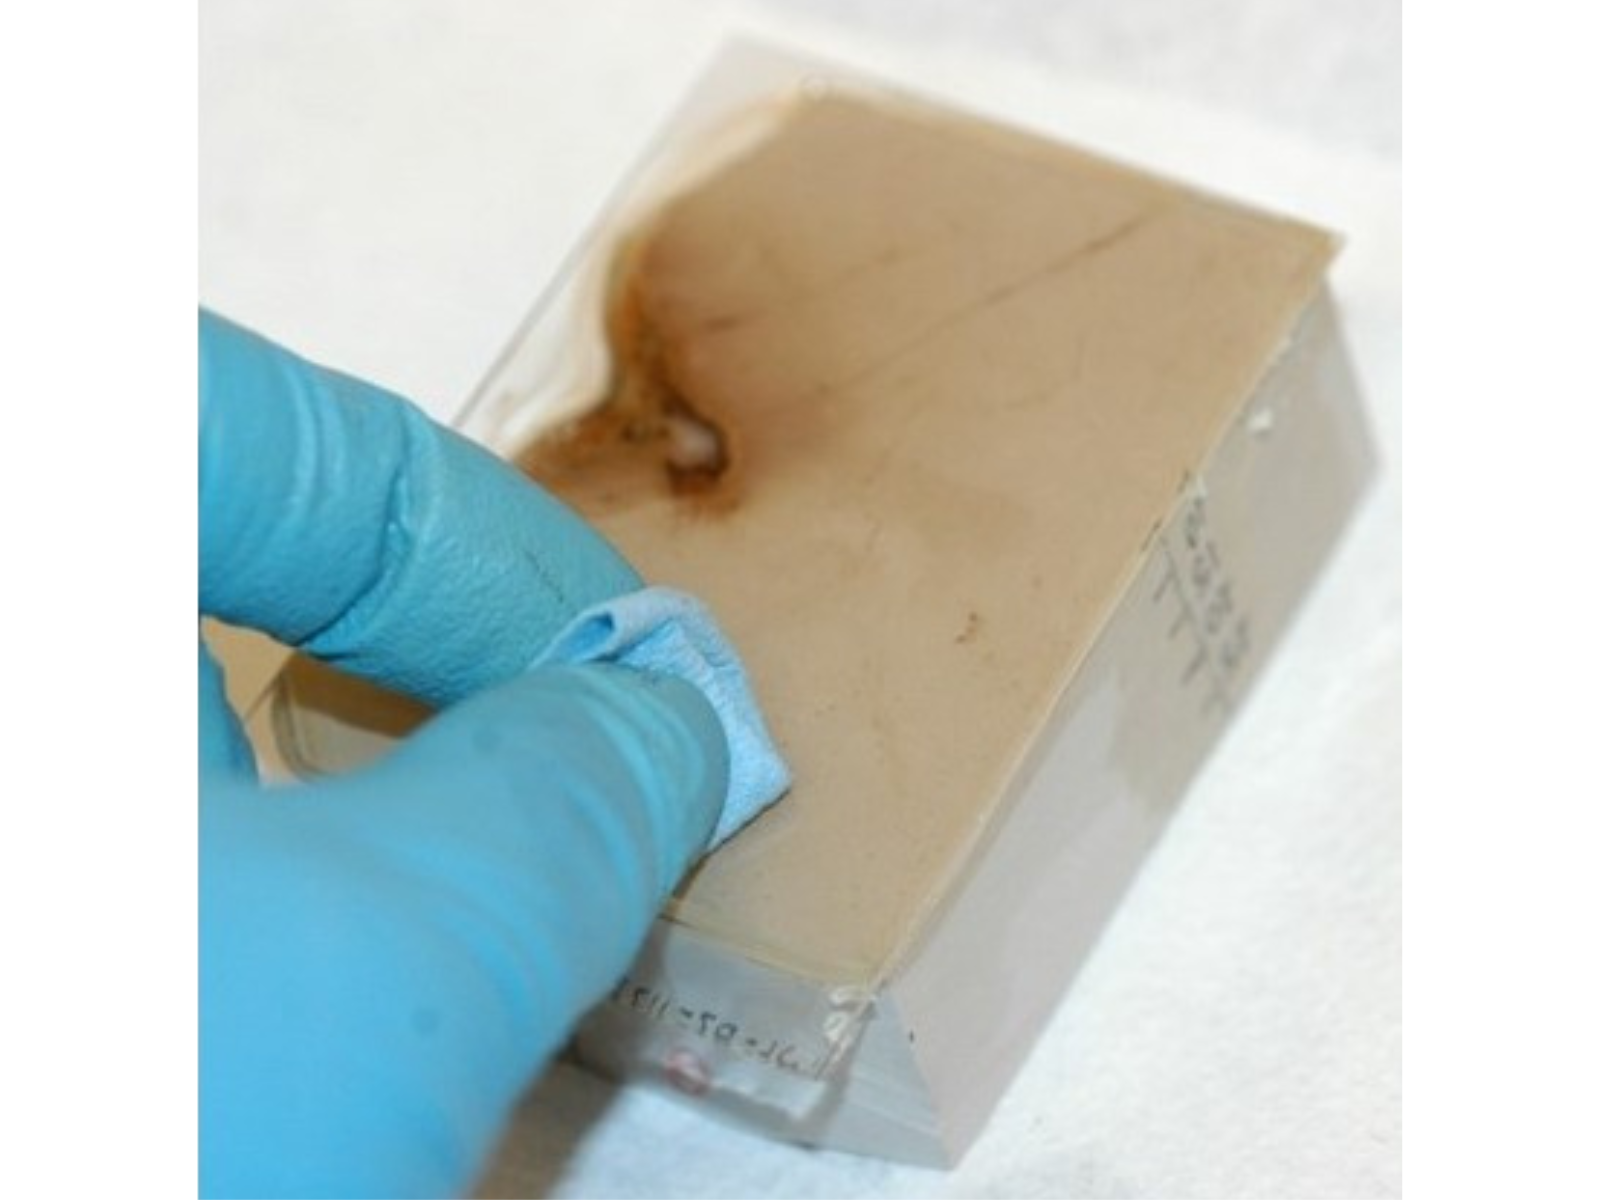
New phrases were added to our everyday vocabulary like “social distancing”, “essential workers”, “lockdown”, “pivot”, and “supply-chain”. The impact on the business community is still significant. Remember hunting for toilet paper?
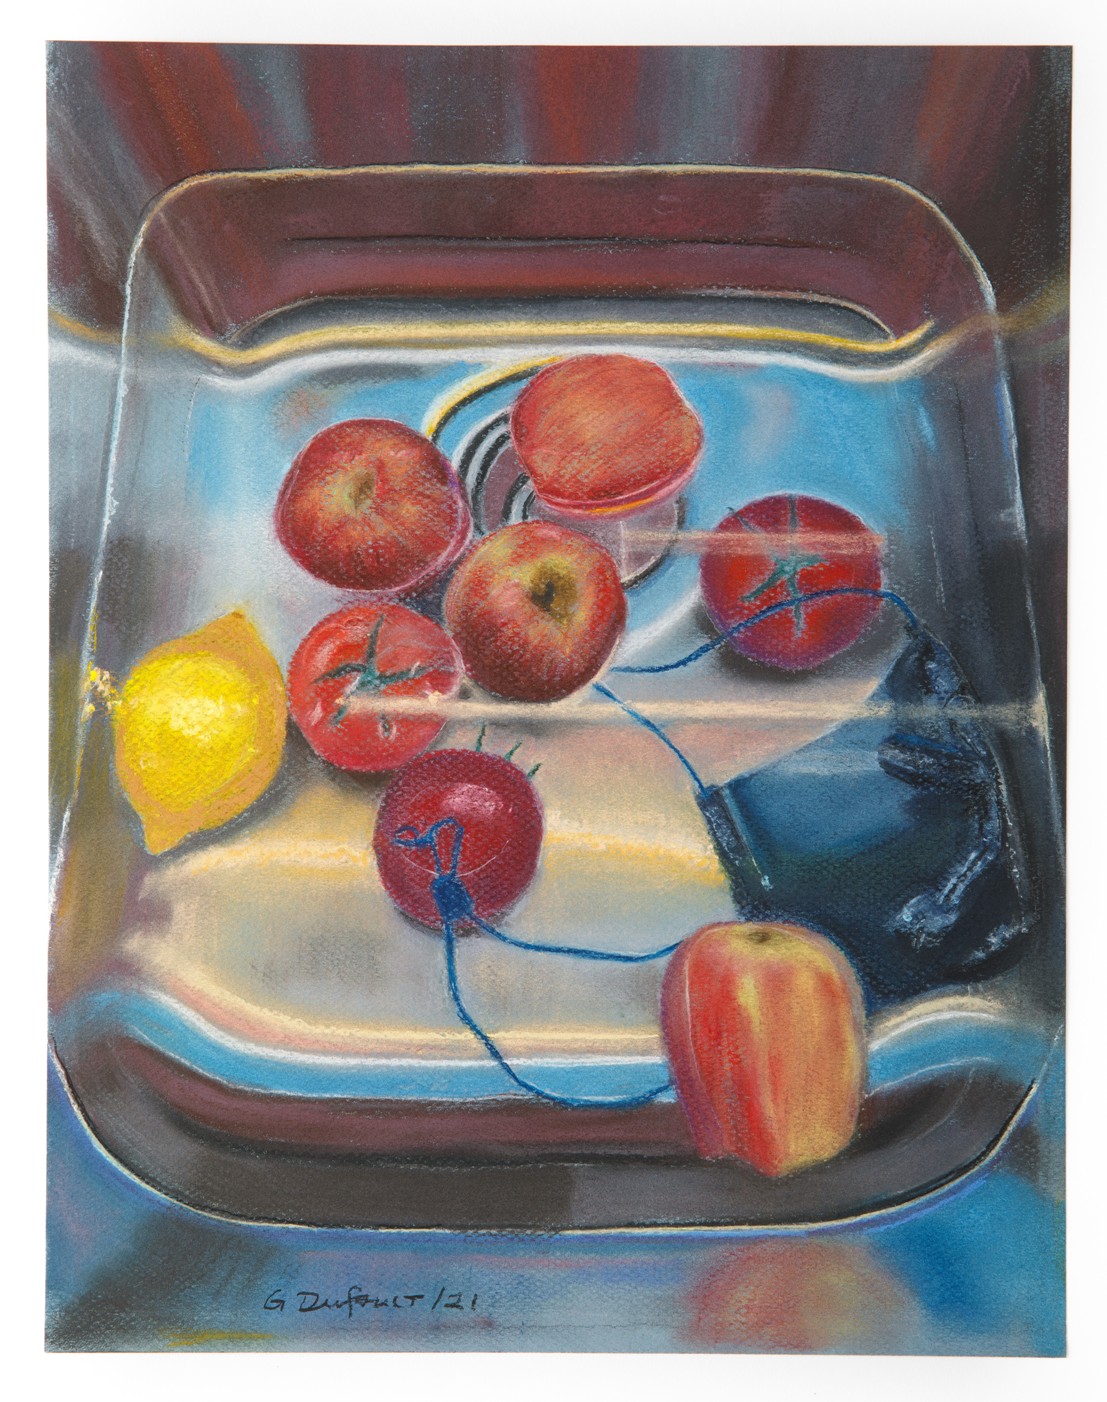
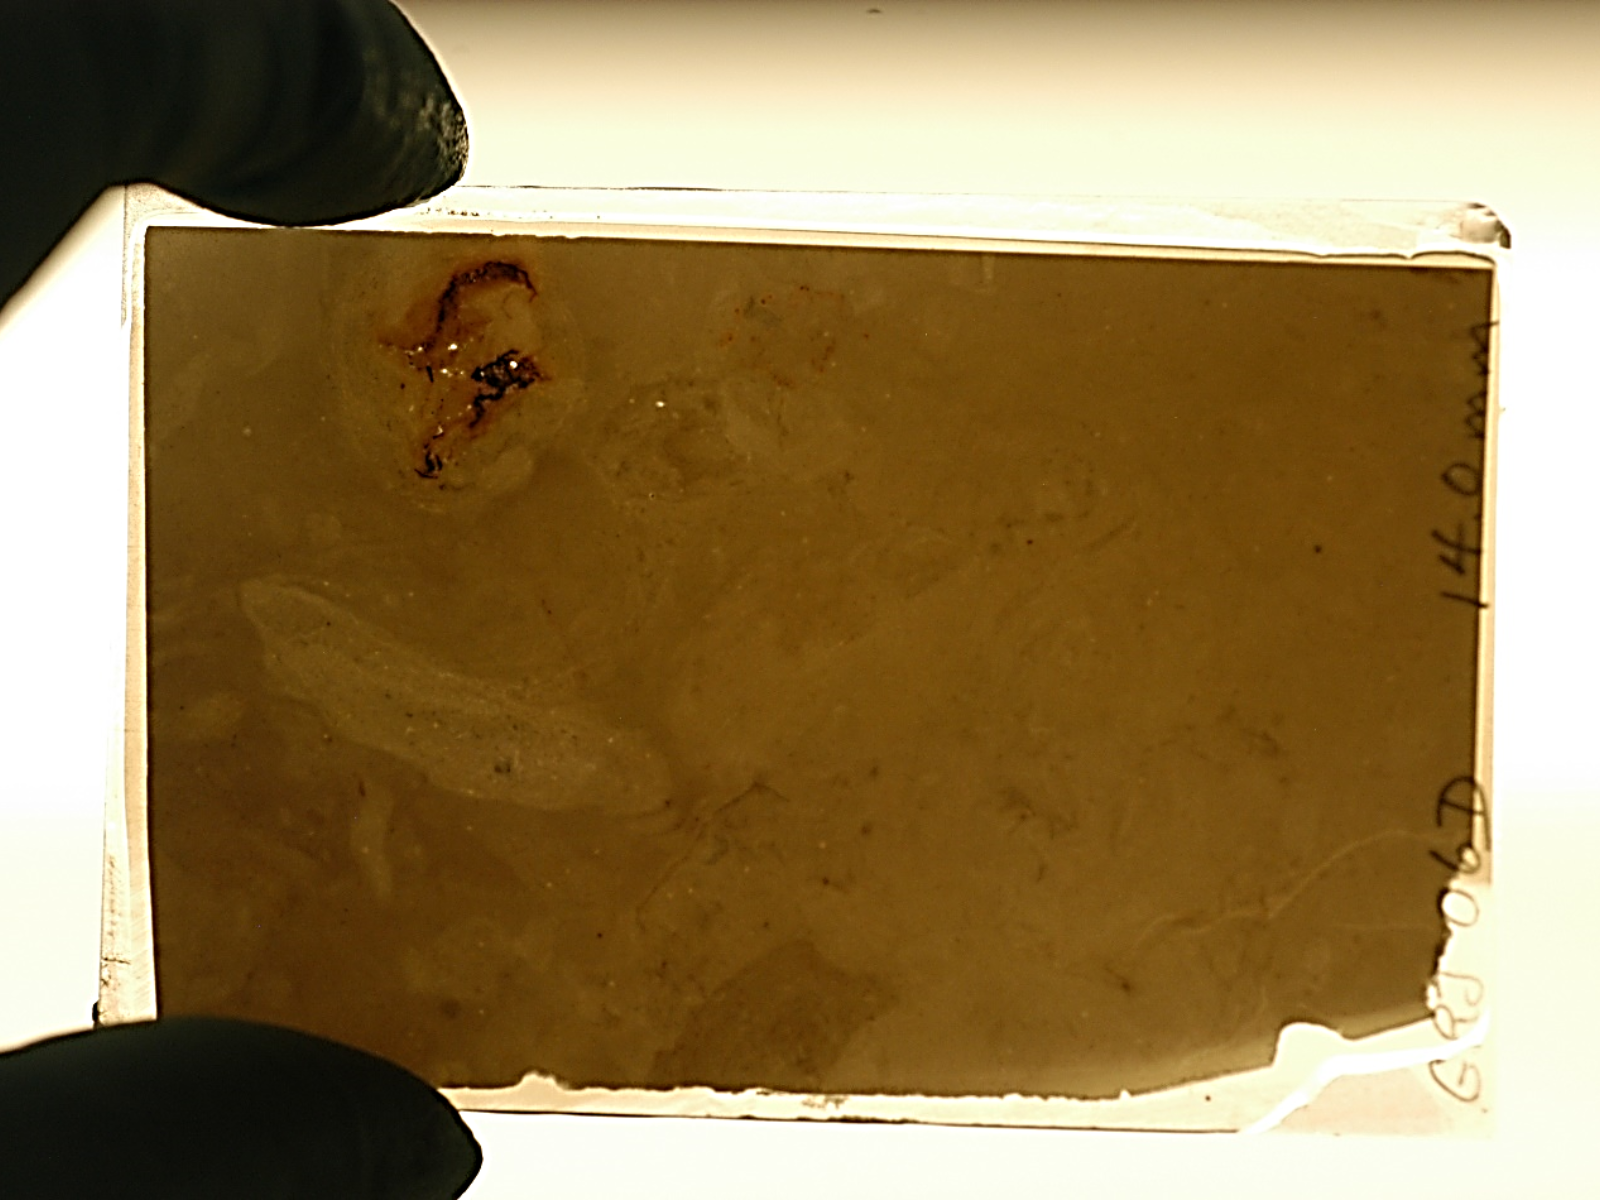
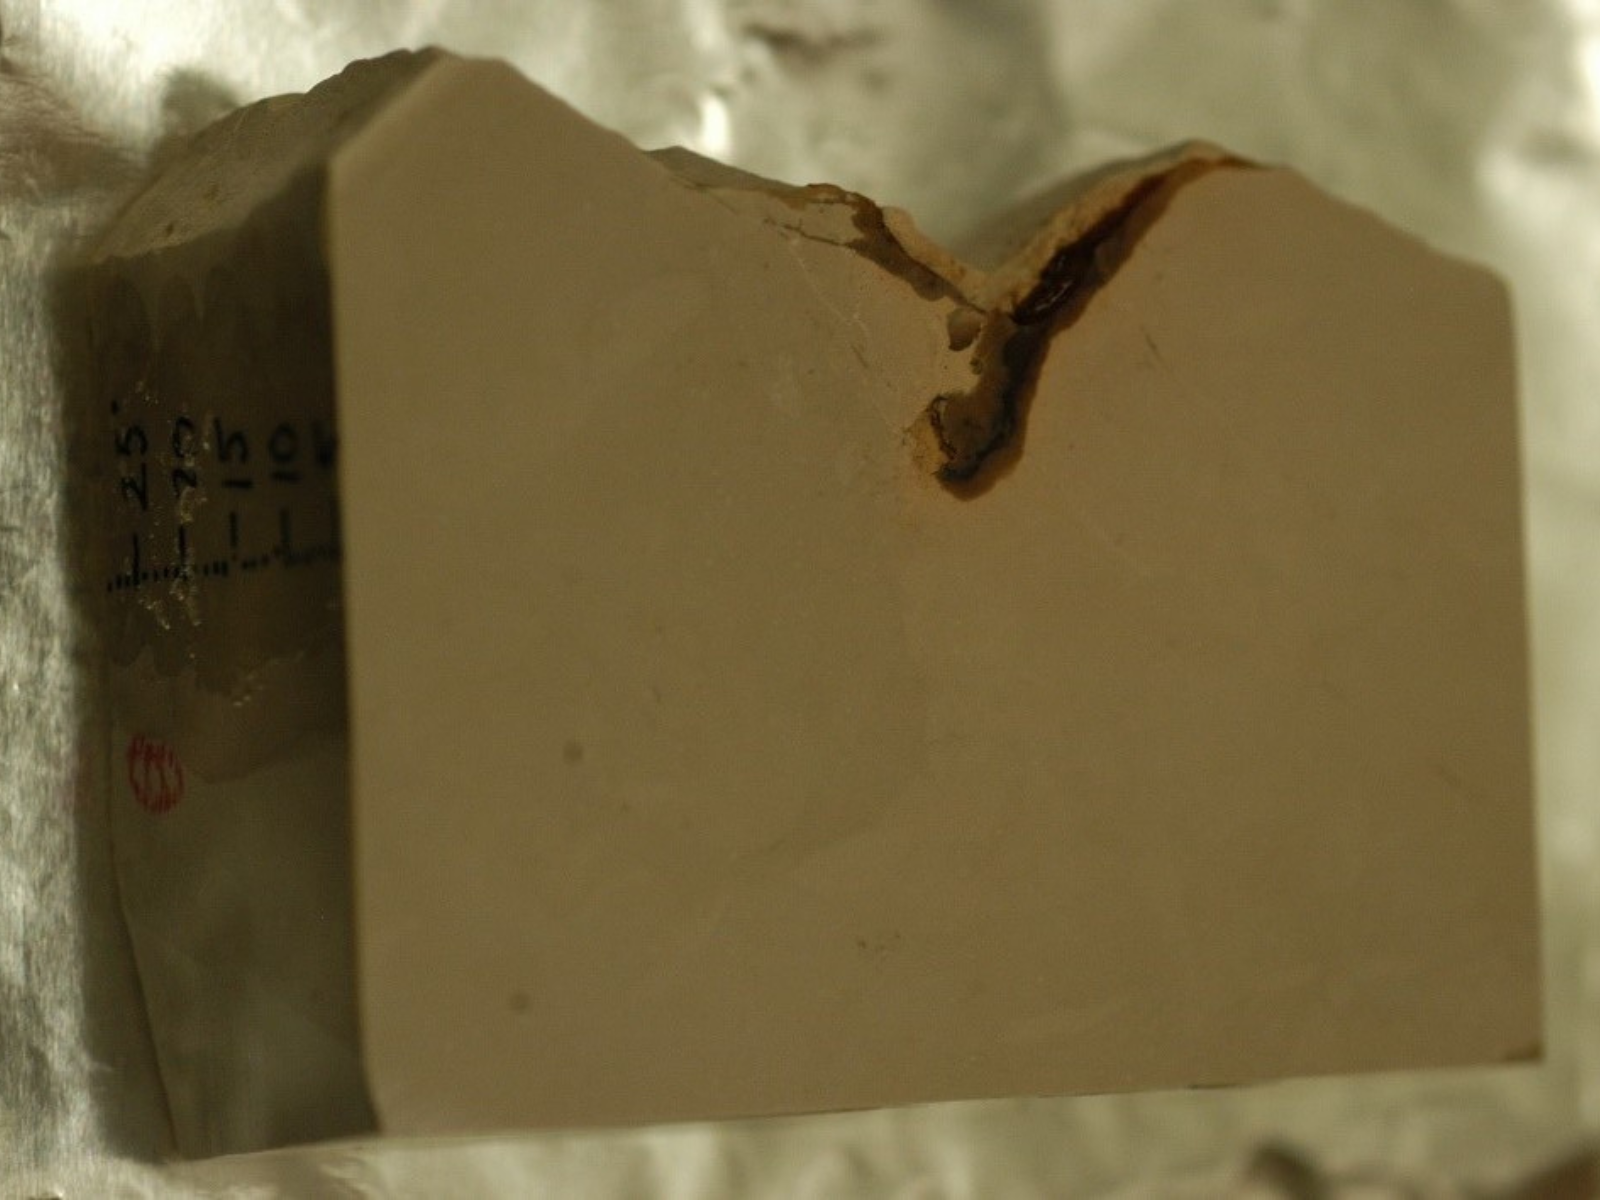
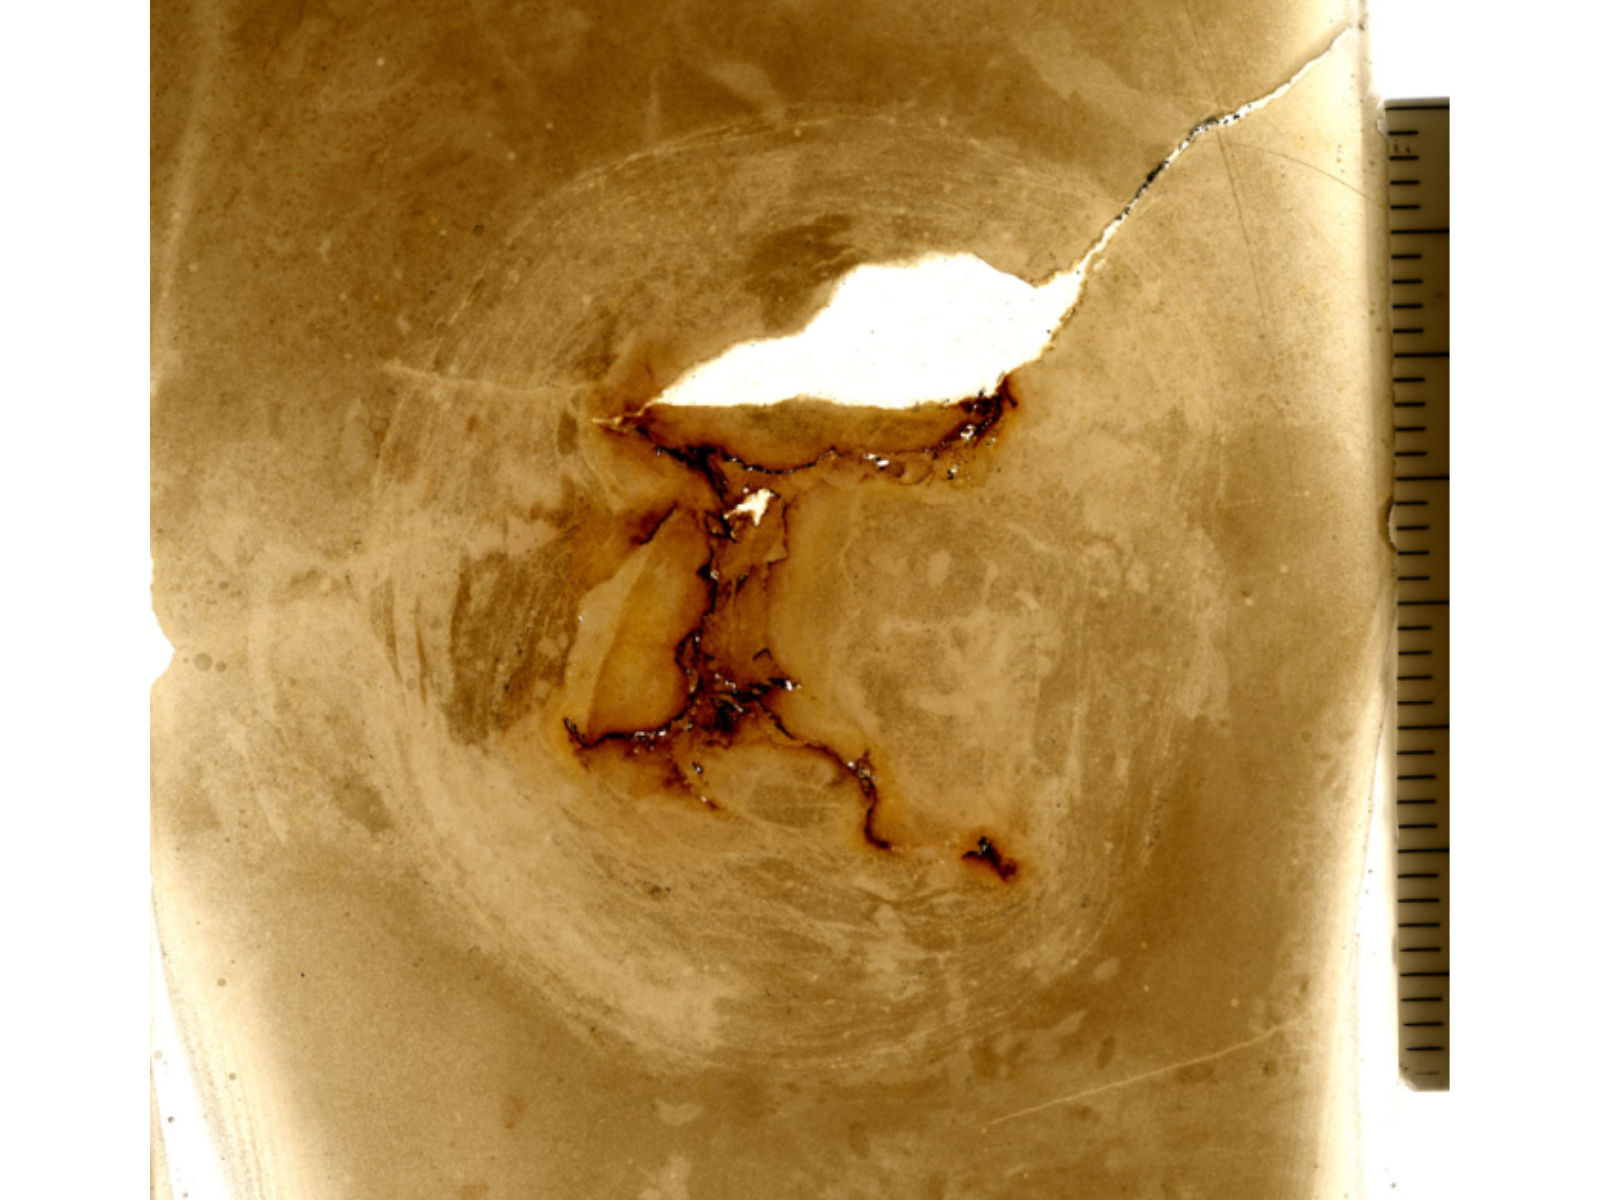
“Nature Morte en Eau de Javel/Still Life in Water with Javex” by Gérald Dufault. Image: © Manitoba Museum, H9-39-349
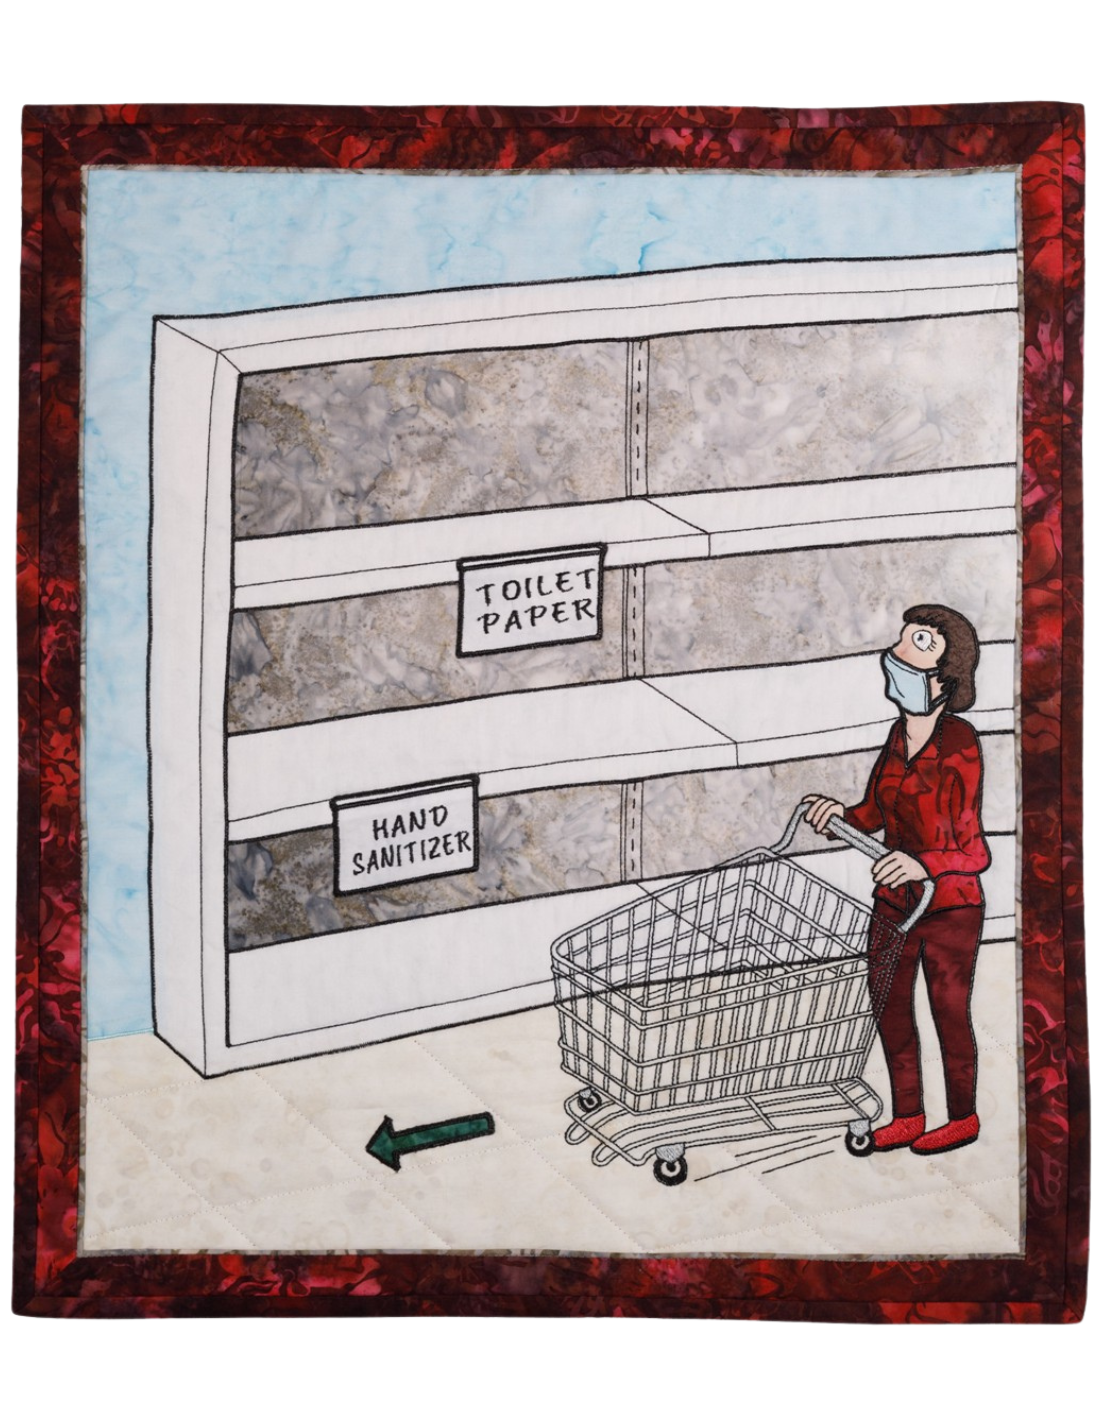
Wall Hanging created by Joan Dupuis-Neal, inspired by a political cartoon by Adam Zyglis. Image: © Manitoba Museum, H9-39-340
Genevieve Delaquis spent her time in line capturing many of the decals that told customers where to stand for their safety. There were also new opportunities. U of W students Alex Kroft and Niels Hurst launched a summer business producing 3-D printed face shields for front-line workers.
Manitoba families endured long periods of separation during lockdowns that robbed them of the opportunity to celebrate life’s milestones. Grandchildren were introduced to family via Zoom. Young people graduated virtually.
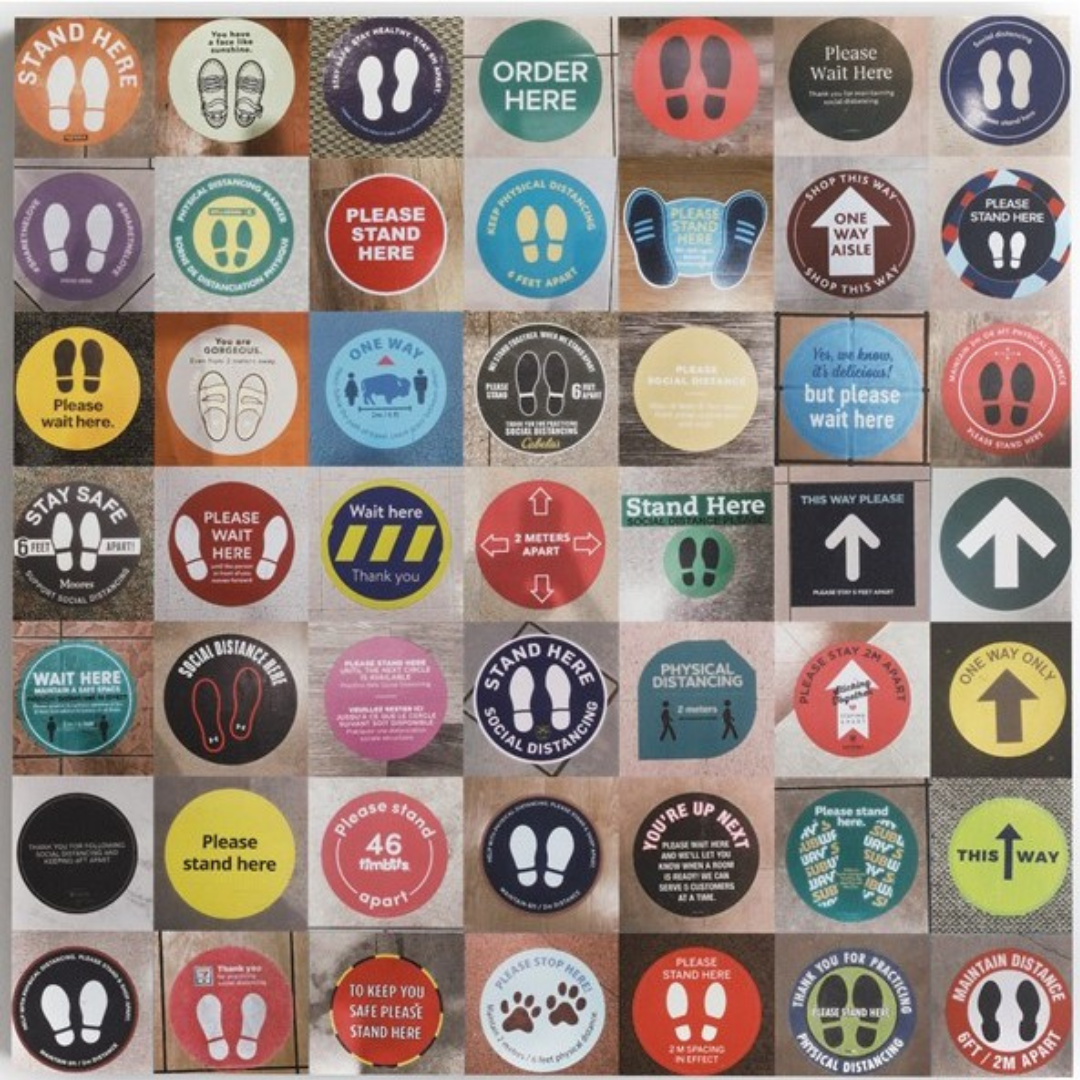
“Stand Here” by Geneviève Delaquis. Image: © Manitoba Museum, H9-39-347
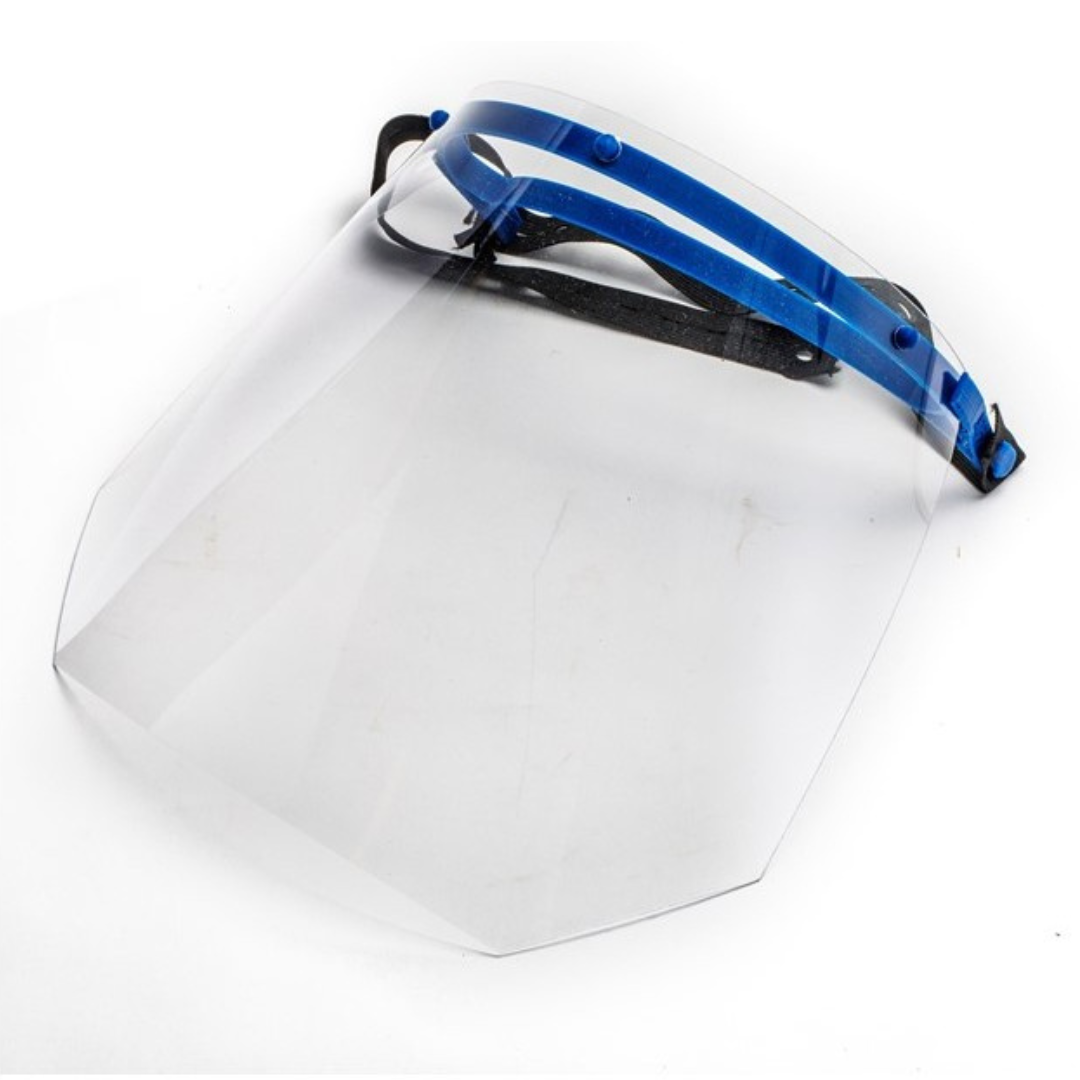
3-D printed face shield. Image: © Manitoba Museum, H9-39-716
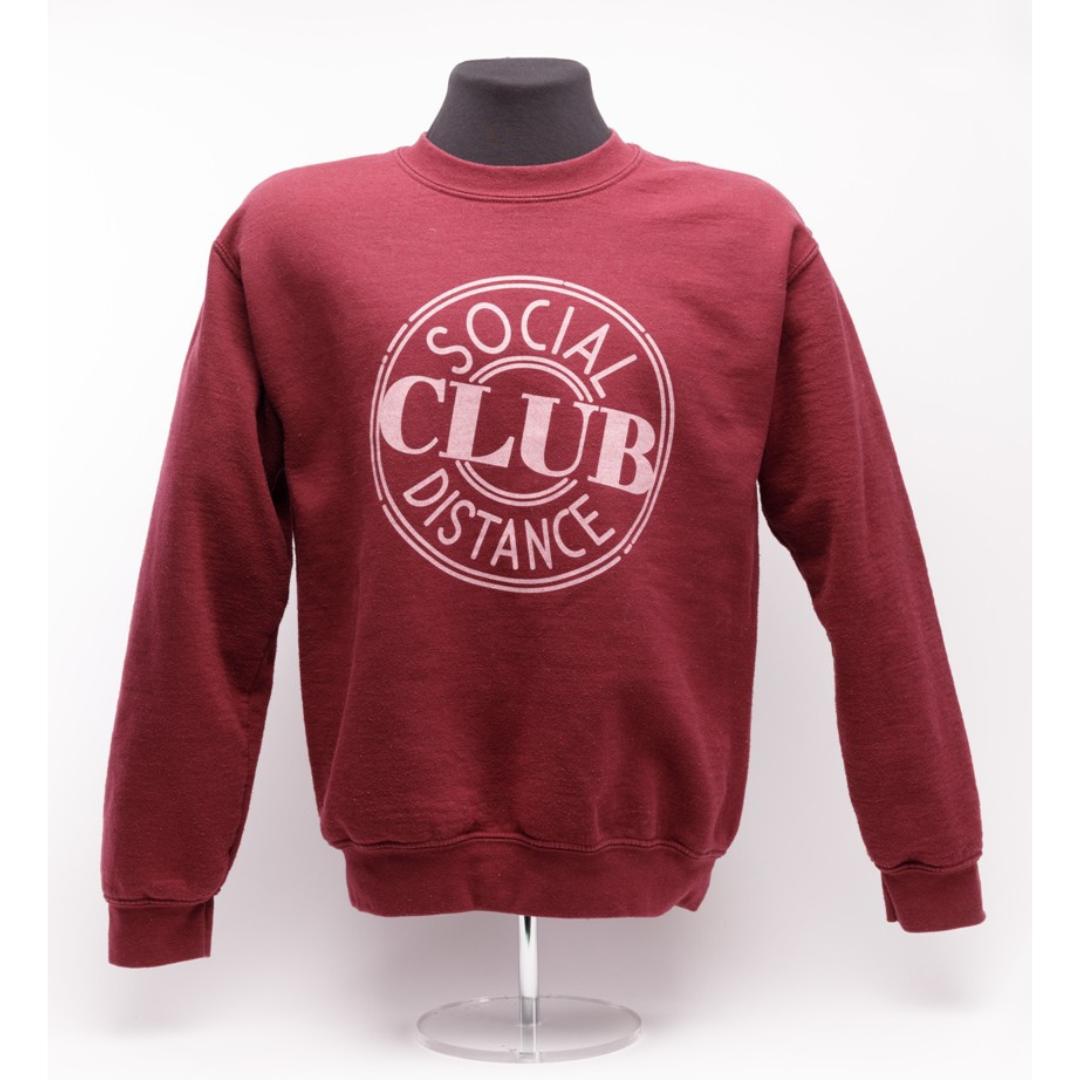
Sweatshirt worn by Twila Fillion who was a first-time mother during the lockdown. Image: © Manitoba Museum, H9-39-287
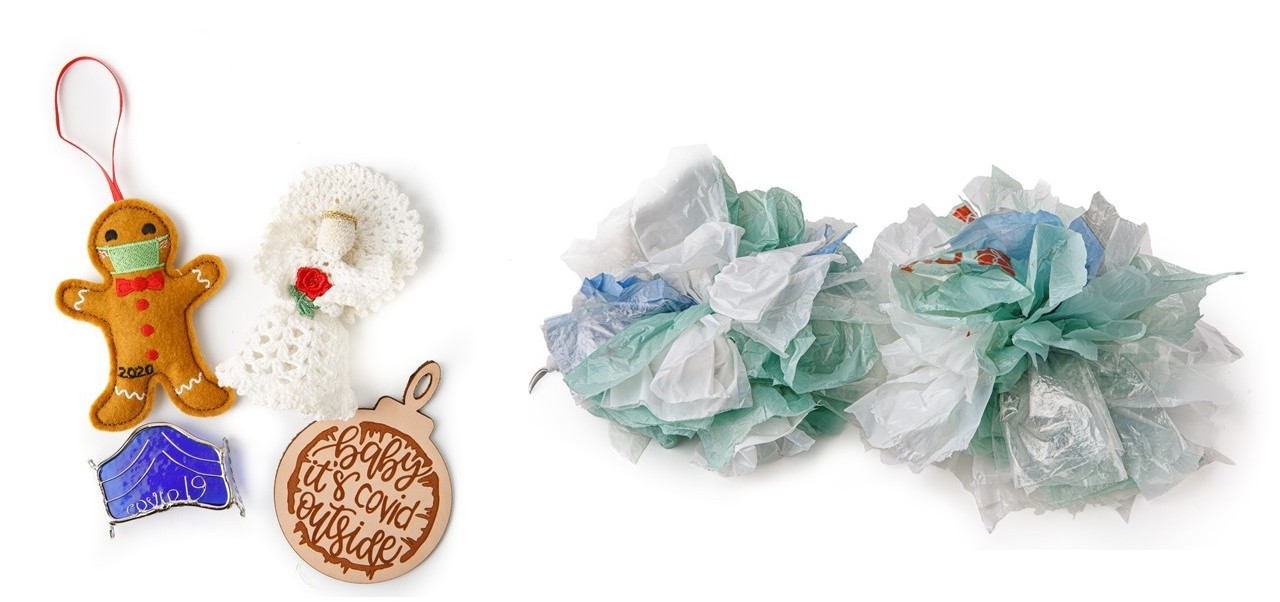
With the stores closed for all but essential items, Donalda Johnson created pom poms out of plastic grocery bags and decorated cars for a friend’s retirement parade. 96-year-old Helen Rempel quietly crocheted Christmas ornaments for each of her 26 immediate family members who would not be gathering in person.
Some of the most impactful artifacts were created by children. Many of the items illustrate the efforts of parents, caregivers, and teachers to help young Manitobans cope with the upheaval in their lives. For some, letter writing and drawing allowed them reach out to the community.
Grade 12 student Kendra Radey wrote and illustrated Robby’s Life Lesson to teach children about COVID safety.

L: Note written by 5 year old Charlotte Oldfield. Image: © Manitoba Museum, H9-39-450
R: Window sign by Mia Danyluk. Image: © Manitoba Museum, H9-39-466
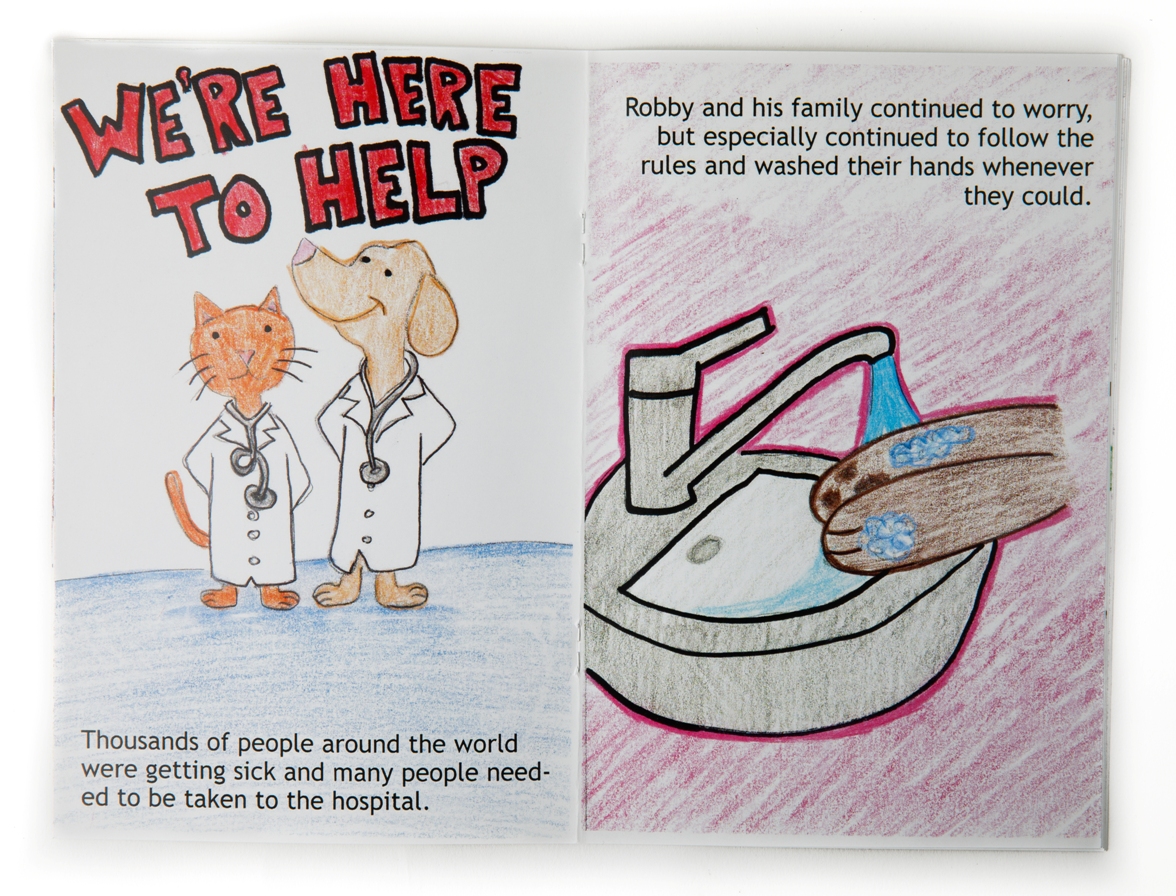
Robby’s Life Lesson written and illustrated by Kendra Radey. Image: © Manitoba Museum, H9-39-692
Public Health officials and politicians tell us we are moving into a ‘new normal’. It is hard to predict when the Museum will be ready to create a retrospective exhibit about the pandemic. As I write this blog, I am aware that I have omitted many of donations. But in the years to come, the COVID-19 collection may be used in museum exhibits and programs or by students, historians, writers, film makers, and others to tell our story.