Pest Monitoring is Another Important Task

Pest Monitoring is Another Important Task

As well as temperature and RH, the Conservator also conducts pest monitoring. At the Manitoba Museum, we mostly check for insects. Sticky traps in storage and laboratory areas are checked; if a large number of insects are seen, we investigate, looking in the surrounding area more thoroughly. We often find one or two insects on the trap; one or two doesn’t indicate a problem, but is considered a normal condition. And not every insect is one that will feed on our collections.

Museum pests can include mice and squirrels, as well as insects. Although we have had a few problems with mice in the past, our current pest monitoring program focuses on insects.

A small folded triangle shaped pest trap.

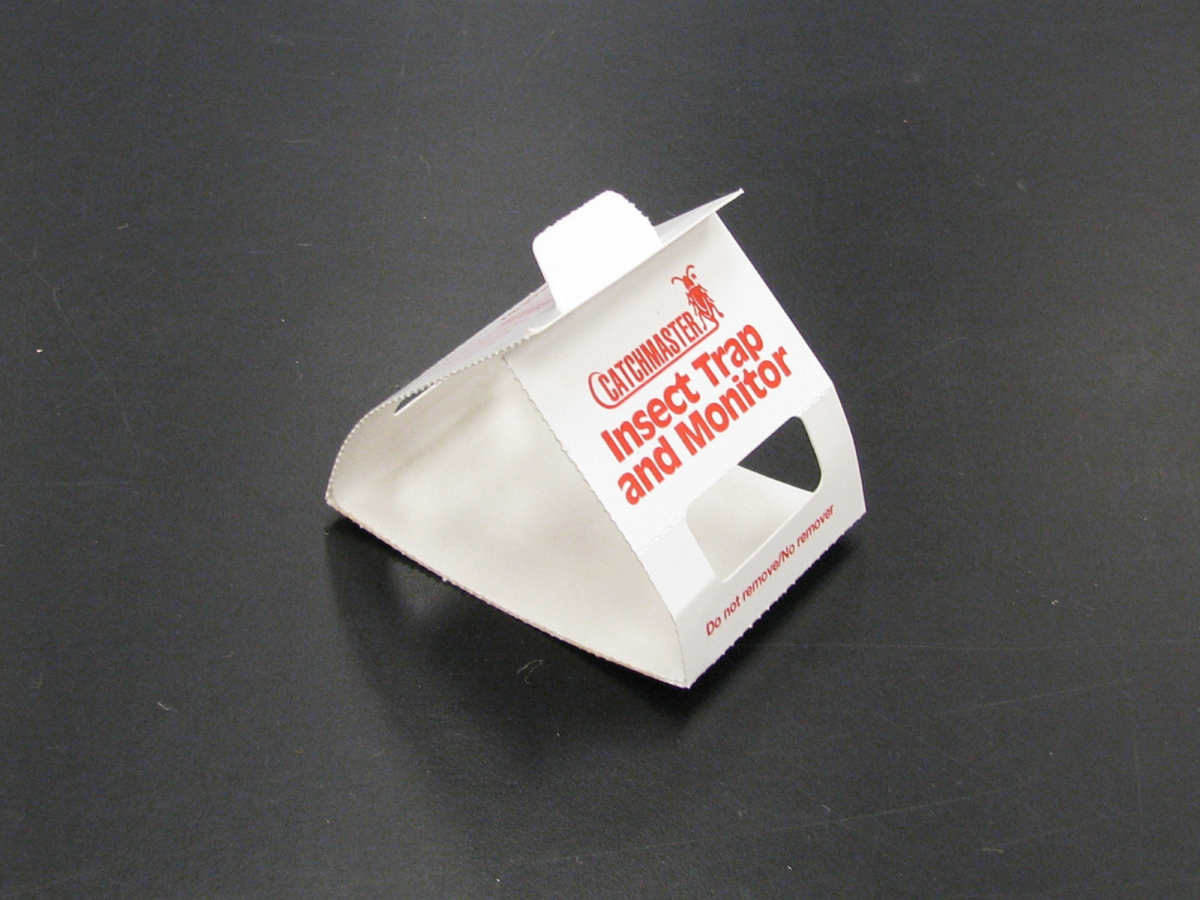
Individual traps are place in corners and along walls, and checked monthly.

A sheet of three pest traps before they've been folded.

Sheets of sticky traps are available from pest extermination companies.

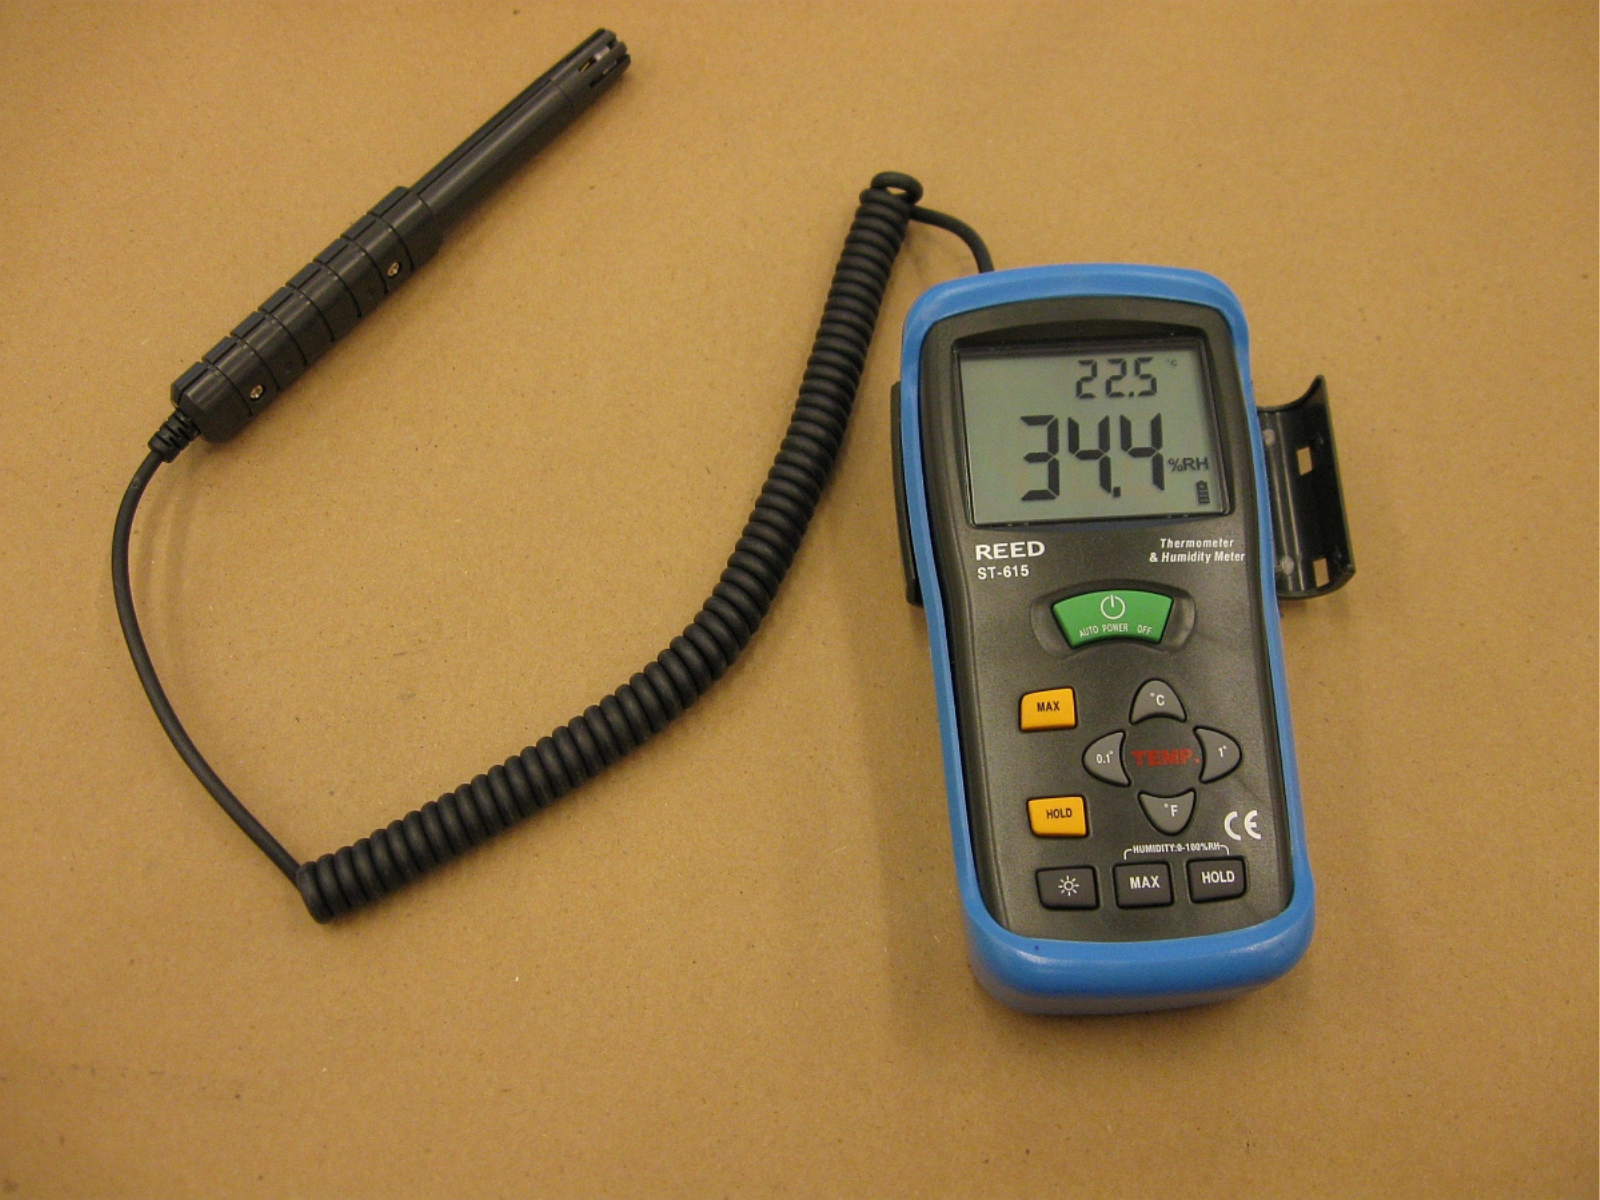
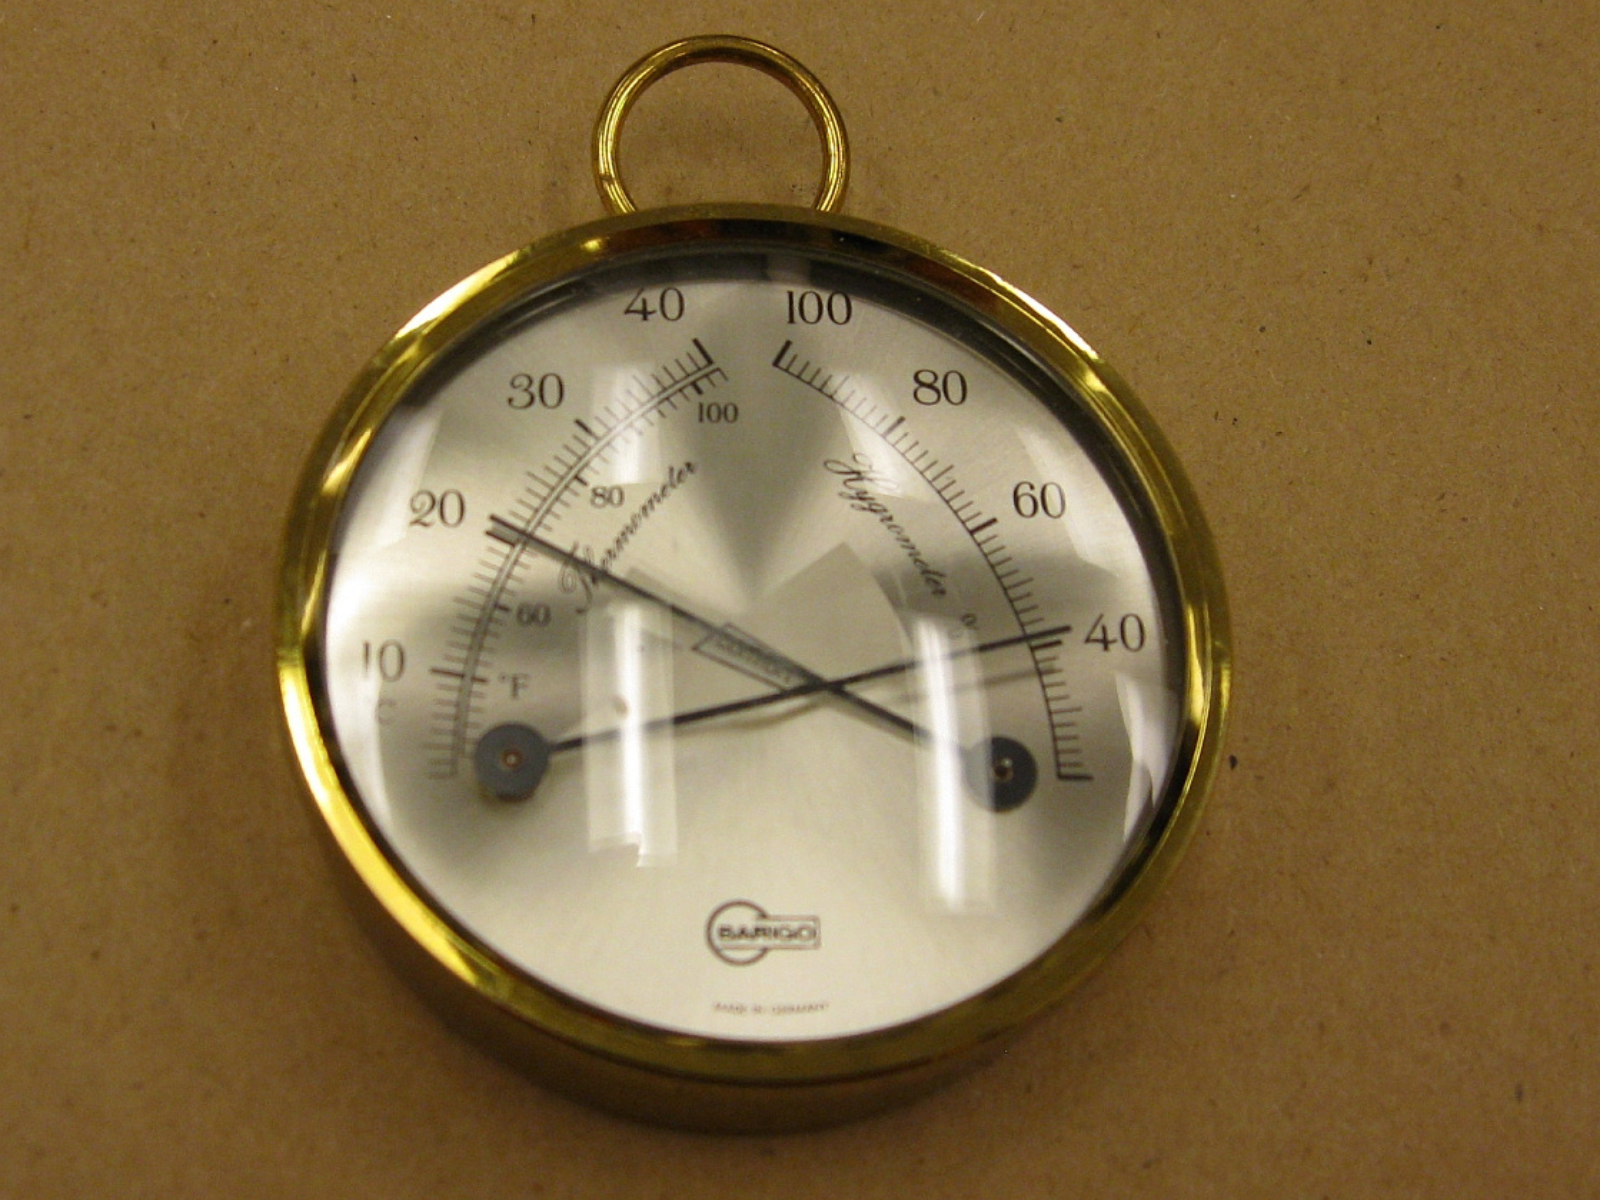
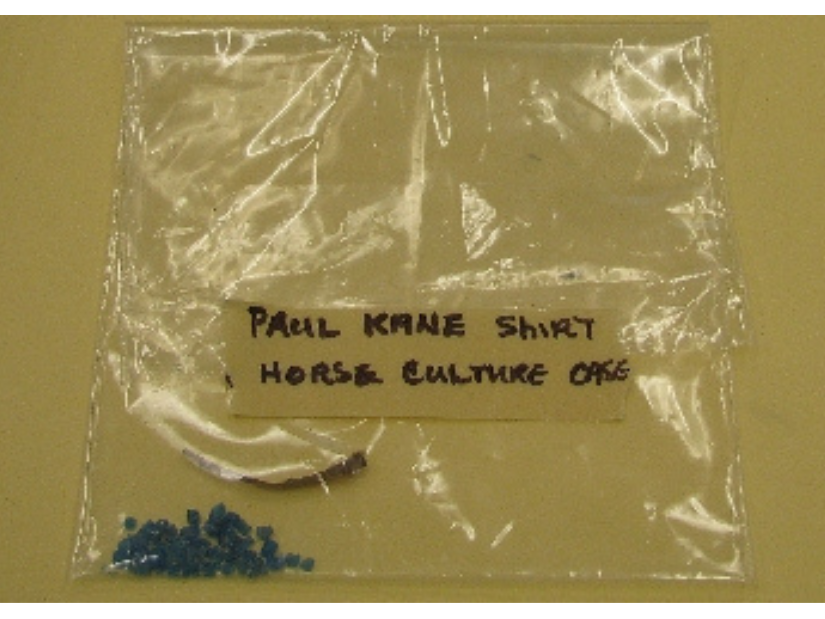
As part of their training, Conservators learn about different aspects of the museum environment – temperature, RH, light, atmospheric pollutants – and how these can interact with objects to cause damage and deterioration. Conservators also learn about museum pests, and must become familiar with the common pests they will encounter. We keep examples of insects found in the Museum, for reference and comparison.

A museum storage drawer containing a series of pinned insects and labels.

Examples of insects found at The Manitoba Museum.

Close-up on several pinned insects and labels in a storage case.

Insects are identified as harmless or harmful to the collections.

Environmental Monitoring

In order to remain aware of the conditions surrounding The Manitoba Museum’s collections, the Conservators undertake a program of regular monitoring. Once each month, a Conservator goes through all areas where collections are stored or displayed with a hand held thermohygrometer, which measures temperature and relative humidity (RH) via sensors in an attached probe.

Ideally, temperature and RH should be as stable as possible, allowing for some drift as the outside weather changes through the seasons. Extremes of temperature or RH, as well as sudden dramatic changes, can be harmful to some materials. For example, dry wood can swell and even crack if exposed to sudden high RH. Very high RH over a length of time can cause mould, or corrosion on metal.  Checking the temperature and RH each month, the Conservator is checking for stability and flagging any problems.

A thermohygrometer attached to a sensor on a coil.

Digital thermohygrometer.

A thermal dial.

These dials are in many of our exhibit cases.

The monthly thermohygrometer monitoring is in addition to regular checks in the galleries. Several times weekly, the Conservators record readings they take by looking at temperature/RH dials that are placed in many exhibit cases. Thus, conditions both inside display cases, and in the general gallery air, as well as storage areas, are all measured and recorded.

A regular program of monitoring means we’re aware of any environmental problems, such as a spike in RH, and can deal with them quickly.

Installing the Paul Kane Exhibit

When an exhibit comes down, our Productions staff open up the cases for us, then Collections and Conservation staff remove the artifacts and/or specimens and put them back in storage, or take them for treatment by freezing or carbon dioxide fumigation. Then the next exhibit can go in.

For this exhibit, the same large cases were used as for the previous exhibit.  The case in the centre of the room was removed, and a small square case was added on one wall.  Productions staff does all the moving of cases for us. Before any objects are put in, Productions also installs the graphics panels with text and images on the walls.

The first thing installed was a bison head. Technical Supervisor Bert Valentin oversaw the installation; the mount is heavy and needed to be screwed into the plinth it sat on.

After that, it was a matter of placing the artifacts in their cases according to the layout Designer Stephanie Whitehouse had drawn up.

A person leaning out over a base attaching a large mounted bison head.

The mount is screwed down to the plinth.

Two rolling carts with artifacts and objects laid out on their shelves.

Artifacts on carts, ready to install. Some of them have storage mounts.

Three people around a display case, two of whom are adjusting a piece on a mount as the other looks on.

Conservator Lisa May and Collections Assistant Nancy Anderson adjust a saddle while Designer Stephanie Whitehouse looks on.

Two individuals placing artifacts into display cases.

Nancy and Stephanie placing artifacts.

A museum staff person reaching into a display case, placing a model canoe in place.

A model canoe is carefully put in place. The staff wear cotton gloves to protect objects from dirt and oils that may be on their hands.

Labels propped up and placed in a display case next to objects.

Labels also have to be placed in the cases. These are supported simply on pins.

Two museum staff persons holding either end of a light reader over an object in a display case.

When all the artifacts and labels were in place, Conservator Lisa May checked light levels. Too much light can be damaging to objects; we try to restrict light exposure by using lower wattage lamps, turning down dimmers, aiming lights away from very sensitive things, and in general limiting exhibit times and storing collections in the dark as much as possible.

The final step was the closing up of the cases, done again by Productions staff.

Come down to the Museum to see the finished exhibit! It’s up until April 2011.


Image: Taking a reading with the light meter. The sensor is connected by a cord to the rest of the meter.

Exhibit Preparation – Making Mounts

Our exhibit process starts months ahead of a scheduled opening. The initial meeting of an exhibit team reviews the theme and broad content description, and confirms dates for milestones such as public opening, label copy completion, etc.

Once the Curator has finalized artifacts and/or specimens that will be used, Collections and Conservation staff go into action. The Collections Assistant pulls the objects from storage so the Designer can start working on a layout. The Designer, Curator and department Manager (me) meet to look at the laid-out objects to discuss required mounts and any conservation concerns. The Conservators complete condition reports and start on the mounts. Usually, the Conservators make all soft mounts-that is, mounts made from foam, Coroplast or matboard- while our Productions staff makes mounts that need to be metal or Plexiglas. For the Discovery Room exhibit that just opened, Conservators Lisa May and Ellen Robinson made mounts from Coroplast and Ethafoam; Gallery Technician Wayne Switek made a painted steel mount for a large taxidermied bison head, which is quite heavy and needed the strength and rigidity of a metal mount.

To make mounts for the hide shirt and dress in the exhibit, Lisa and Ellen used Ethafoam, a brand name for extruded, closed cell polyethylene foam widely used by museums. The Ethafoam comes in 2 foot by 8 foot planks. Two inches is the thickest available, so slabs are cut roughly to size and glued together with water based contact cement.

An individual using a hand tool to carve off a section of a large square of foam on a table.

Lisa starts cutting to shape with an electric knife.

An individual using an electric knife hand tool shaping a large piece of foam on a table top.

Often, a lot of trimming is required.

An individual wrapping a carved piece of foam in white cotton batting.

Next, a layer of polyester quilt batting is added for padding.

A layer of dark fabric being wrapped around a large carved block of foam on a table top.

Poly/cotton stretch knit fabric makes a final covering.

A beaded and fringed hide dress and shirt each placed on standing mannequin stands.

The dress and shirt on their mounts, ready for installation.

Next time, I’ll show you some pictures of us putting the artifacts in their display cases.

It’s a Gas: Fumigation is an important tool to protect collections

We are in the process of fumigating some of our collections. All of the Natural History specimens that were on exhibit in the Discovery Room, as well as some taxidermied mounts (ie. stuffed animals), have been placed in our fumigation bubble to be treated. This is a regular procedure for objects that are susceptible to insect attack.

The Manitoba Museum has a large enclosure (“the bubble”) made of heavy duty plastic, with a steel frame inside, that is used to treat objects with carbon dioxide gas. The bubble is filled with carbon dioxide to at least a 60% level, to displace the oxygen. The resulting low level of oxygen, if maintained for 14 days, will kill insects at all life stages – adult, larva or egg.

A rectangular shape covered with a bright blue tarp.

Here is a picture of our fumigation bubble.

Three grey tanks of carbon dioxide standing against a wall in front of a smaller grey metal box.

Here are the tanks of carbon dioxide.

This treatment has been conducted many times over the ten years that we’ve had the bubble in place. It is completely effective in eradicating any insects found on museum objects. The procedure is a preventive measure that is used as part of an Integrated Pest Management program, in order to keep our collections free of damage from museum pests.

Whenever circumstances pose a risk to objects, such as receipt of new acquisitions from outside, return of loans to other institutions, or removal from display in the galleries, they are put through some kind of treatment against pests. Usually, it’s freezing, which is a simple, effective way to kill insects in most circumstances. It’s not always appropriate, though. Very large objects (such as a muskox) can’t fit into any of our freezers. Thick objects also don’t freeze well, because by the time the center of the object is frozen, the insect has adapted to the temperature change and isn’t killed (they’re quite amazing that way!) Also, if we have a large number of objects, freezing isn’t logistically feasible. In these cases the fumigation bubble is ideal.

Lily St. Storage Move

Collections and Conservation staff are busy dealing with a problem in our Lily St. storage location. A water pipe broke in the washrooms in the basement, putting water on the floor in several areas where collections are stored. Because the building is not going to be repaired (it’s slated for demolition sometime soonish) our landlords, Manitoba Centennial Centre Corporation (MCCC) want us to clear out the basement and close access to that level permanently. We were planning to pack everything up anyway for the move to a new (as yet unidentified) offsite collections storage location, but this acceleration of our schedule is a challenge.

The water has been shop-vacced up and fans are running 24/7, but the inevitable high humidity has unfortunately spawned some mould and corrosion on artifacts. We are isolating affected items and they will be cleaned before we wrap and pack them. Curators have been confirming all items that must be removed, including equipment and supplies. Collections go out first, though. Because we don’t have a new storage building yet, the bulk of artifacts will go just a short trip up to the main floor, where we are monitoring the humidity.

Human safety is the highest priority, so we’re donning lab coats, nitrile gloves, and dust masks (N95, against dusts and mists) as we work.

Not quite a crisis, but certainly a challenging project to complete ASAP. And it keeps raining; although sunny skies are predicted for the next few days. Stay tuned for a happy ending – I hope.

Mysterious Bead Damage

Recently, our Curator of Native Ethnology Katherine Pettipas contracted a photographer to take photos of the varied artifacts in the Paul Kane collection. Paul Kane was an artist who, in 1847, was sent by the Hudson’s Bay Company to travel across the Canadian wilderness, drawing and acquiring objects along the way. One of the spectacular men’s hide shirts from that collection is currently on exhibit in our Grasslands Gallery. When Conservators Lisa May and Ellen Robinson went into the case to remove the shirt for photographing, they noticed that several pieces of bright blue beads were on the floor of the case. They wrapped the shirt on its mount in a white cotton sheet to bring it to the photo studio. When they unwrapped it, a few more beads fell off in pieces. They then called me to take a look at the condition of the shirt.

A hide shirt on a mannequin with elaborate beadwork going down the sleeve in a display case.

Several beads broke off this sleeve.

A collar of black velvet with light coloured beads. Some of the beads are a cloudy, whitish colour.

Usually, beads with glass disease look whitish.

There is a phenomenon called “glass disease” that causes glass to deteriorate. It’s basically the result of an improper mix of ingredients when the glass was made – not using the ingredients in the right proportion. It‘s often accelerated by high humidity, and it’s irreversible – the glass can’t be “fixed”. The glass beads on this hide shirt seem to be spontaneously falling apart. The most likely cause is glass disease, but the beads don’t have the characteristic white surface coating usually seen in the process. Is it glass disease, or something else? We may have to get the beads examined and tested.

If it is glass disease, there’s not much we can do to stop it. The chemical reaction could be halted by putting the beads in an oxygen-free environment, but that involves either building a specialized exhibit case filled with an inert gas, removing the shirt from display and putting it in an oxygen-free container or bag, or removing the beads from the shirt. None of these are simple solutions. Alternatively, we could monitor the condition of the beads – so far, only a few are affected- and attach a covering of (almost-invisible) silk crepeline over the area of the sleeves where the blue beads are found, so they don’t actually fall off.

Looking down to the lower section of a dress on a mannequin and the caret below it.

It was hard to see the bead pieces against the carpet.

A clear resealable bag with several small blue beads kept inside. A label on the bag reads, "Paul Kane shirt horse culture case".

We will try to get the pieces examined and tested.

It’s something that probably wouldn’t have been noticed if the shirt hadn’t been taken out for photos. The bead pieces were barely noticeable on the carpeted floor of the case, and there weren’t many of them. Now, we should determine if the beads do, in fact, have glass disease. If they don’t, why did they break and fall off? The sinew they were strung on is intact. If they do have glass disease, what do we do? So far, only a few beads on one side are affected. I’m thinking we should just monitor the condition, and possibly cover the beaded part with crepeline. Even that isn’t simple, as there is little to sew to on that panel, but we might be able to use an adhesive. We had no idea there was a problem with this artifact, but now I have to research and consult with colleagues to decide on the best thing to do.