
Posted on: Tuesday May 29, 2012
By Kevin Brownlee, past Curator of Archaeology
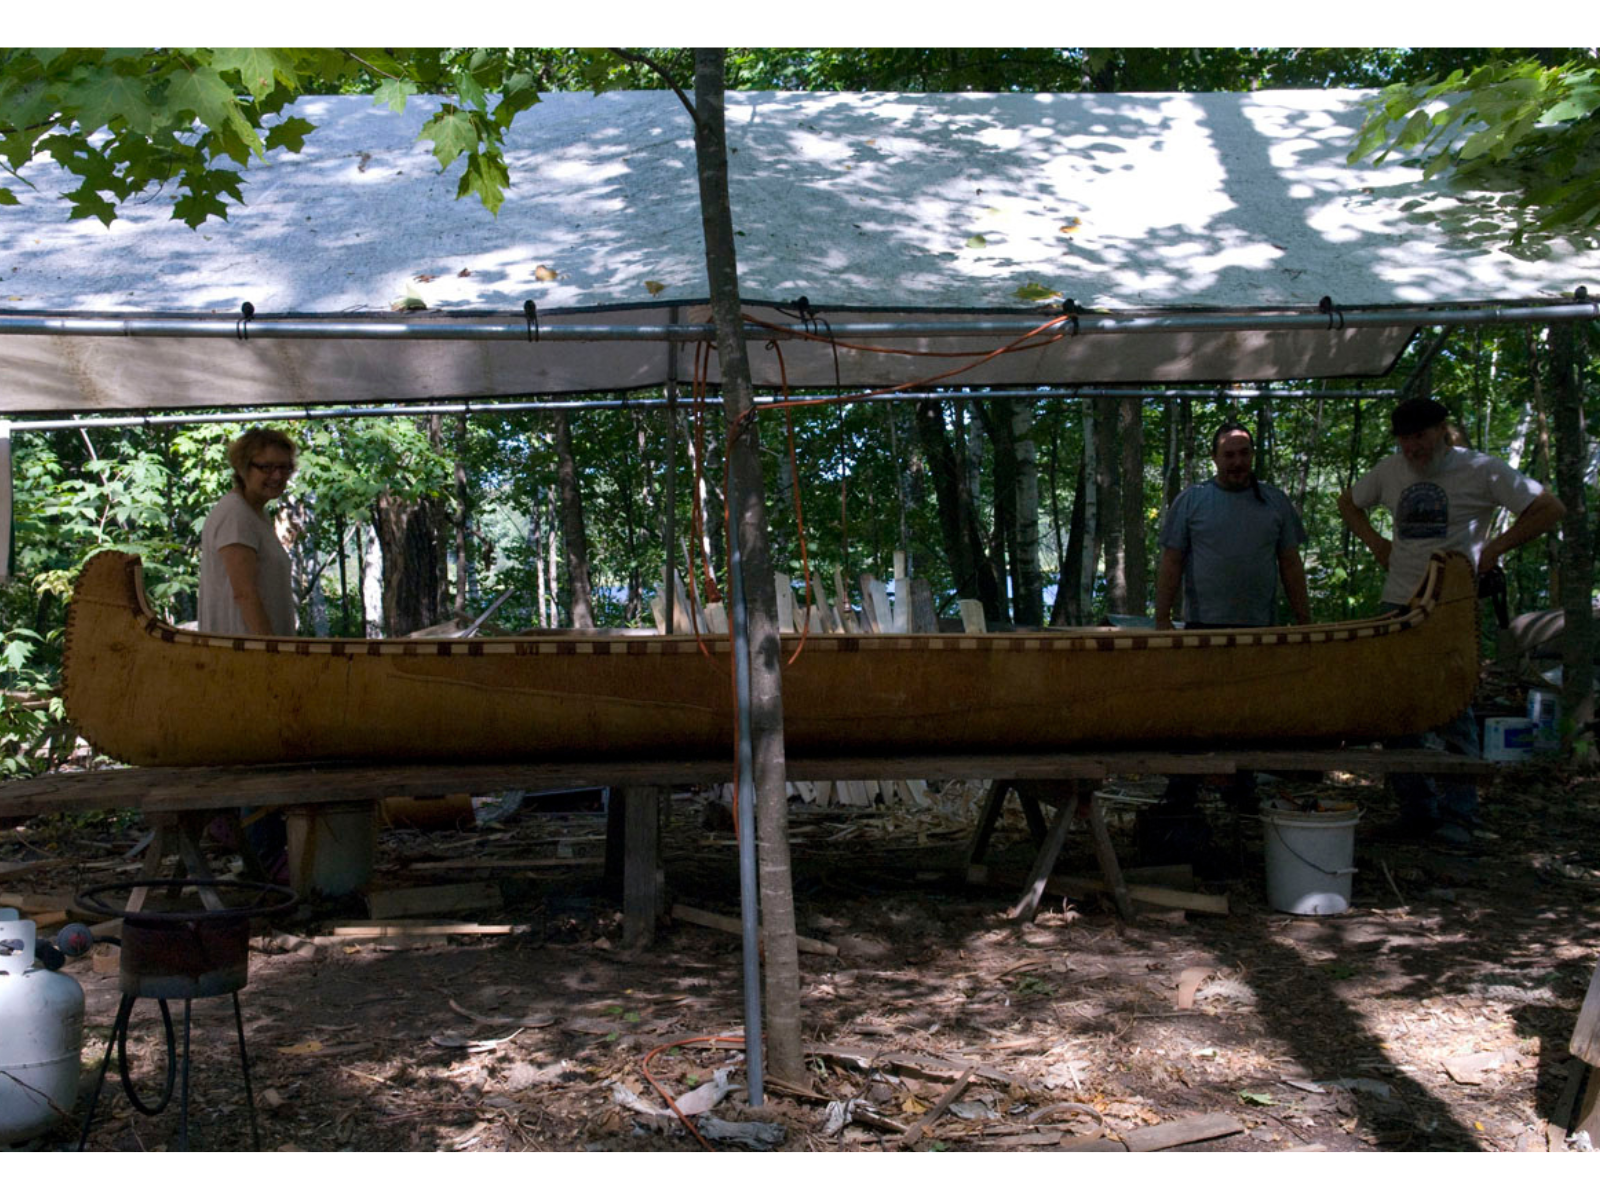
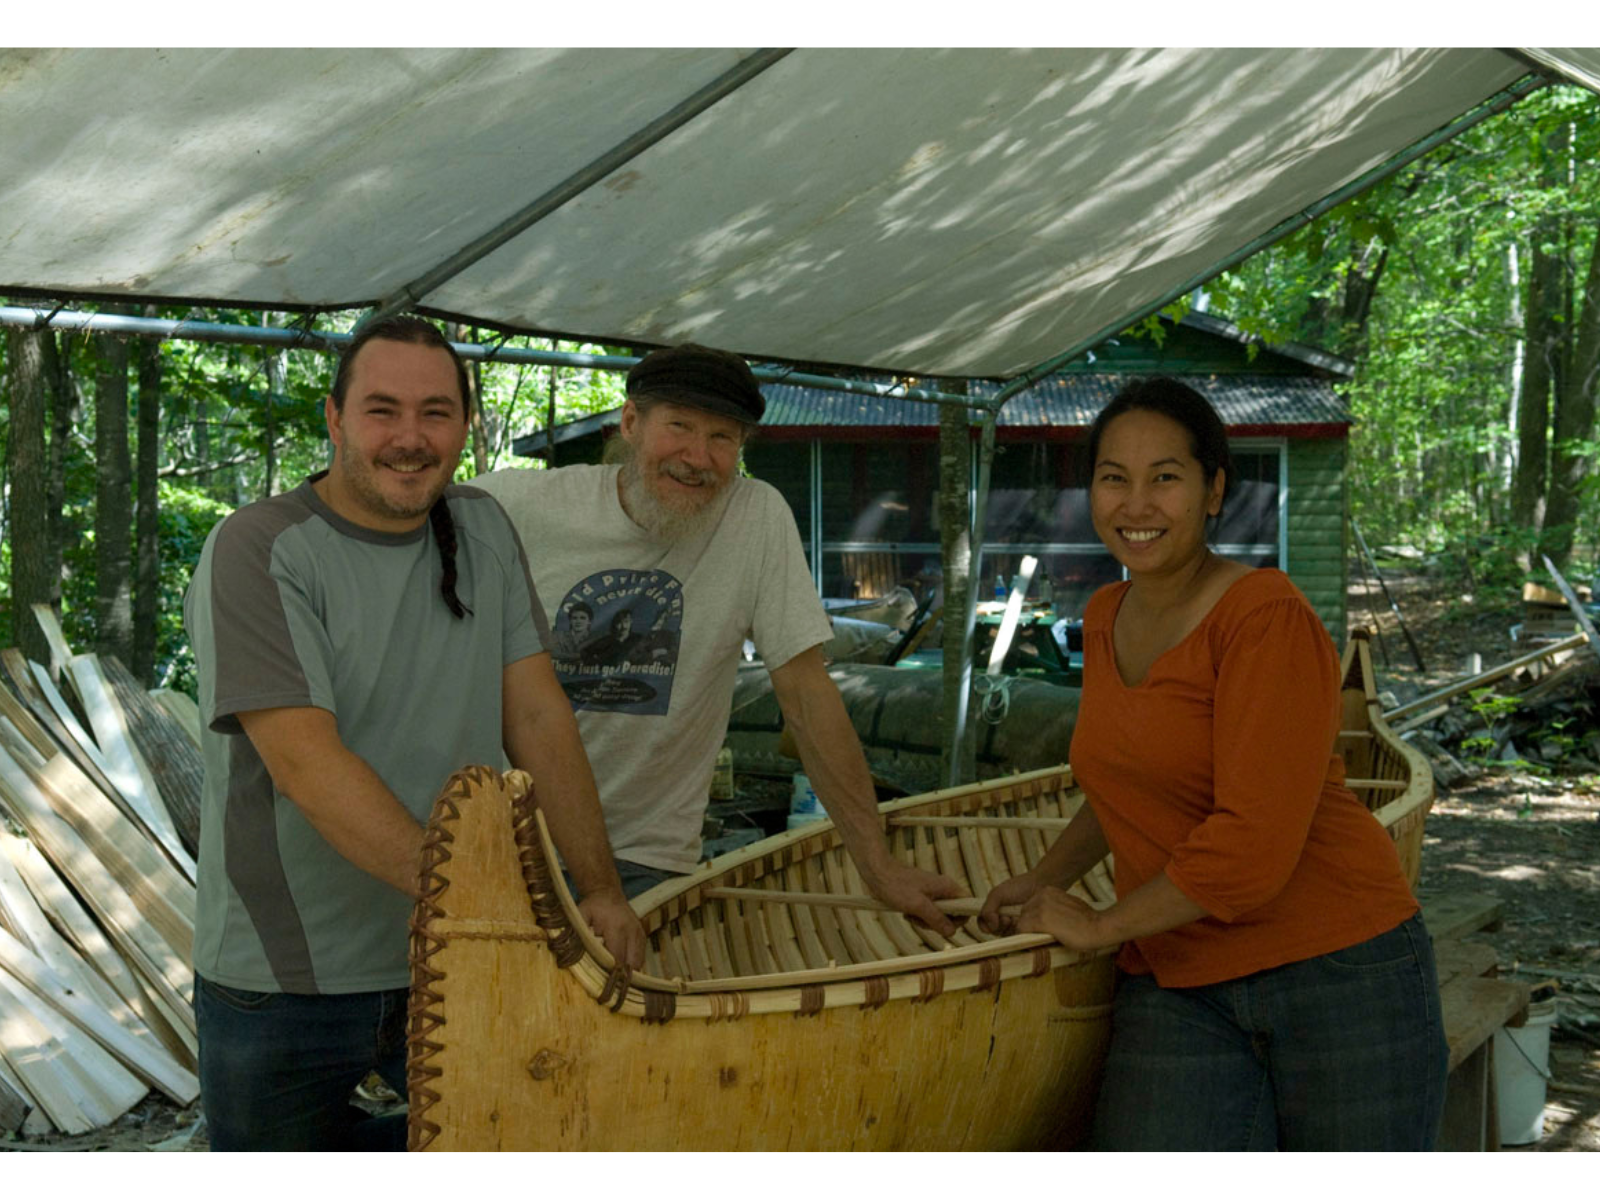
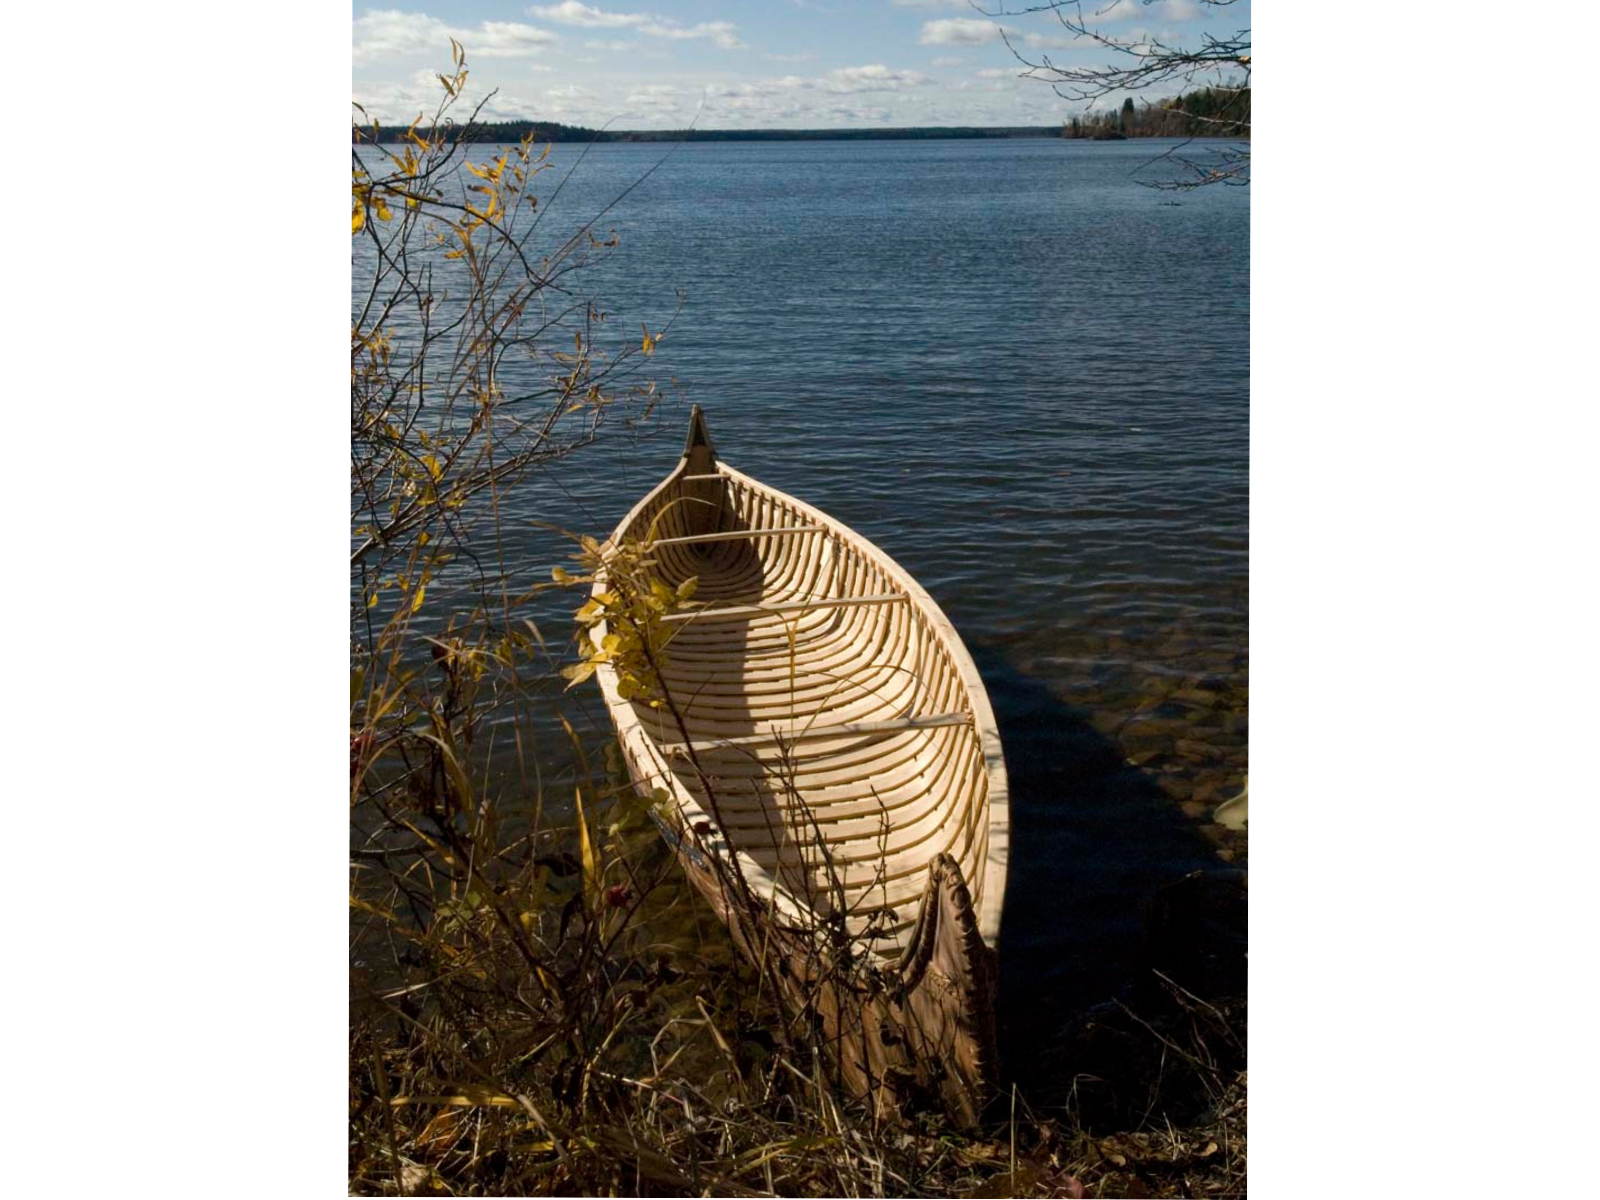
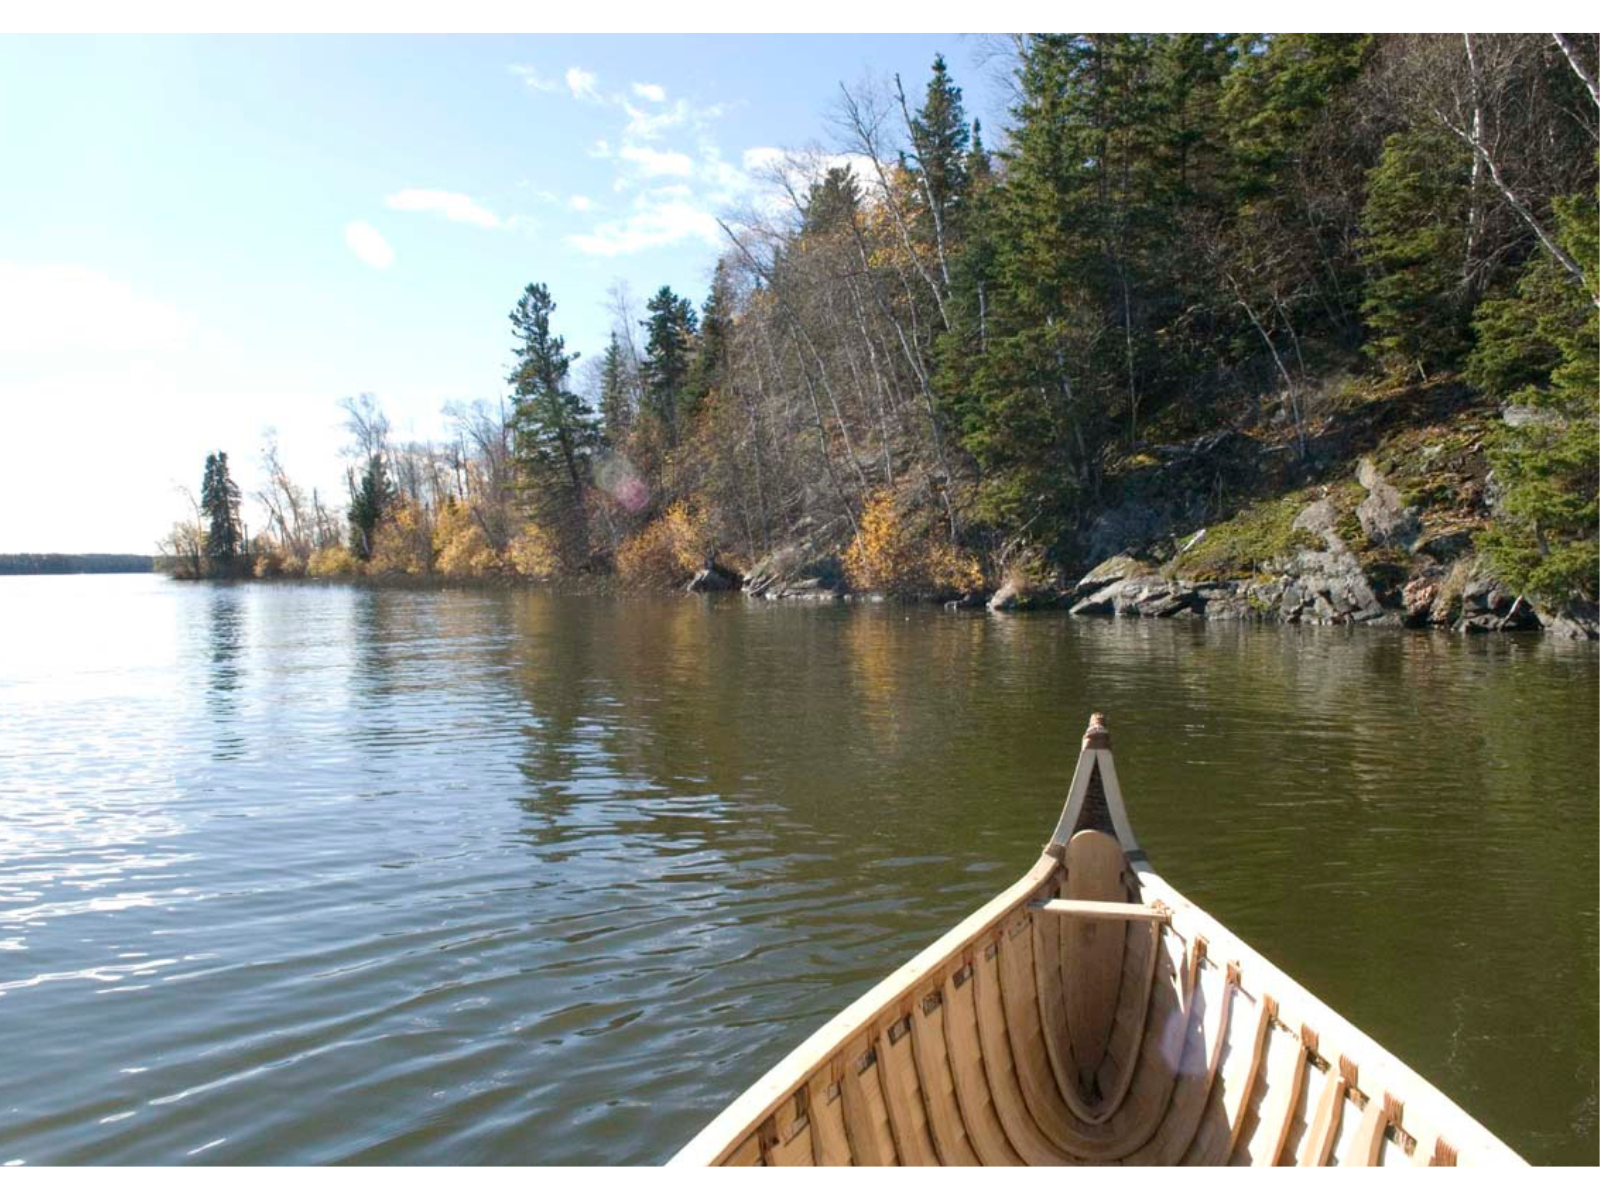
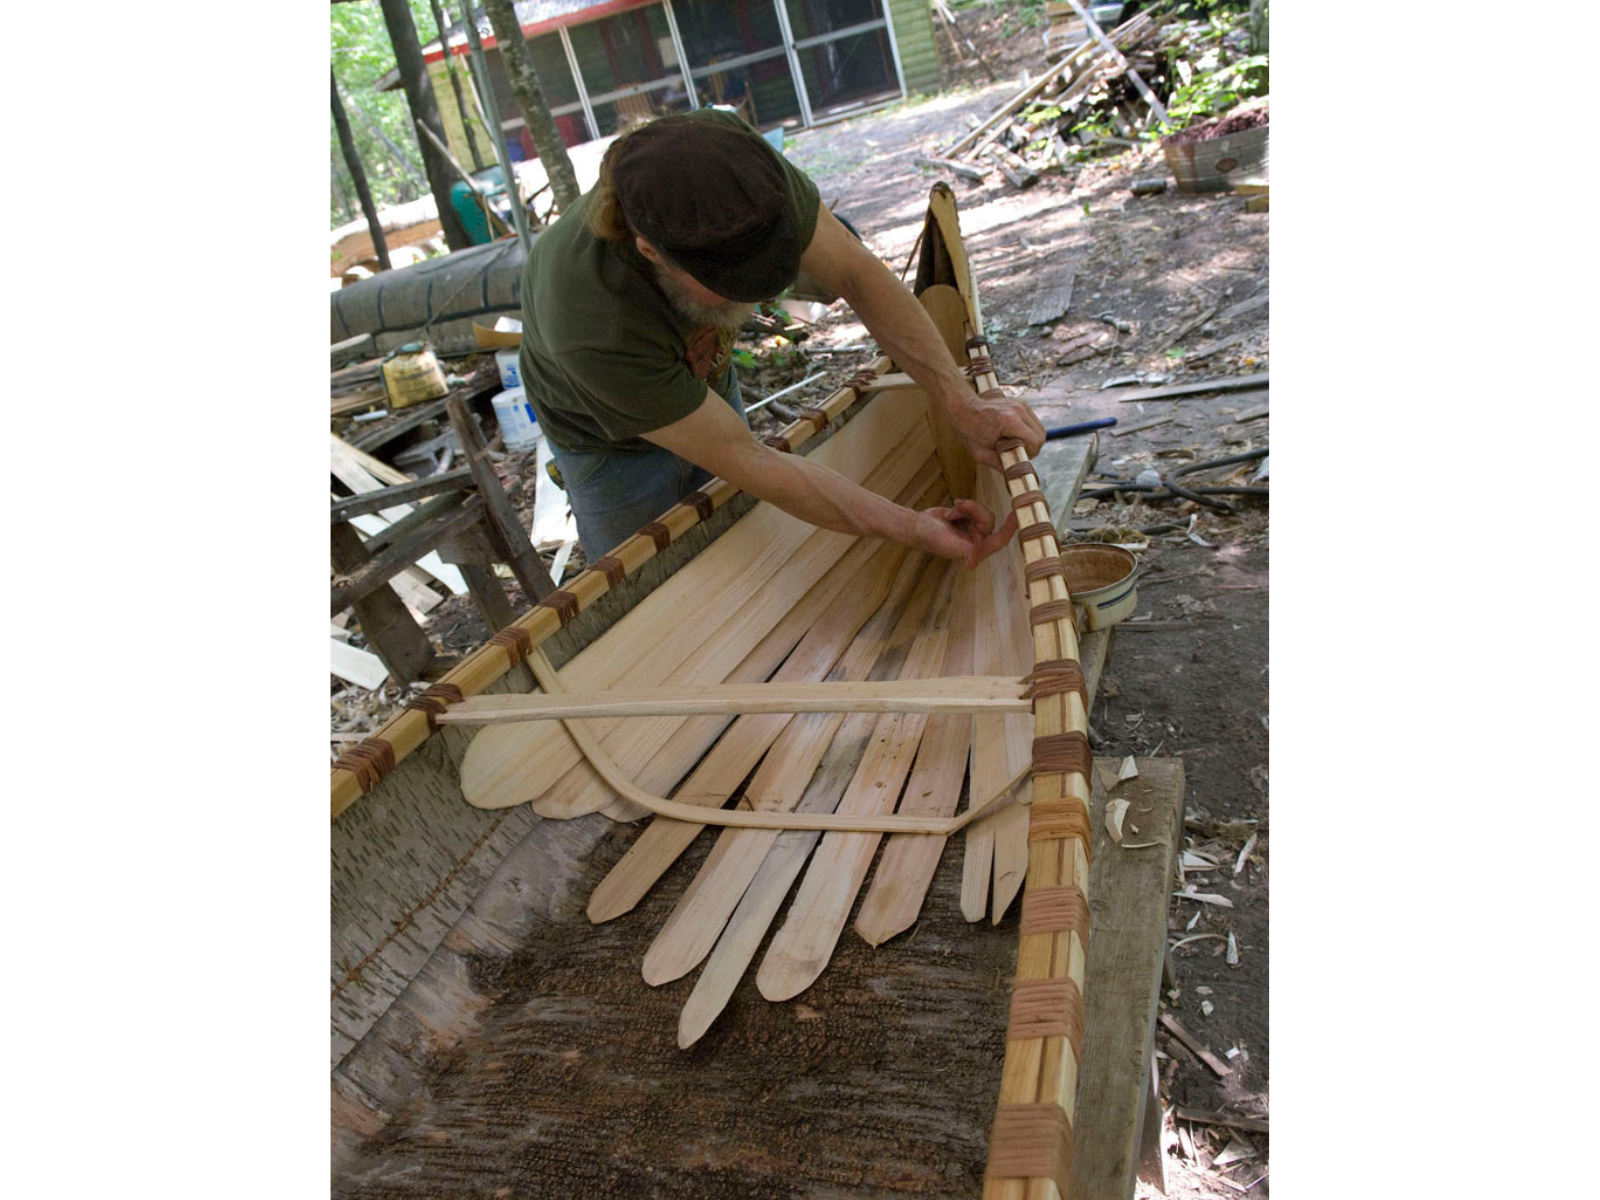
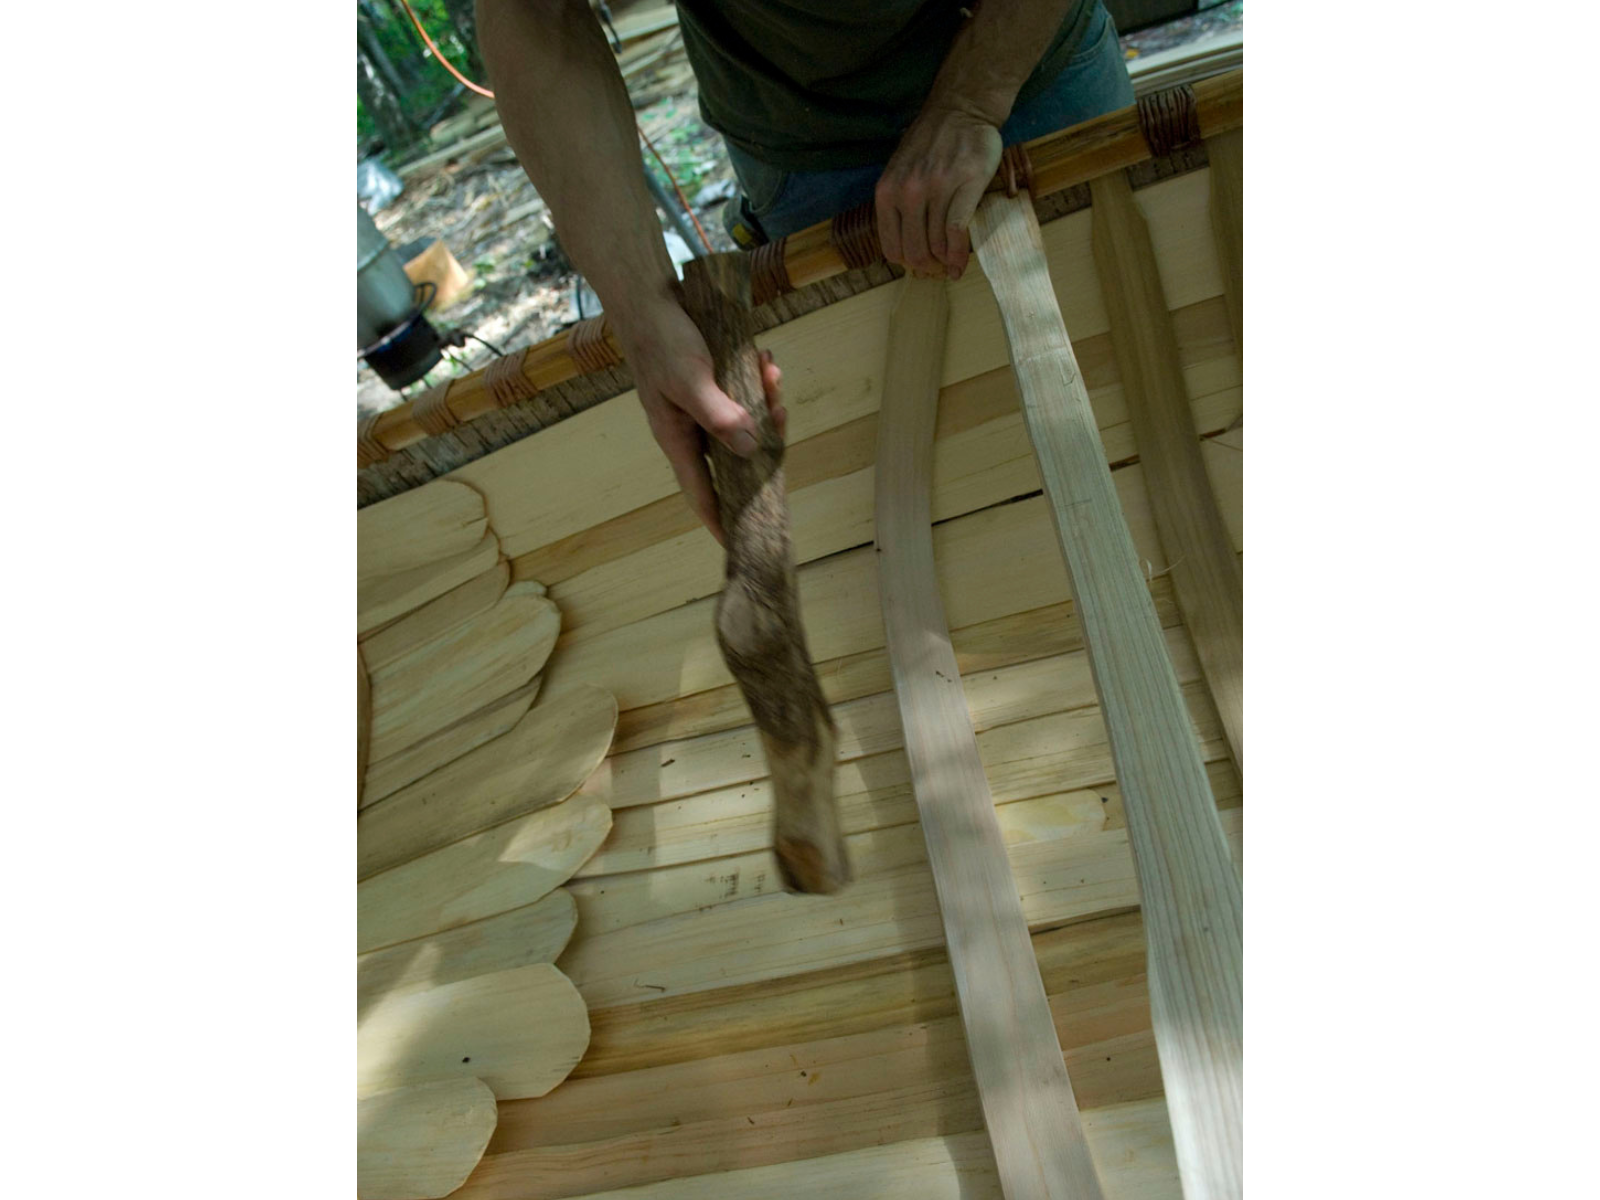
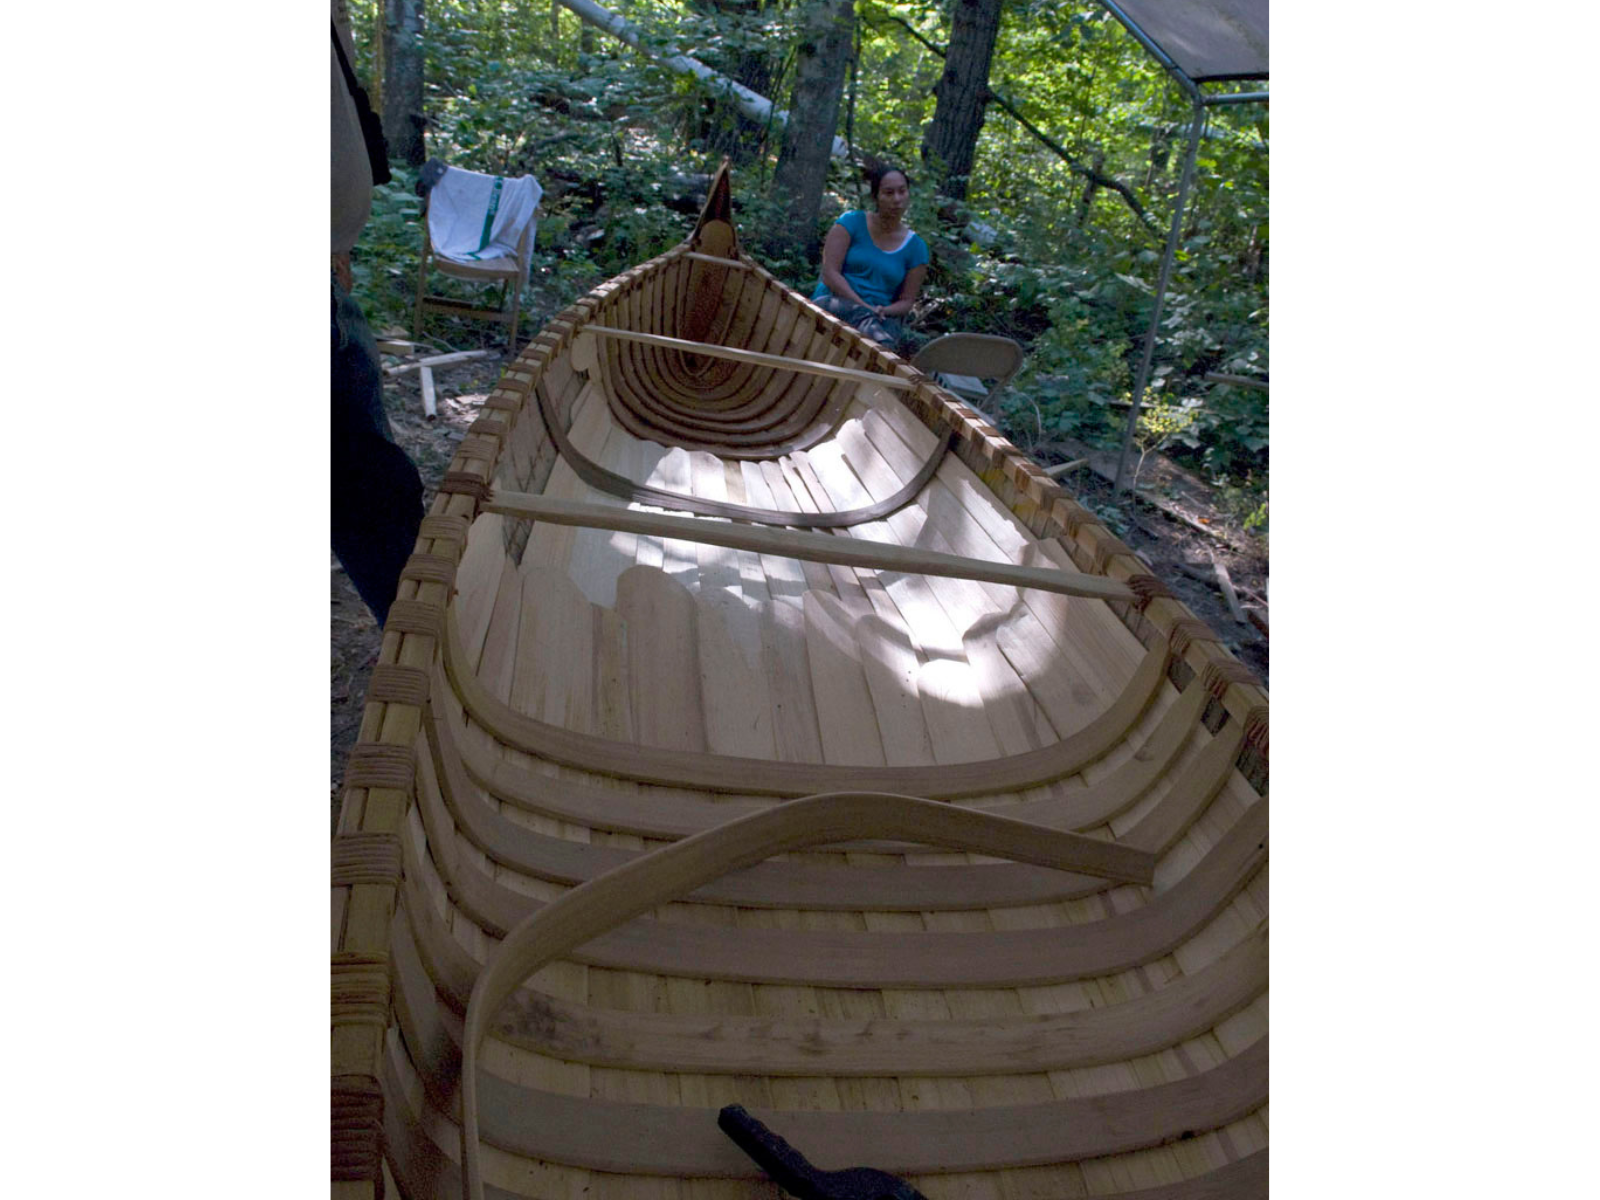
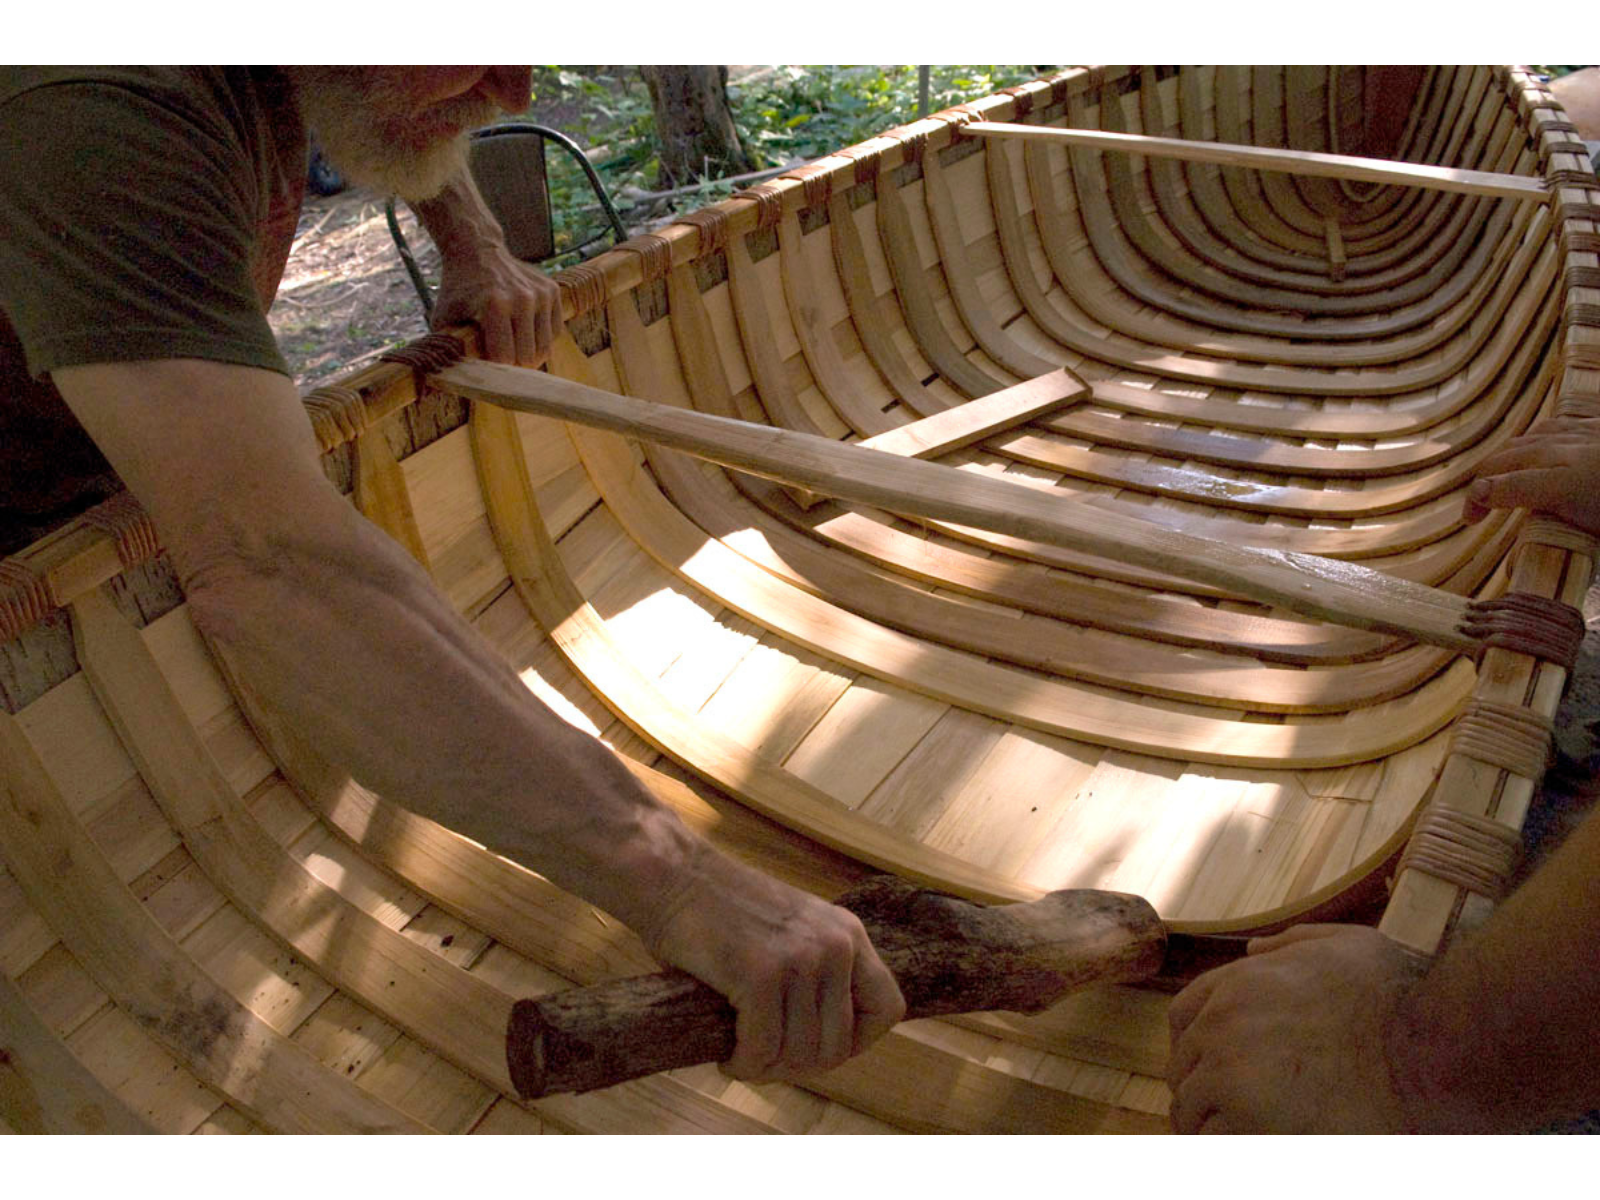
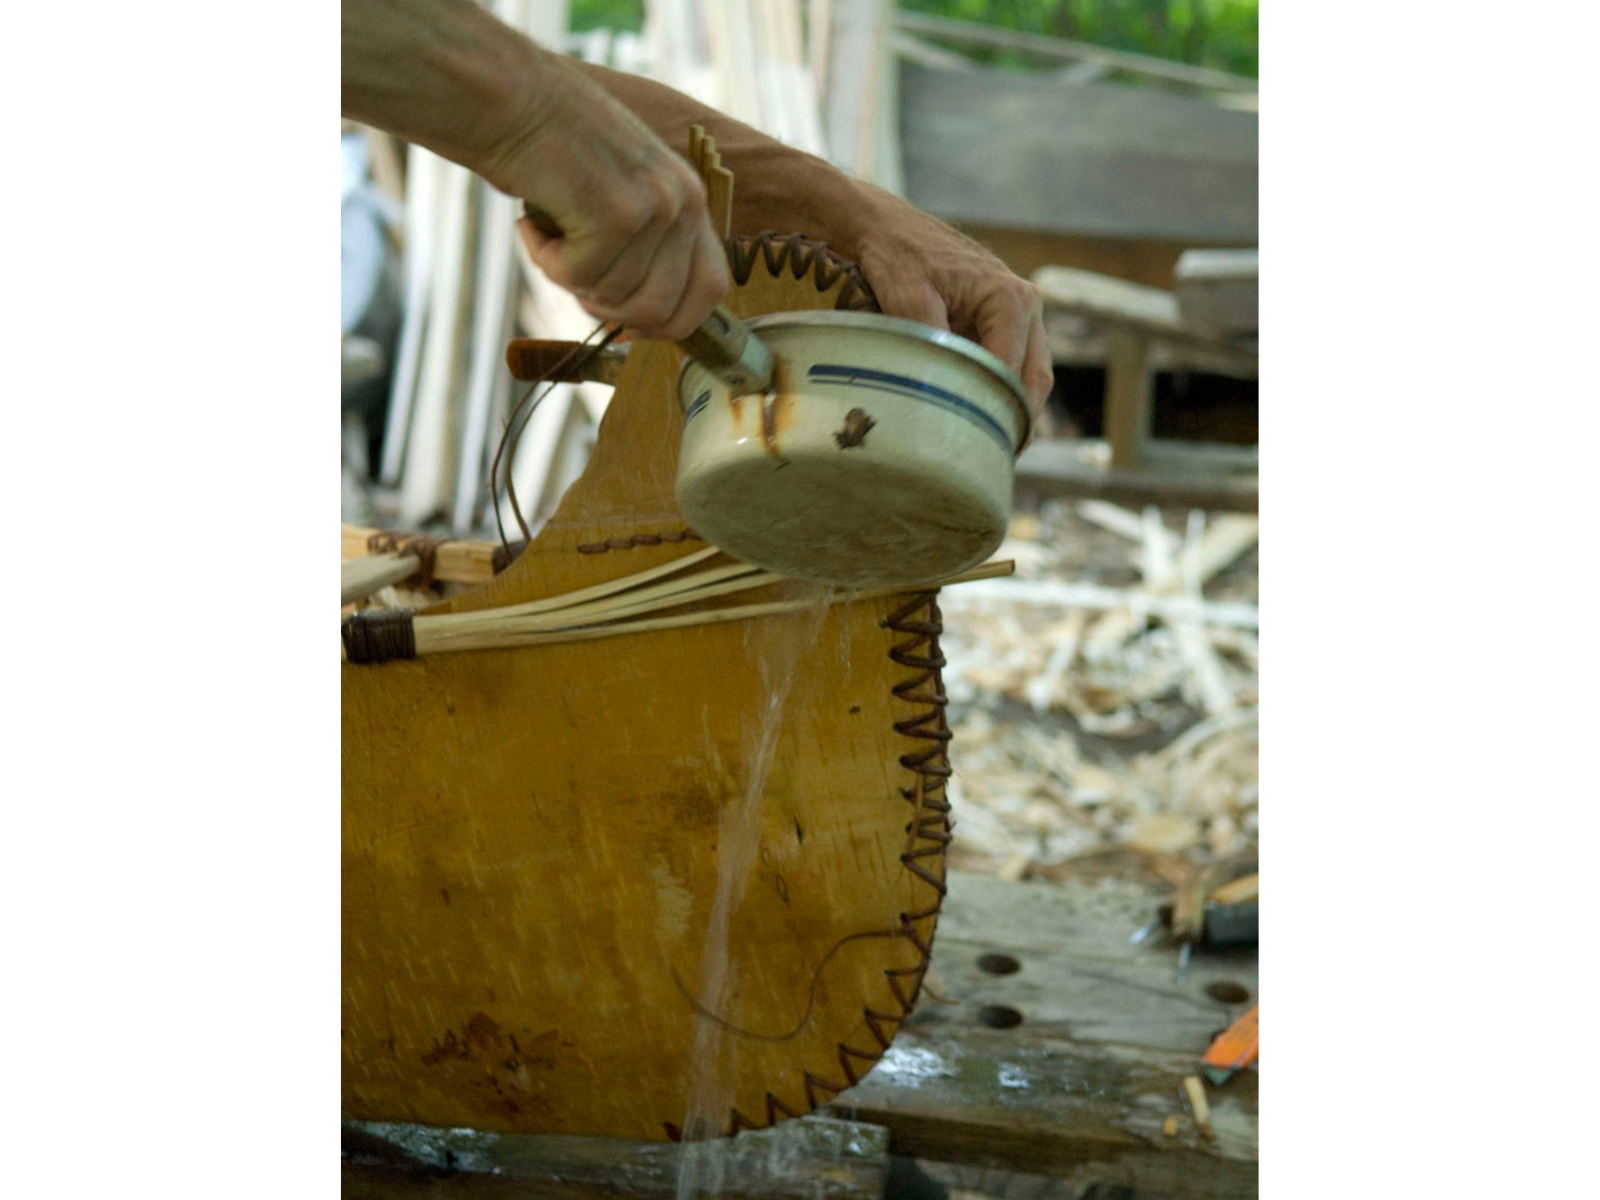
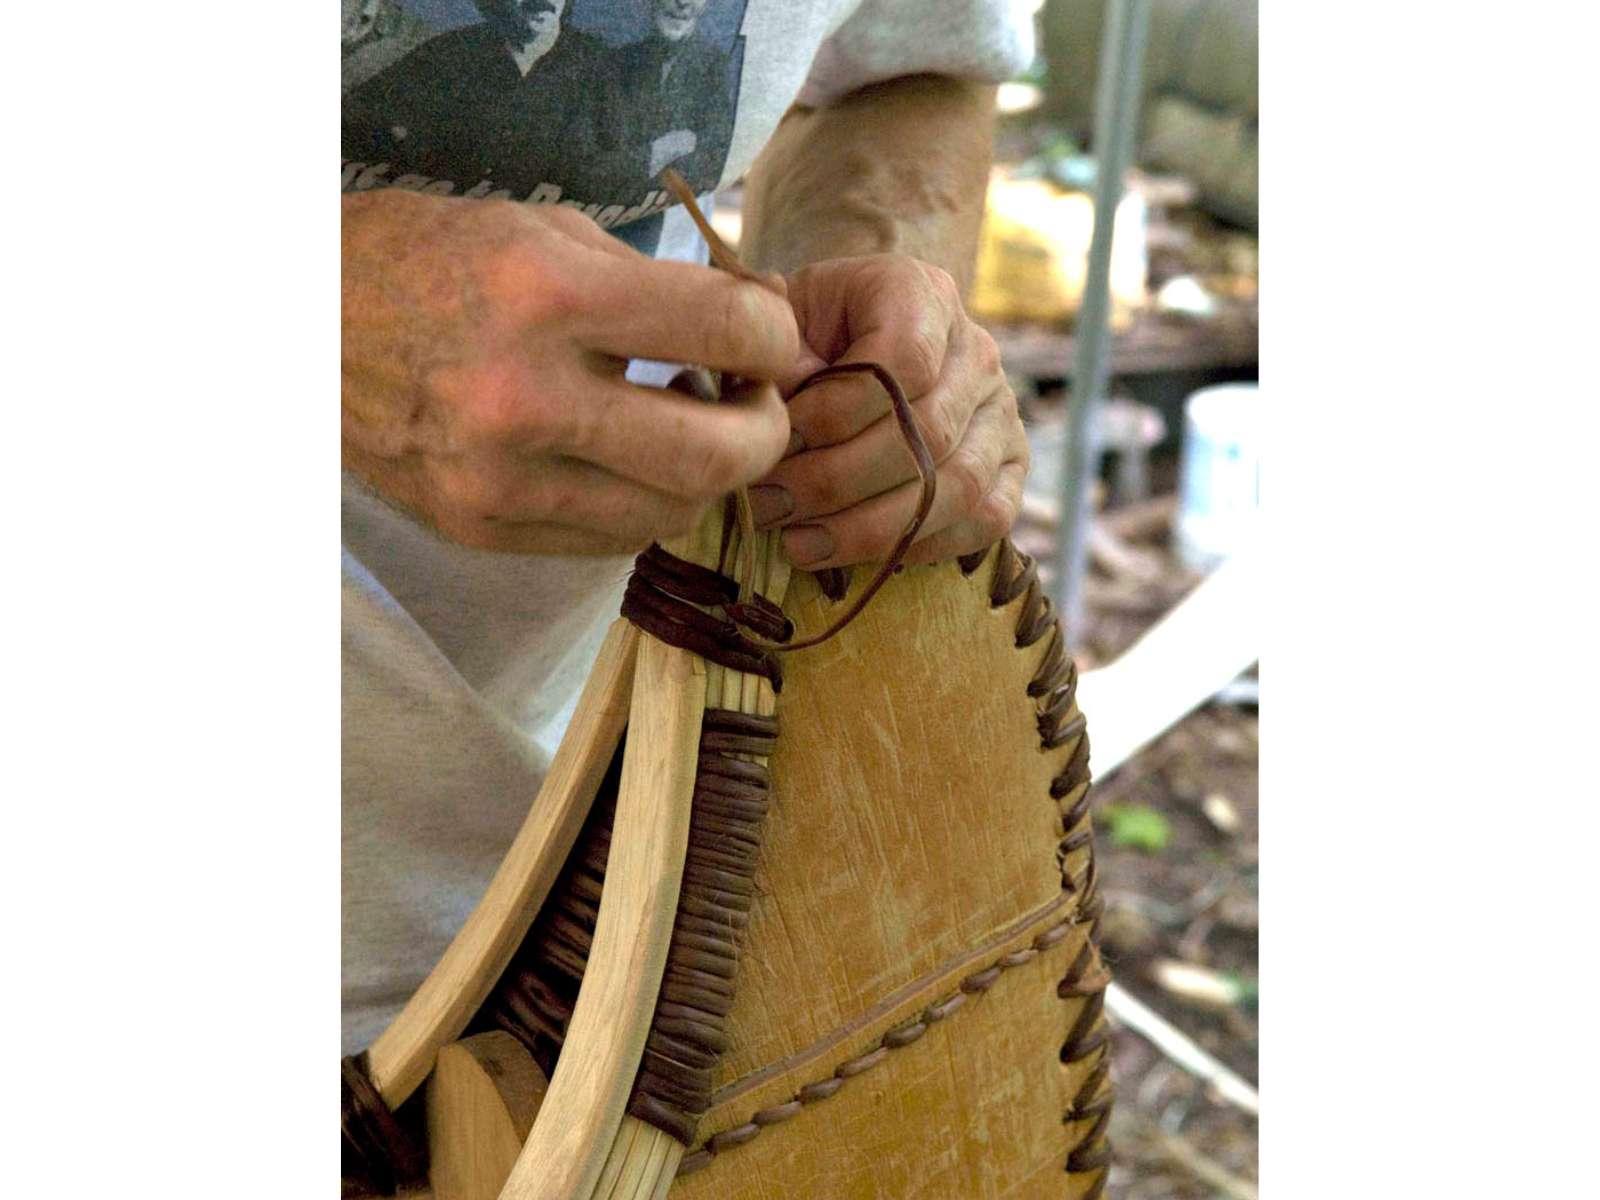
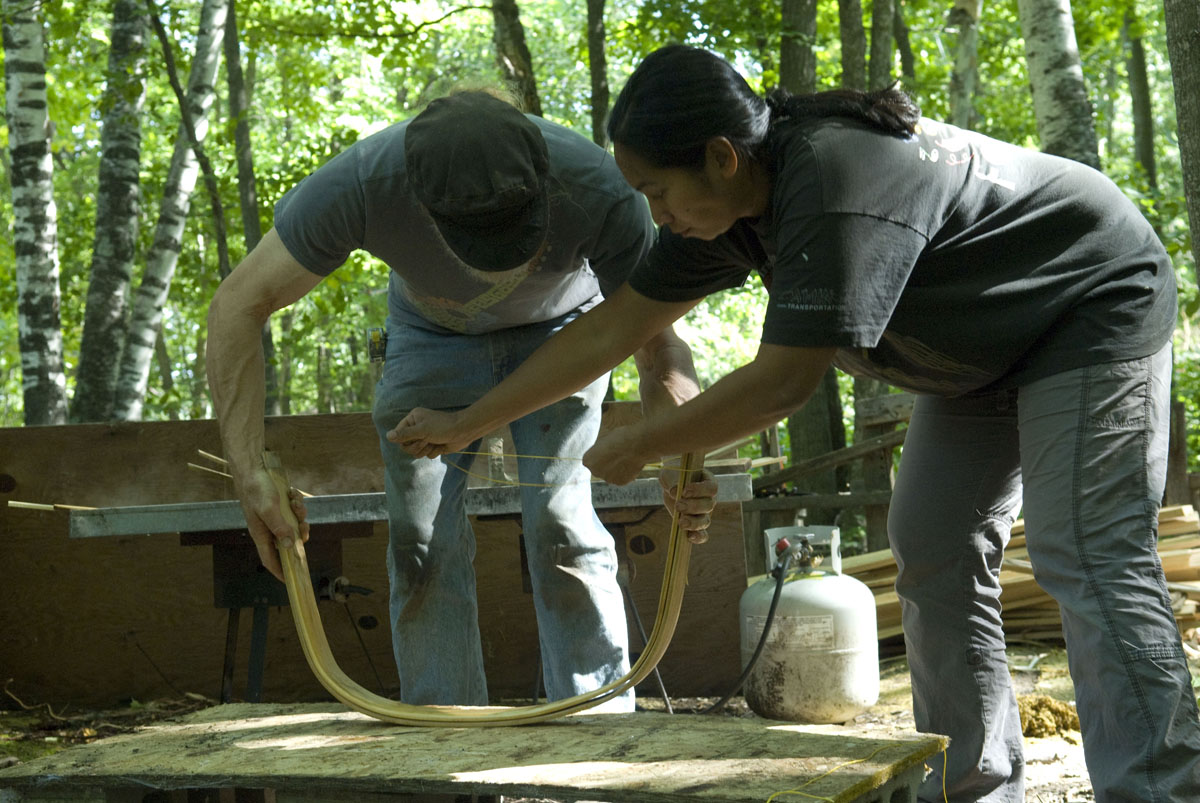
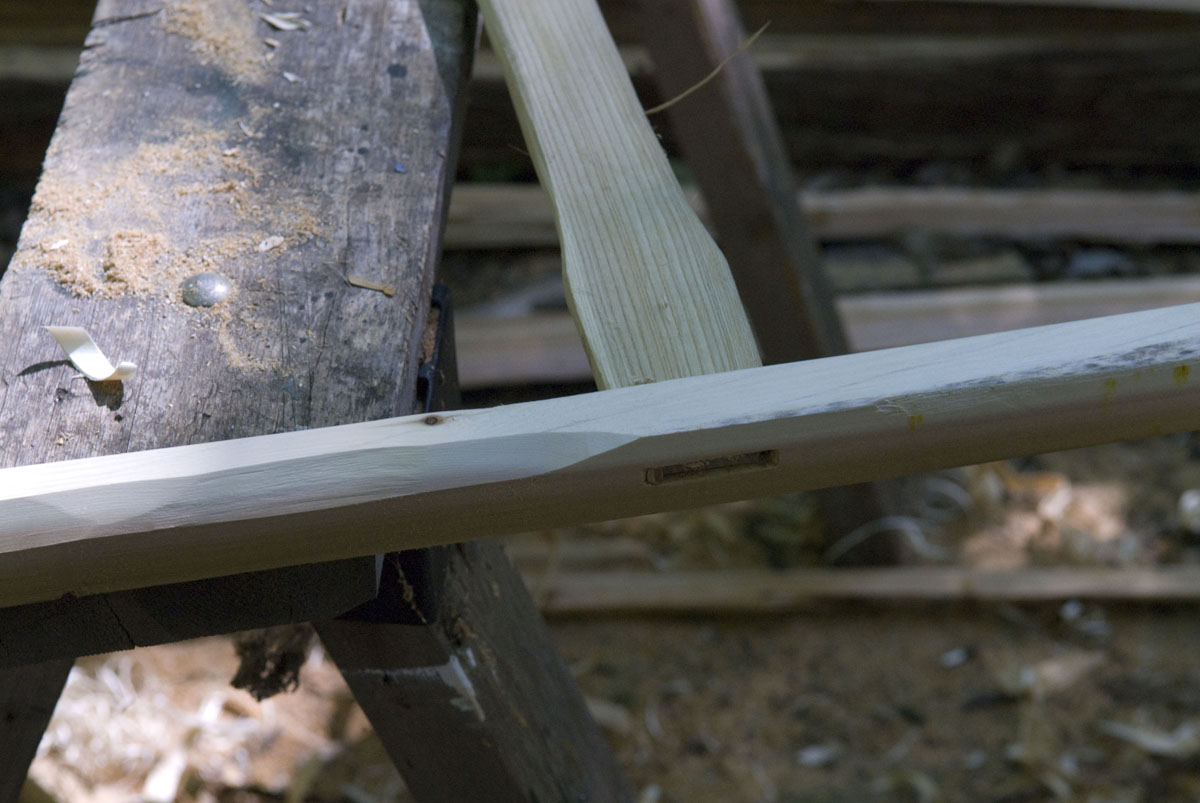
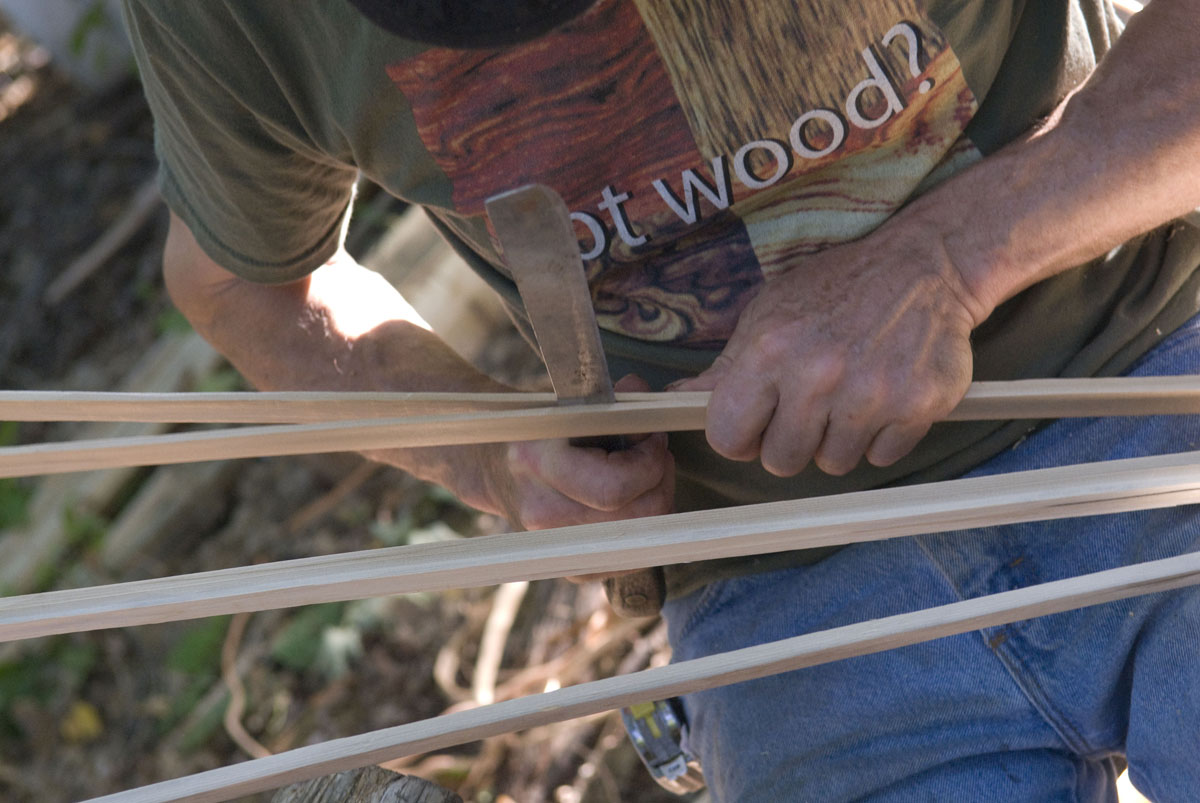
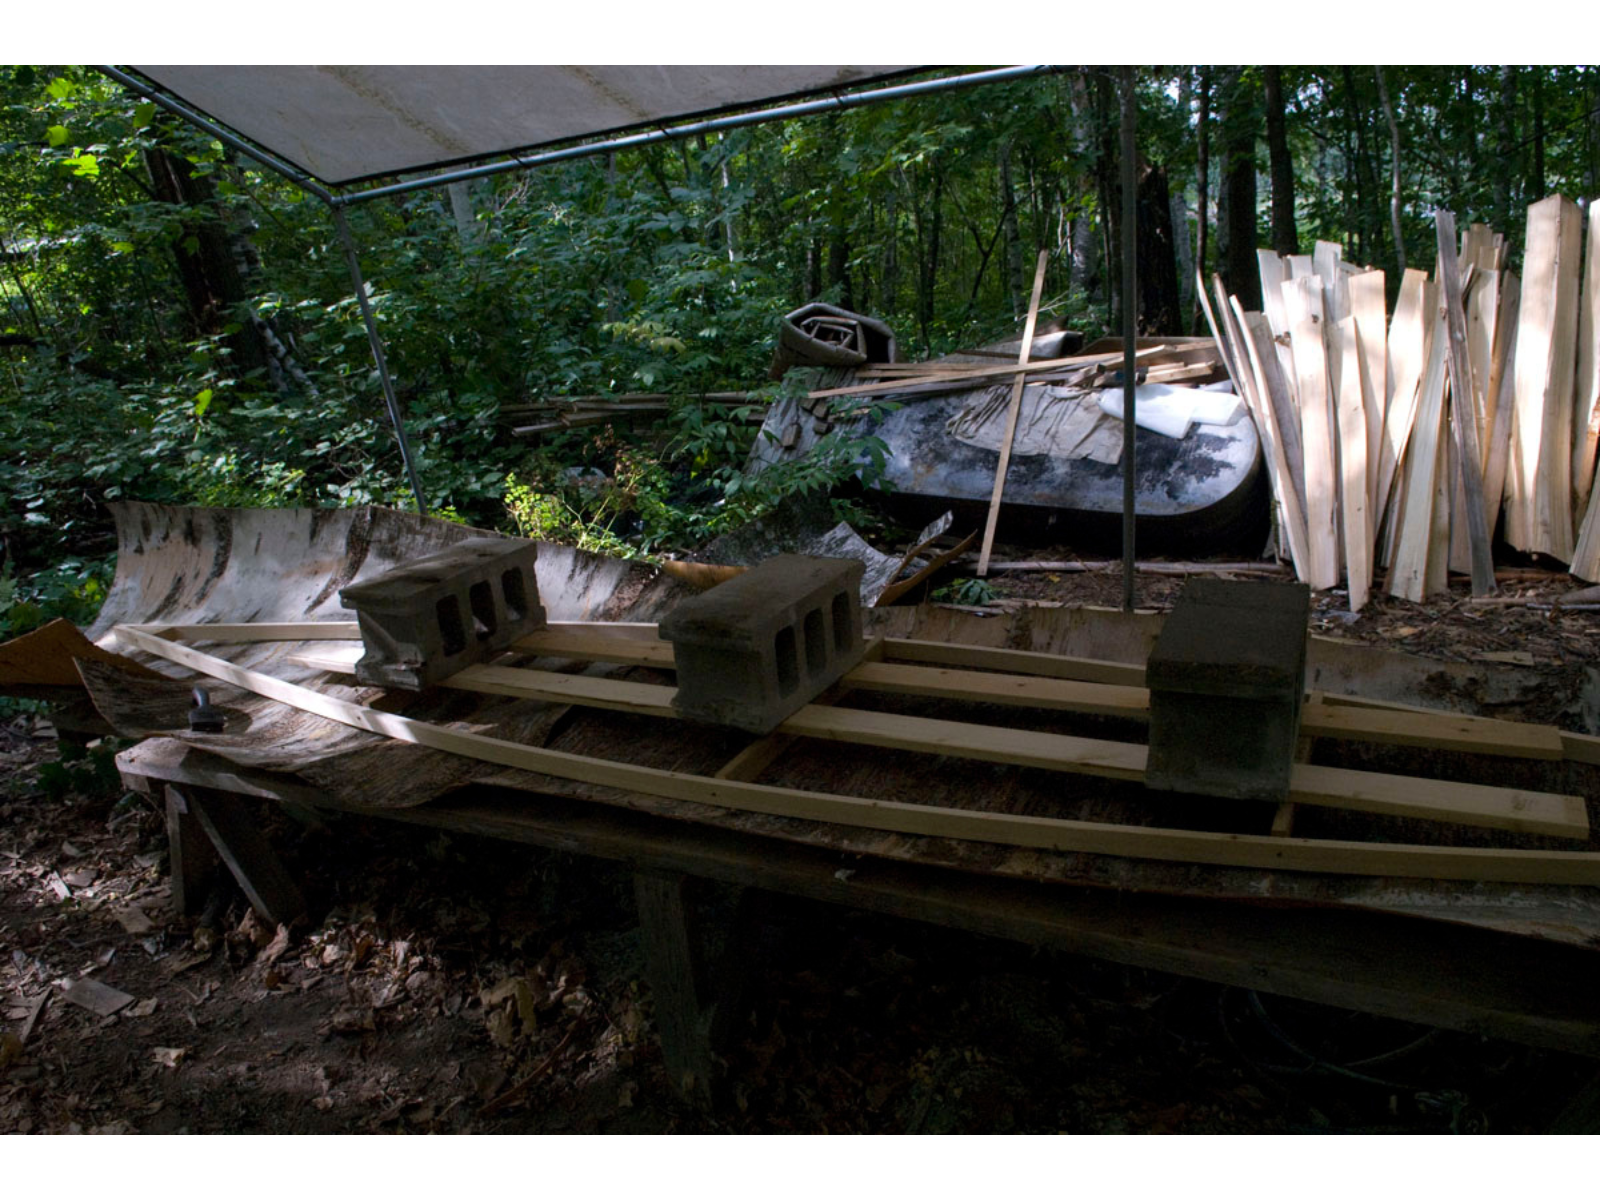
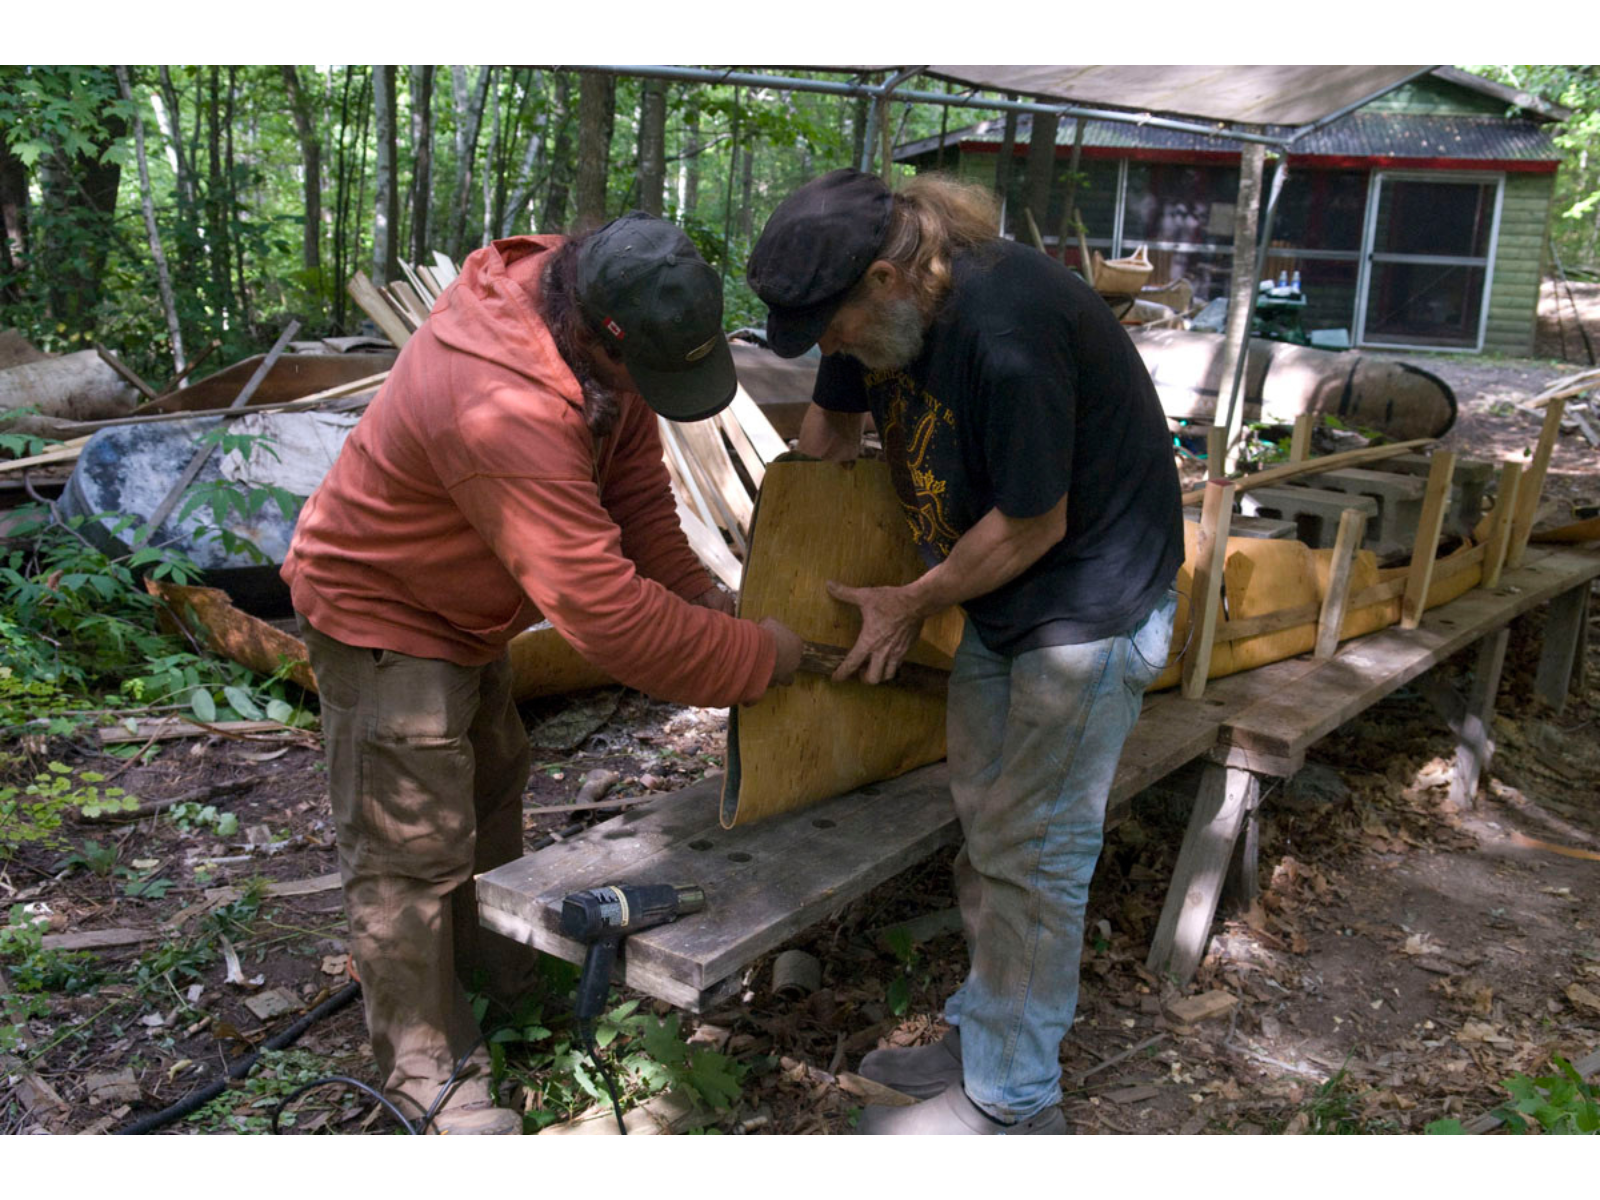
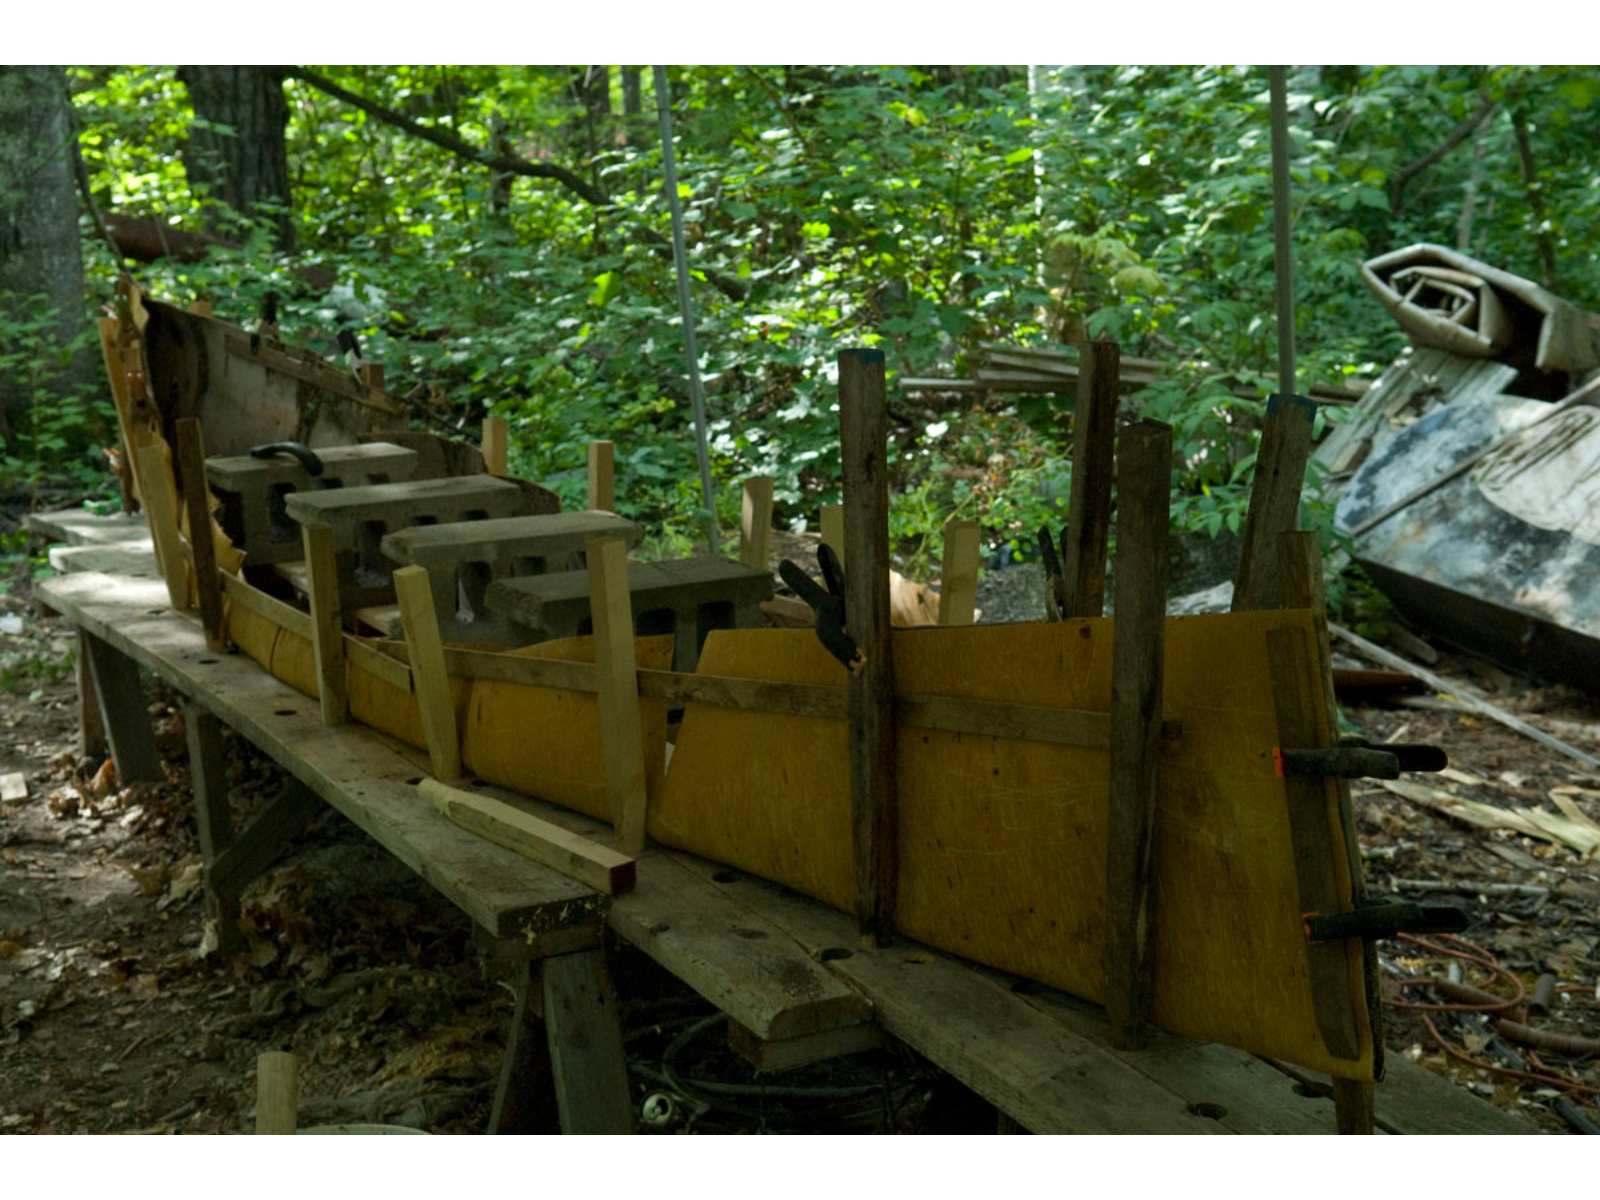
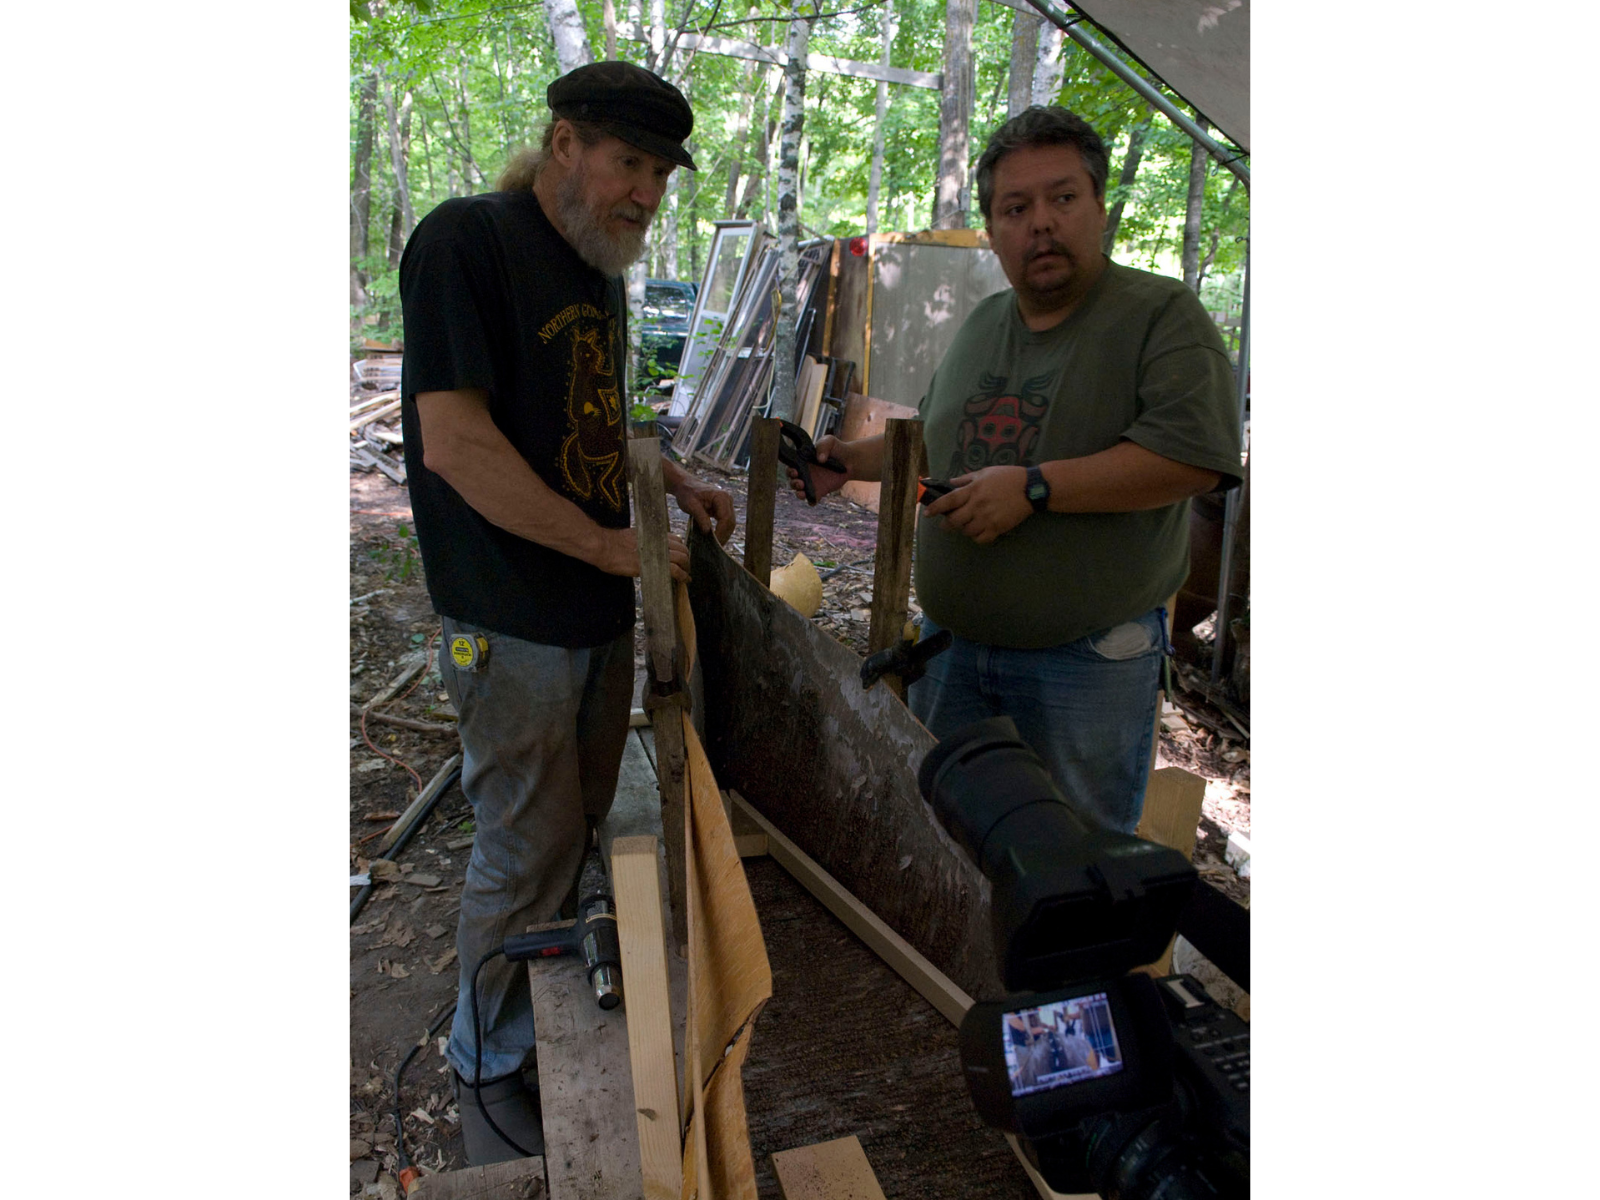
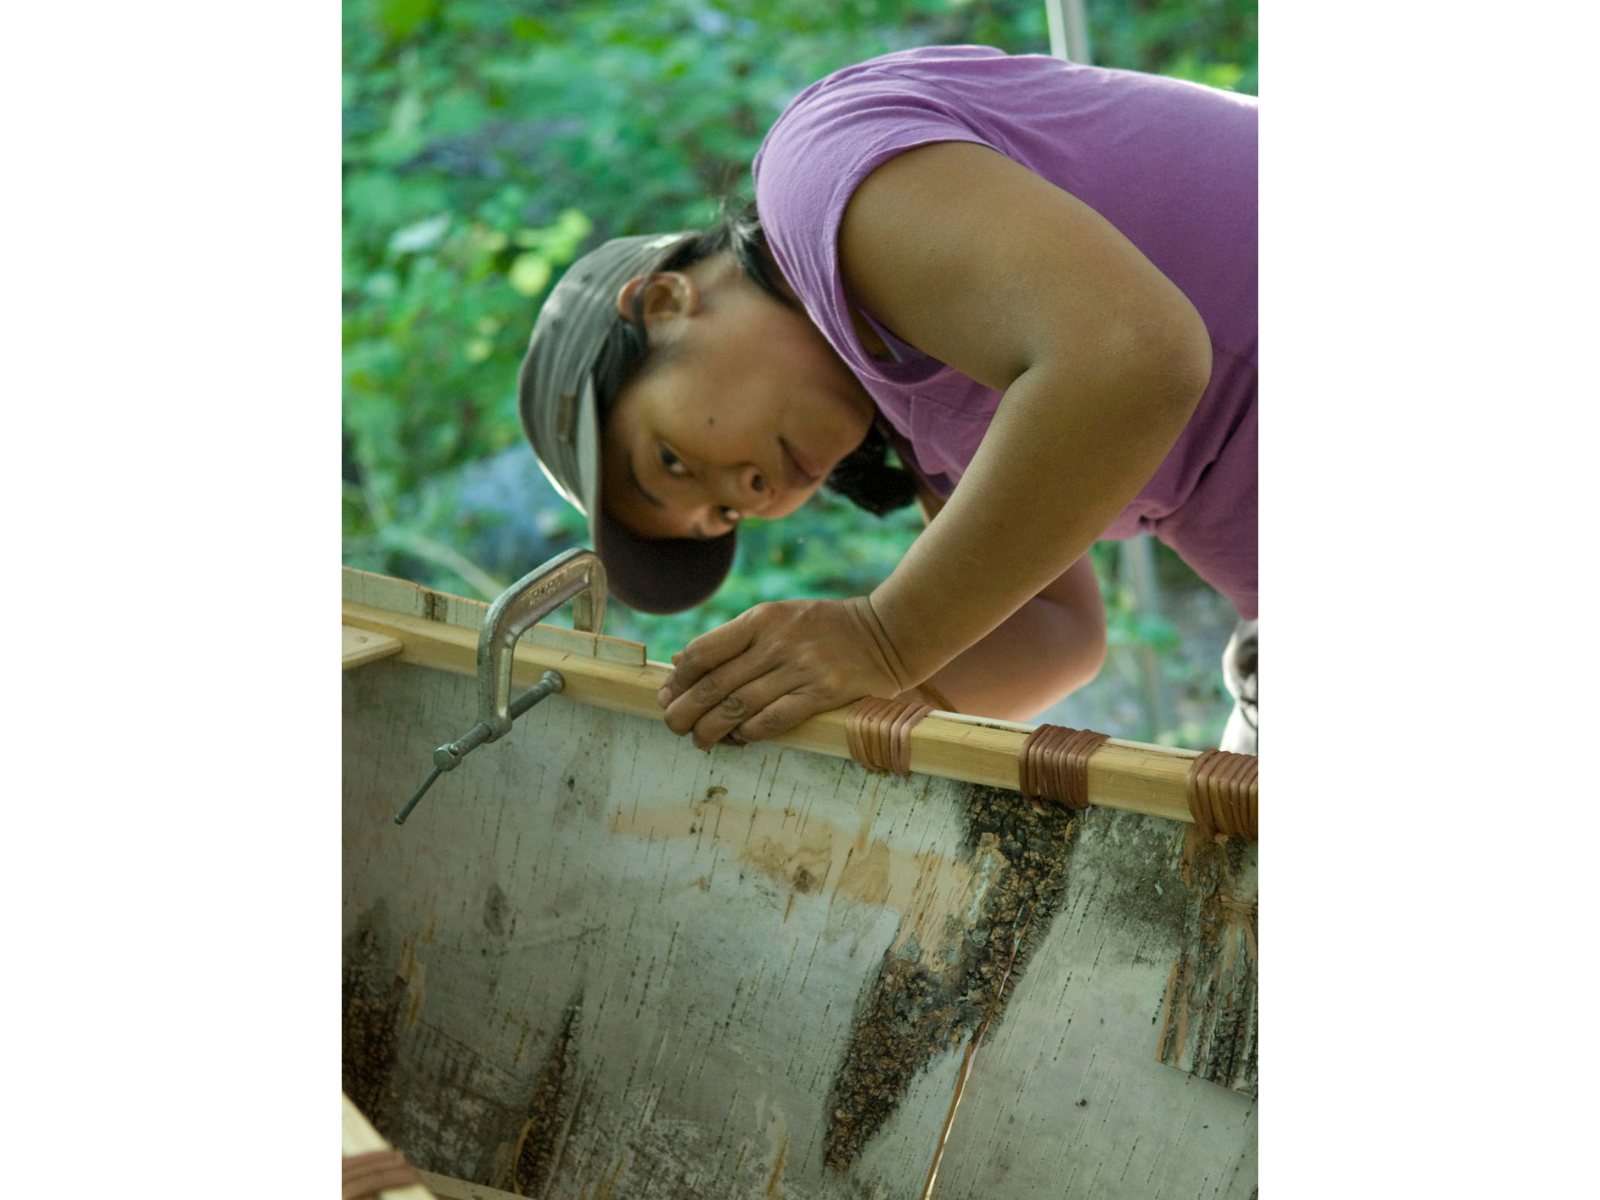
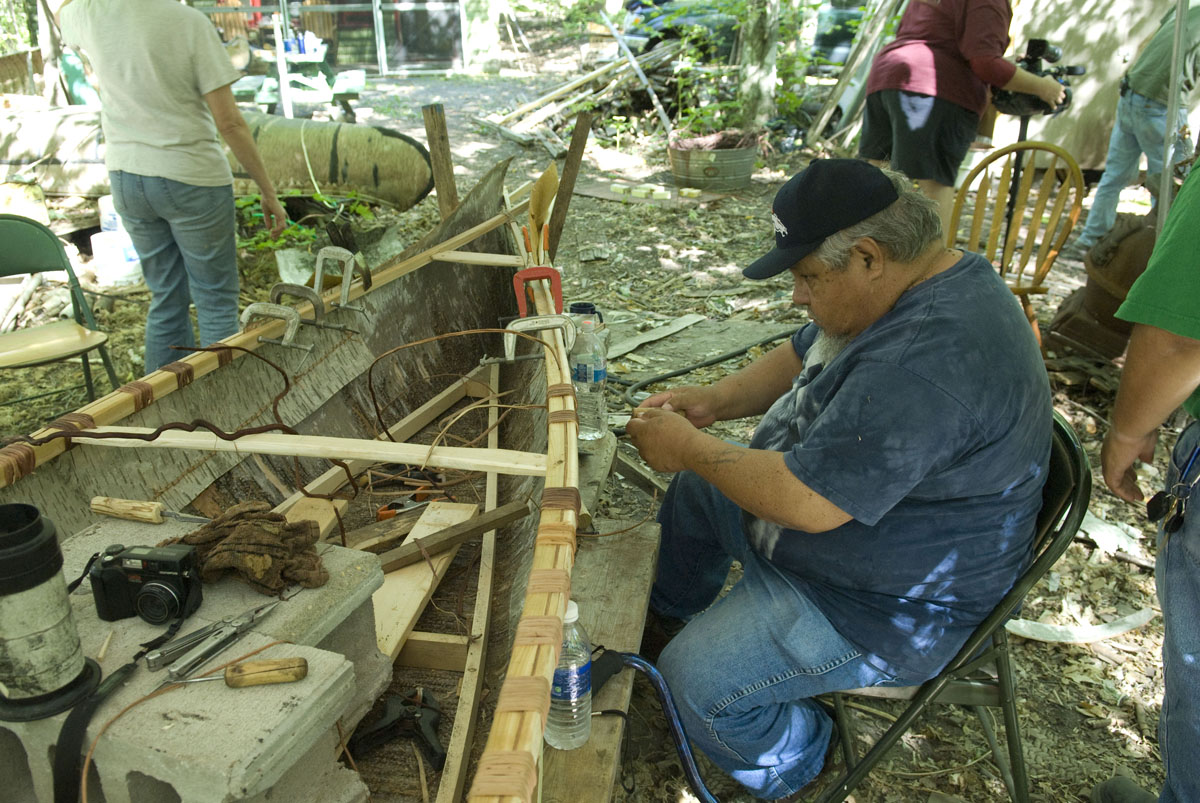
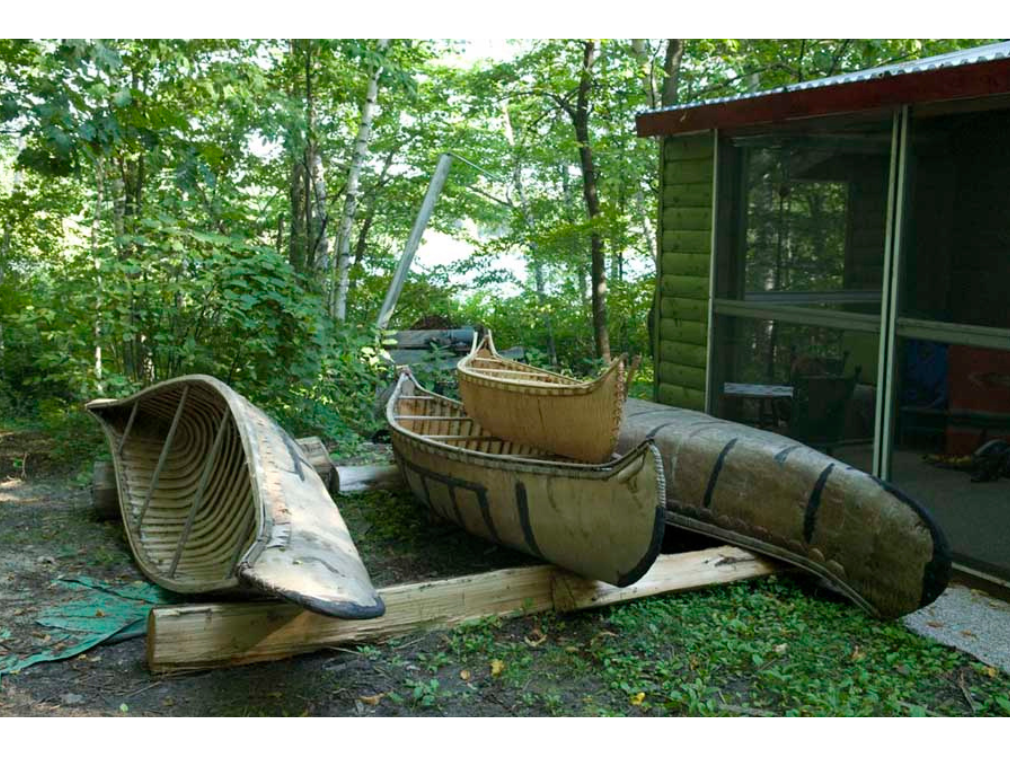
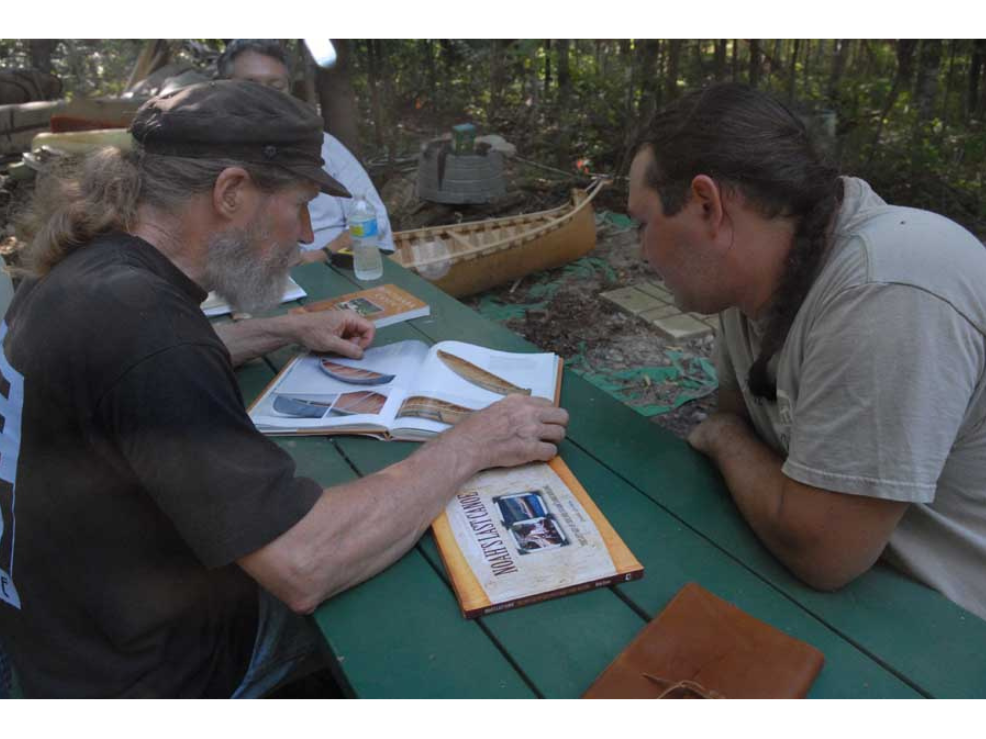
For those of you who have enjoyed my blogs on the creation of the Birch Bark Canoe you will be interested in seeing the video of how it was made. During the intensive 7 days we spent making the canoe Lakeland Public Television documented the construction of the birch bark canoe step by step. Scott Knudson filmed much of the activity and interviewed each of us about the canoe and what it meant to each of us. Scott was one of the producers and edited together a 57:03 minute documentary. The filming was funded under the Minnesota Arts and Culutral Heritage Fund.
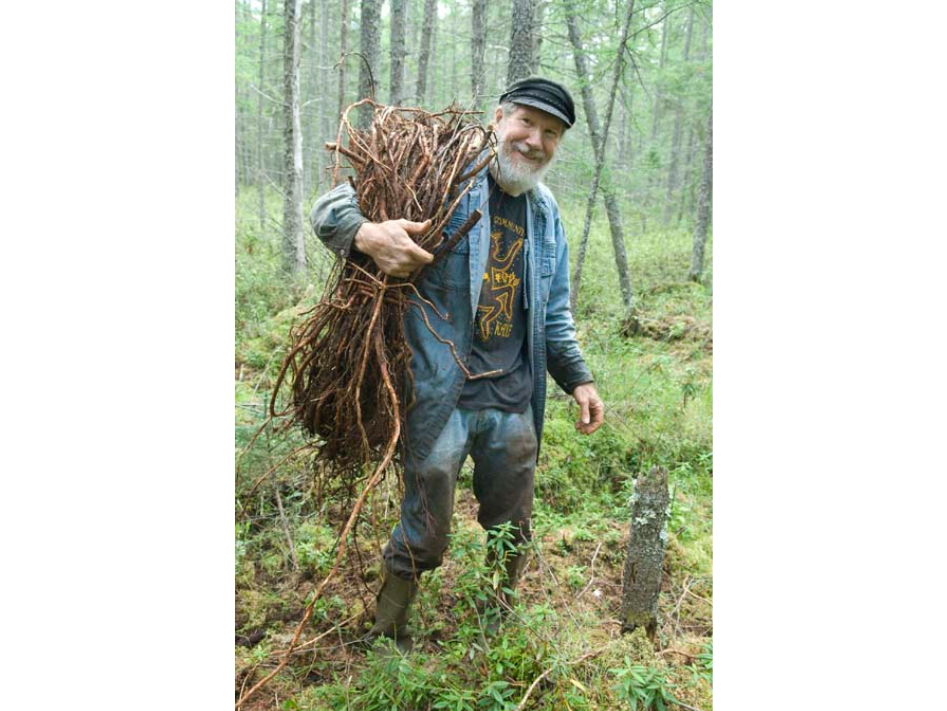
You may also be interested in the full un cut interview with Grant Goltz which has also been uploaded to YouTube, above. The interview with Grant Goltz was filmed for audio and video clips used in the full hour documentary (Search Grant Goltz).