"Paperwork is my life":

Department Staff Offers Collections Management Training for Association of Manitoba Museums

“Paperwork is my life”: Department Staff Offers Collections Management Training for Association of Manitoba Museums

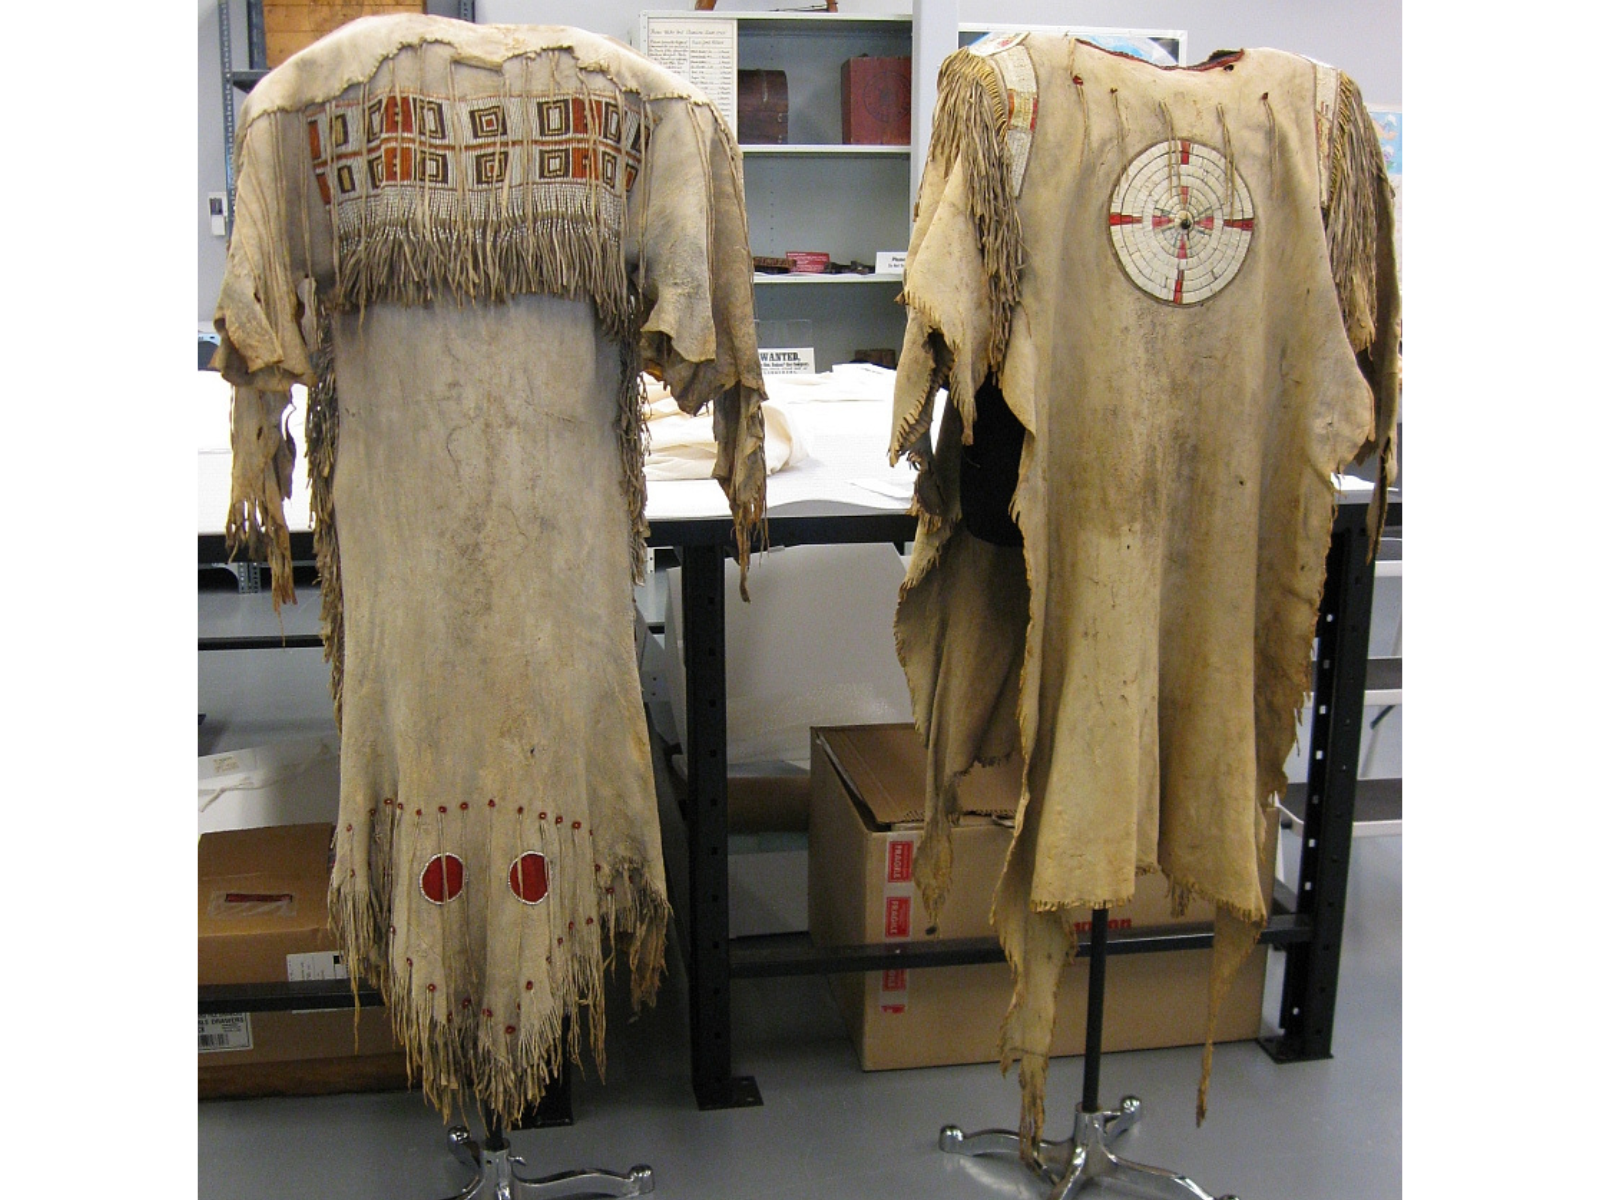
The Manitoba Museum is home to over 2.6 million artifacts and specimens. One role of the Collections and Conservation staff is to maintain records for each item from the time it is offered to the museum, accepted into the collection and then accessed for research and exhibits or loaned to other institutions. While the numbers may be smaller, the same Collections Management practices are used in community museums throughout the province.

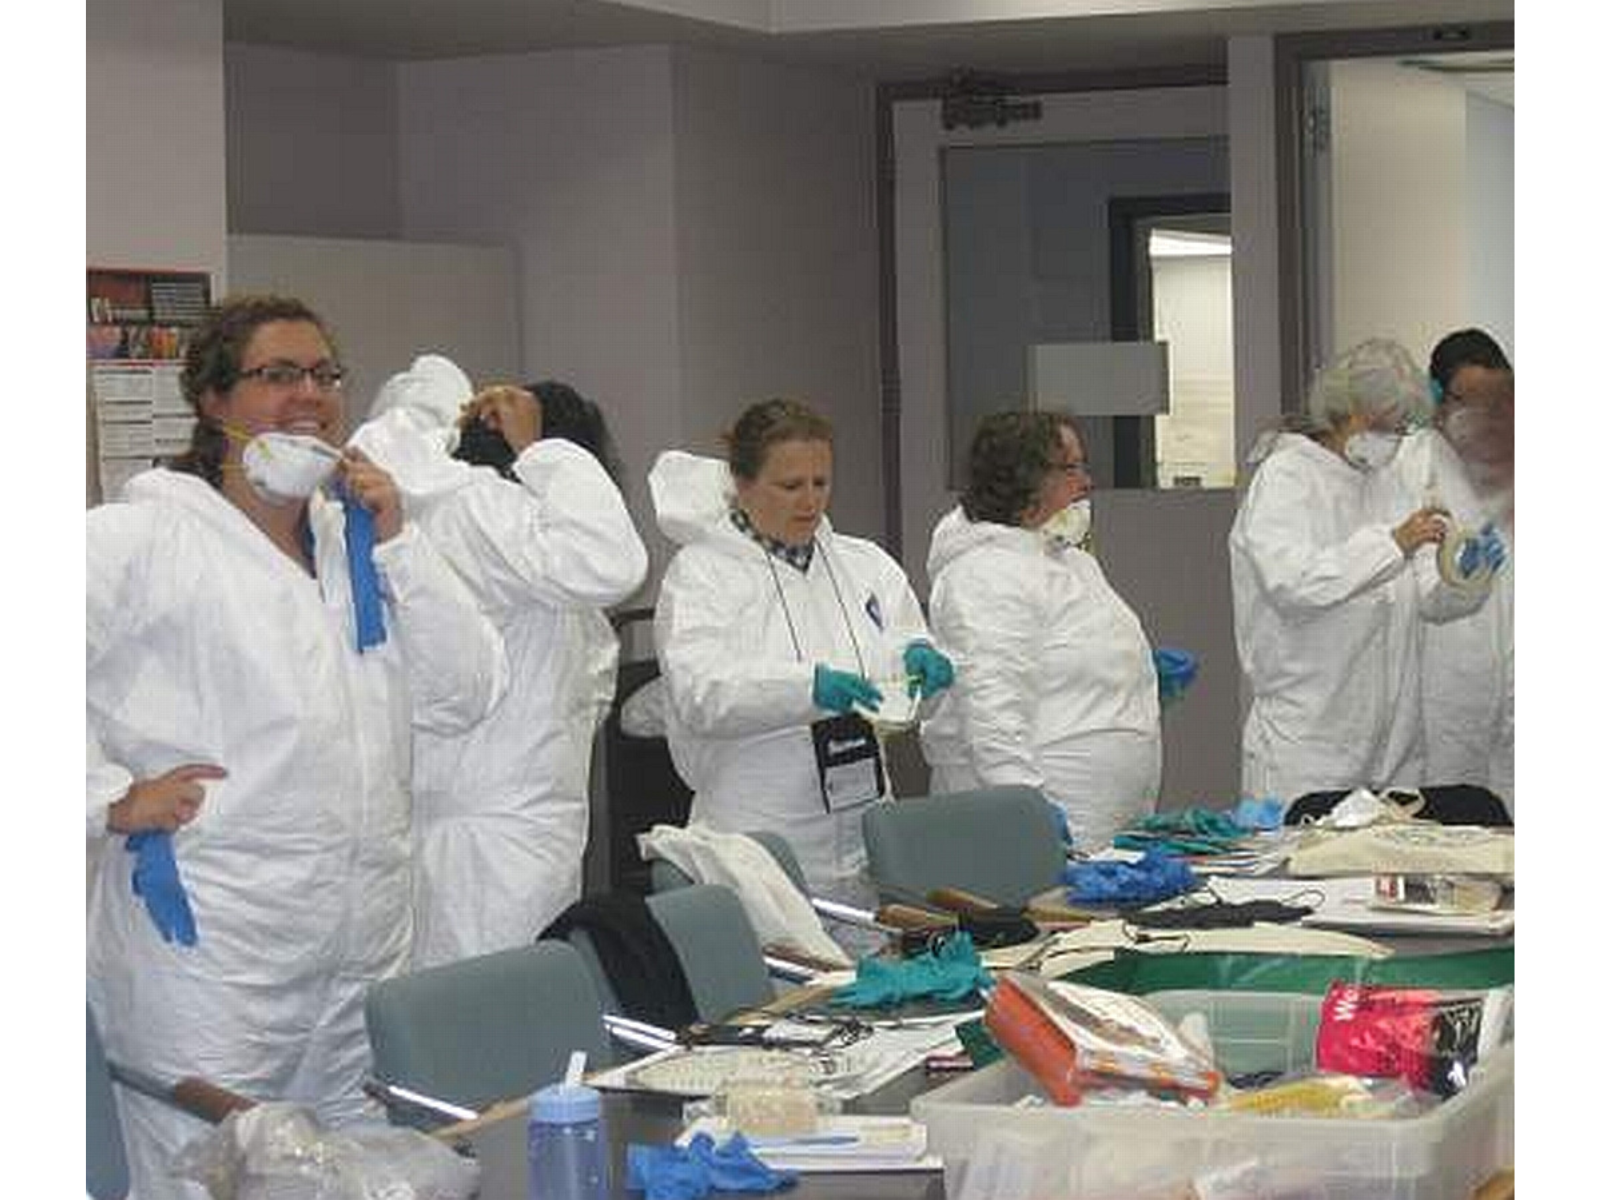
Recently, Nancy Anderson, Collections Assistant-Human History, instructed a training course on Collections Management in Shilo, MB. The aim of the course is to give participants the tools to properly manage a museum collection. The course is part of the Association of Manitoba Museum’s Certificate Program in Museum Practice. The thirteen participants represented ten museums throughout the province, including three new museums in Argyle, Brandon, and Richer.

Four individuals sitting around a table in discussion with each other over papers and notebooks.

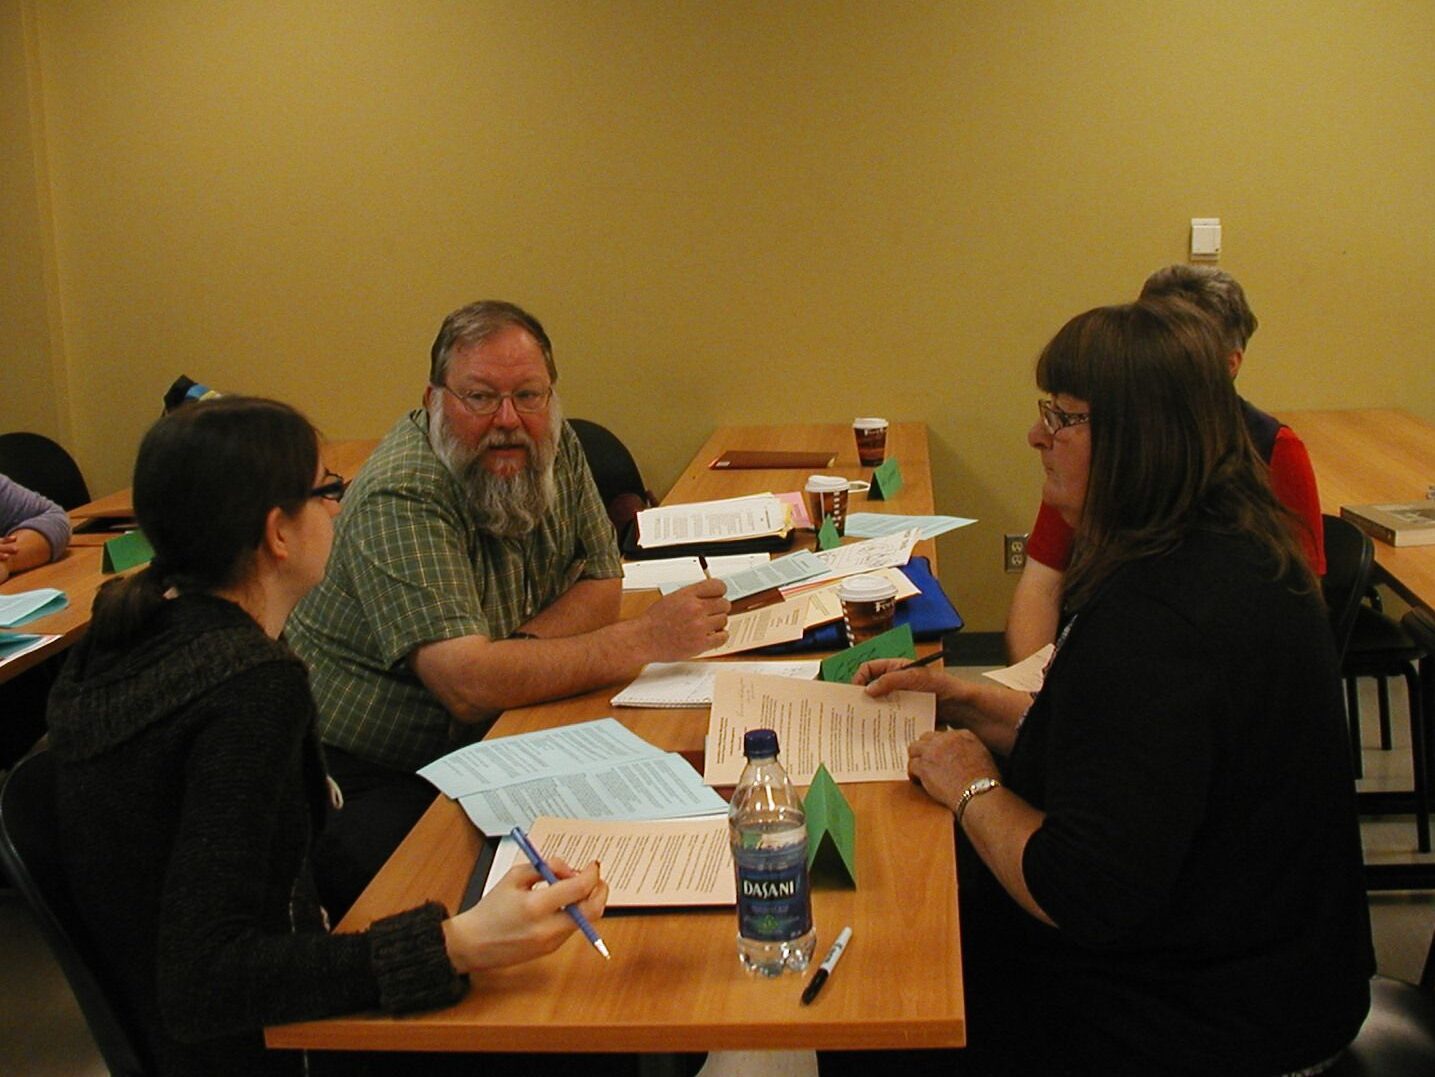
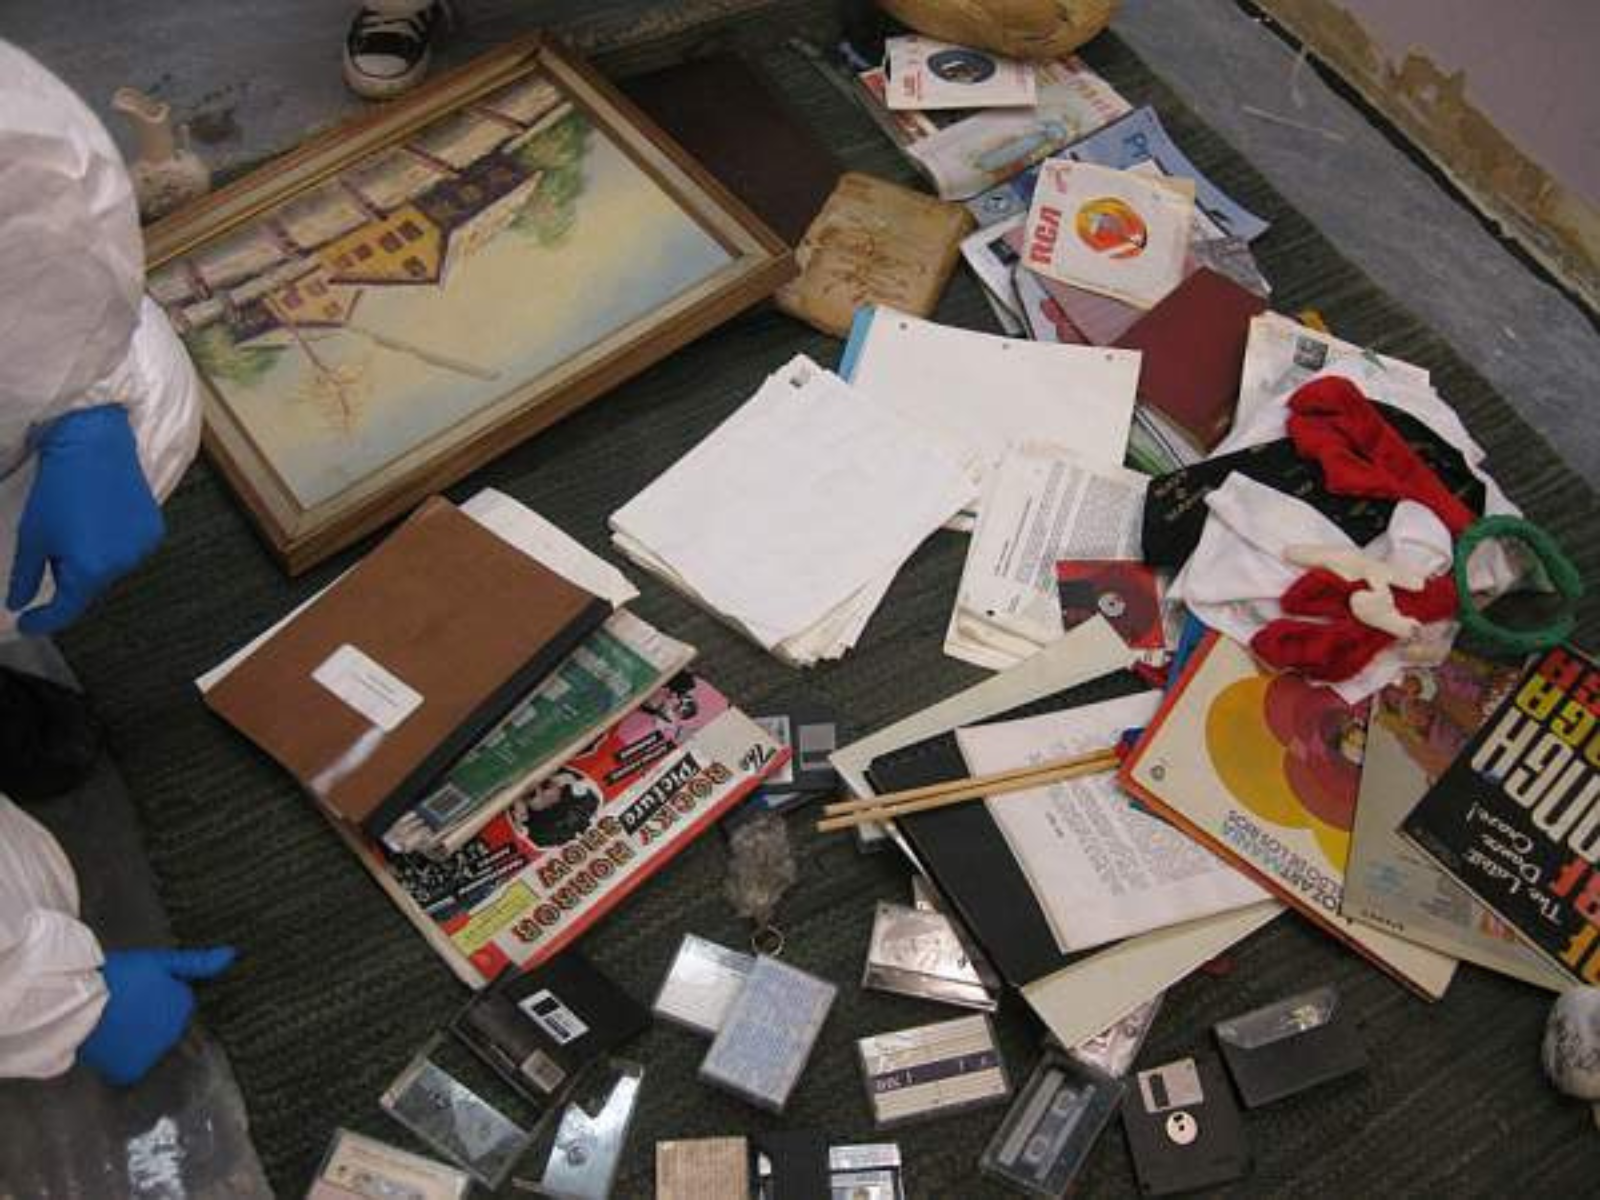
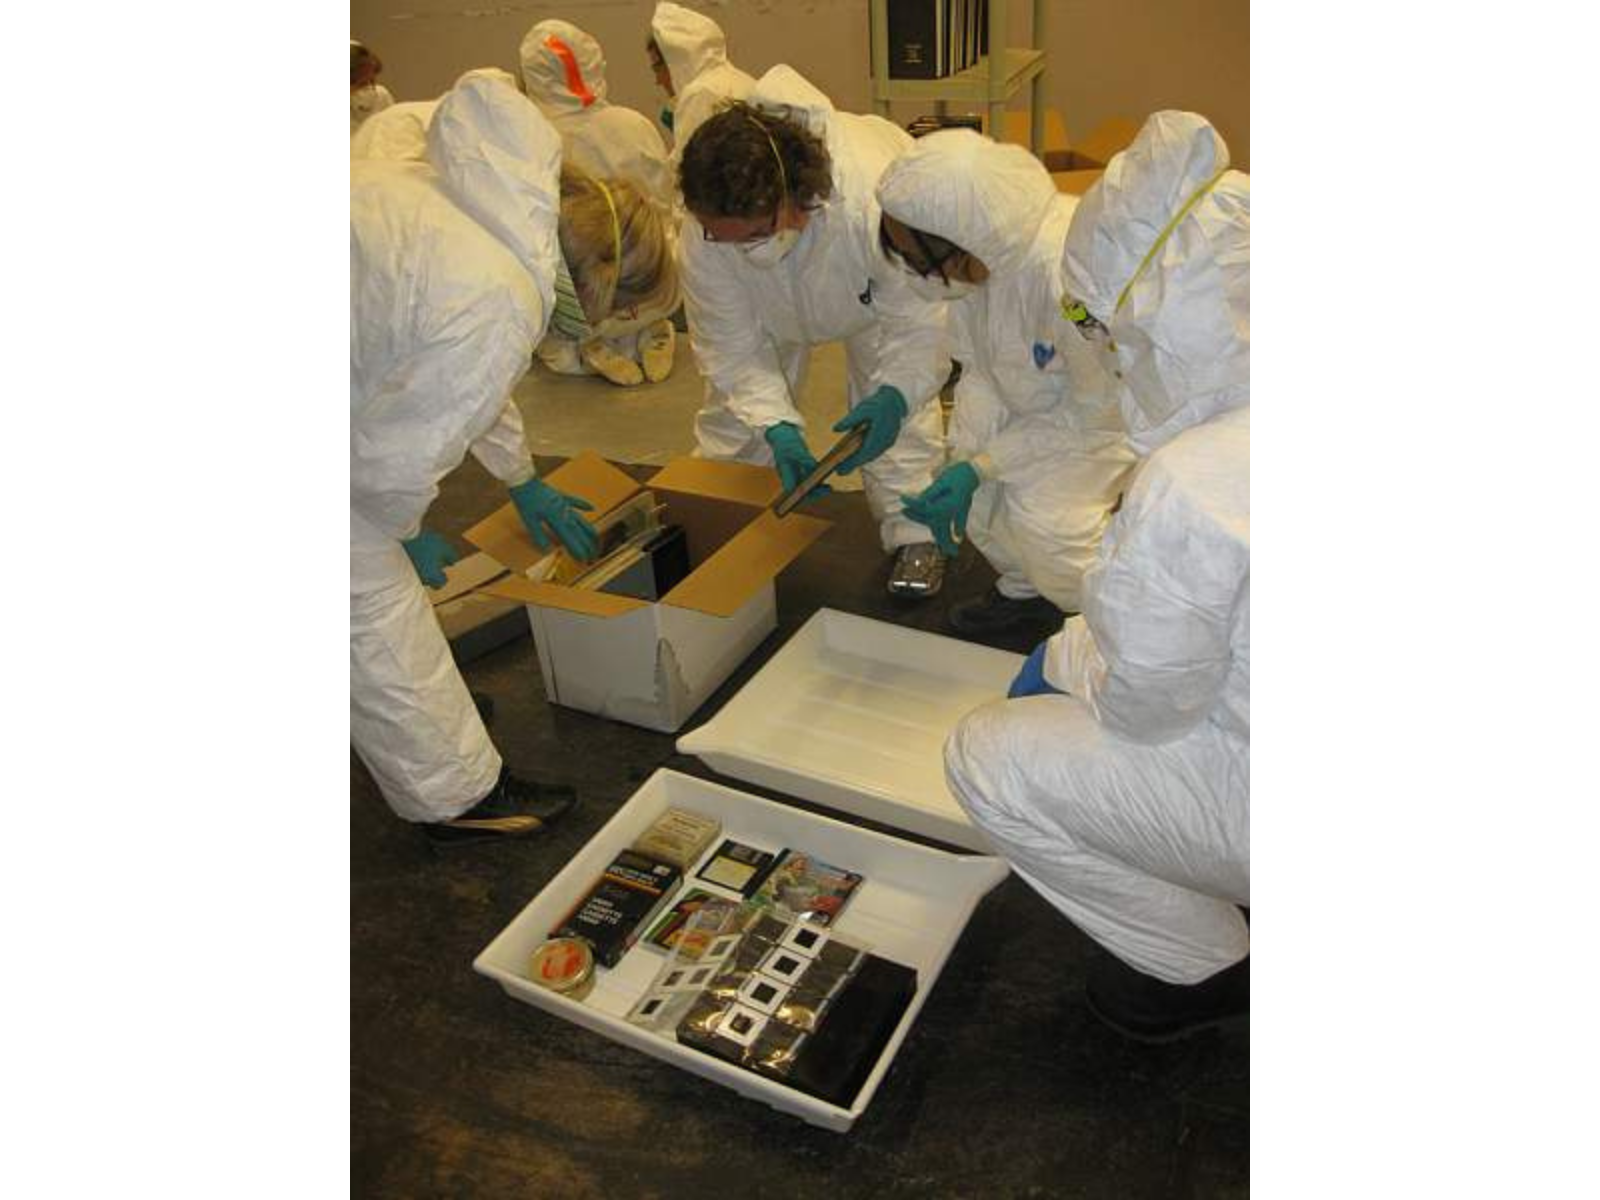
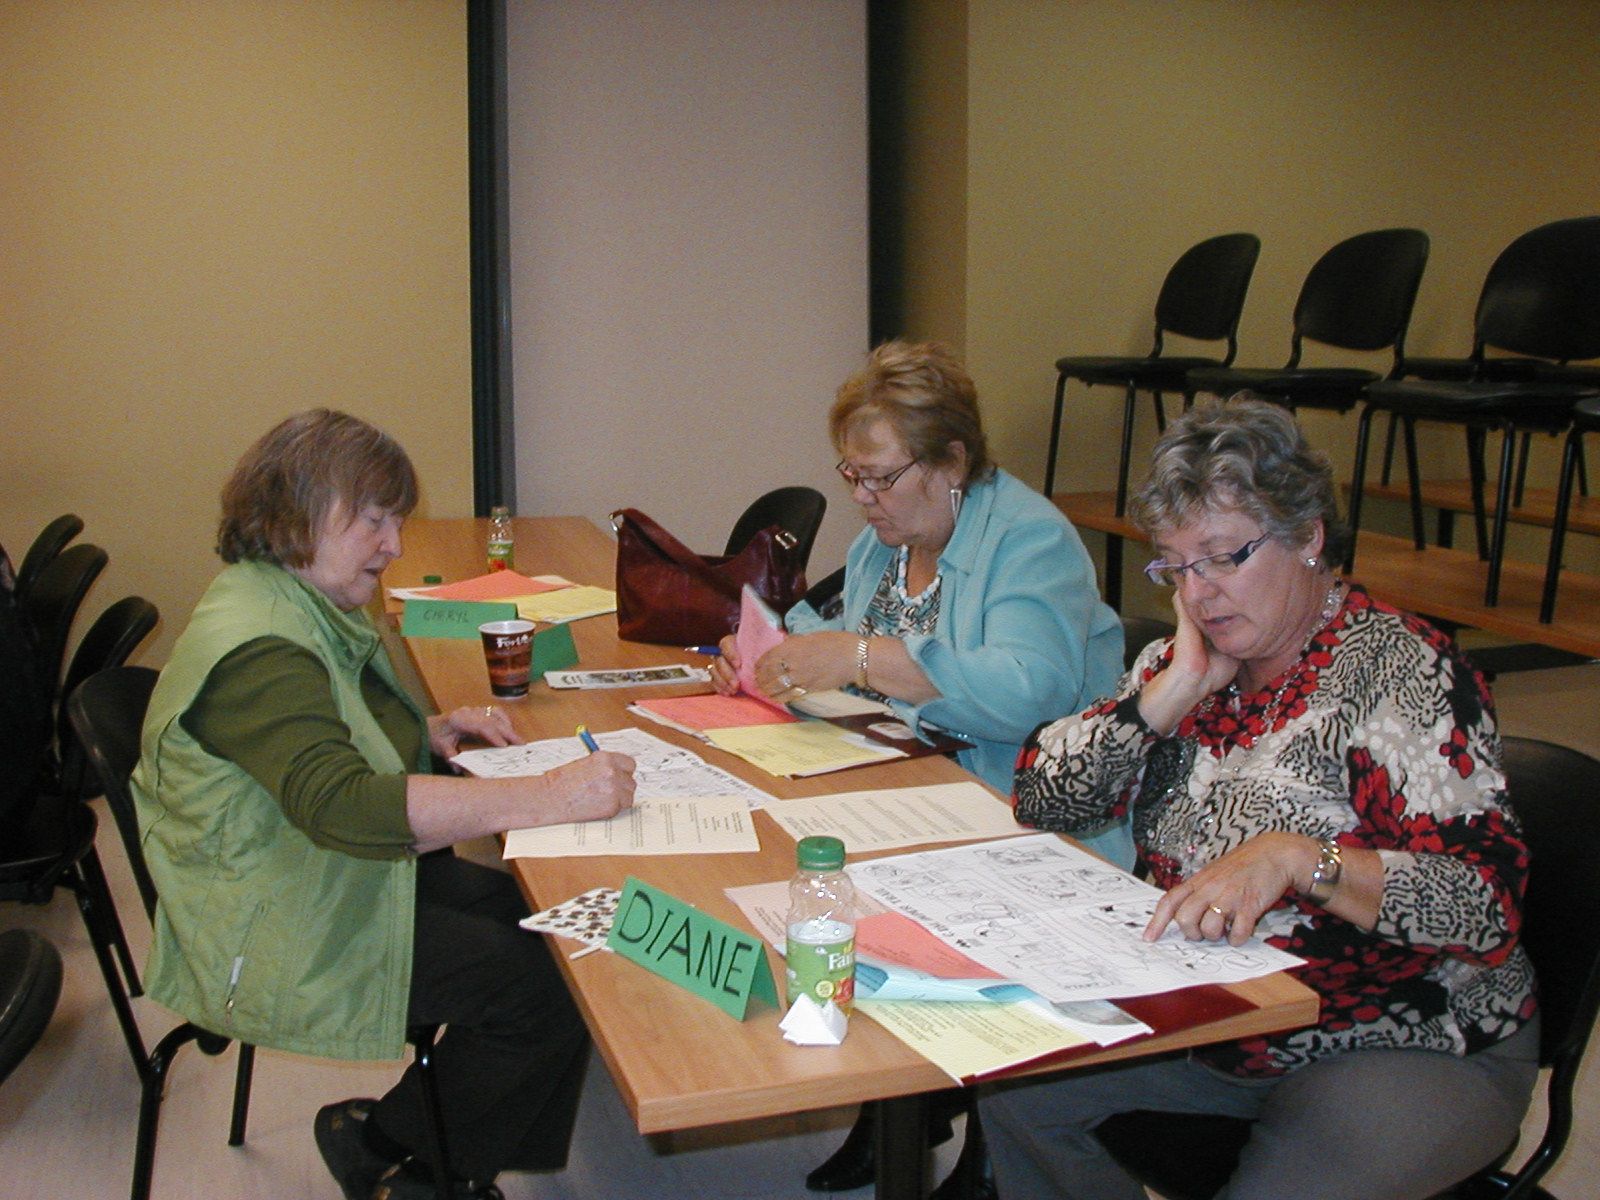
Participants take on the role of a Collecting Committee at a fictional museum and debate whether a list of objects fits the museum’s Collections Policy.

Three individuals seated around a table in discussion with each other over papers and notebooks.

Following the path of a new artifact through a collections procedures flow chart.

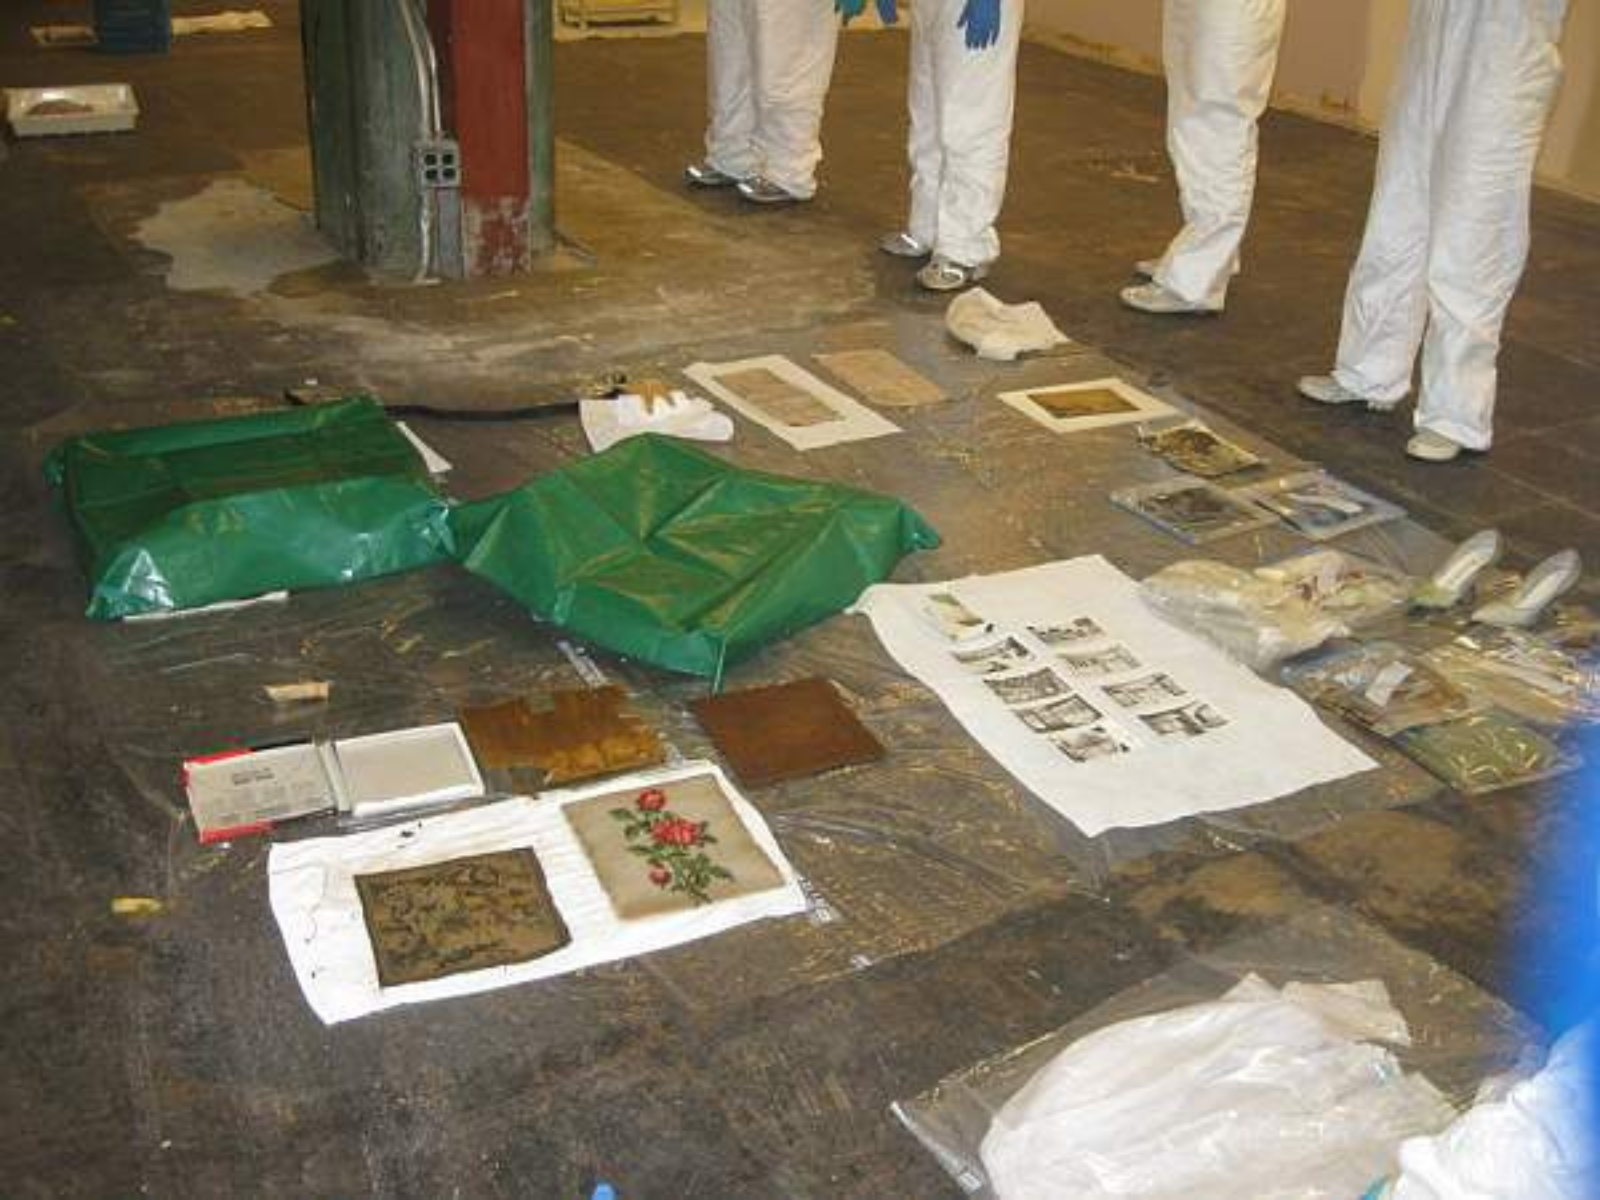
In order to be good stewards of our heritage, museums need to be selective in what they accept into their collection. Participants frequently want to know how to fairly represent the various families, businesses, and organizations within their community without alienating community supporters or overwhelming the museum’s volunteers and resources. In other words, how do you say no? The answer to that question is to develop a Collections Policy that lets people know what you do collect. A strong policy builds on the museum’s Statement of Purpose (why do we exist?) and describes how and what the museum will collect and how the collection will be used.

Sometimes it seems like the motto for Collections Management could be “Paperwork is my life”. The course stressed the importance of establishing procedures for record keeping for museum collections. Good records insure the museums are meeting their legal and professional responsibilities. The accumulated information about an item enhances its value. Proper catalogue records link that item with its story so that the knowledge can be shared with others.

What’s Growing in Storage?

By Lisa May, past Conservator


While perusing the collection in storage Roland Sawatzky, Curator of History, discovered something growing…

Artifacts are donated to The Manitoba Museum from all walks of life. Some may still be in their original packaging, never touched, while others may be very well used. Artifacts, regardless of their overall condition, can be very sensitive to the environments in which they are stored. The museum uses dedicated HVAC units to keep the temperature and humidity of the rooms at conservation standards.

When artifacts arrive at the museum they must acclimatize to their new environment and sometimes this may cause funny things to happen. During Roland’s visit to the storage room he discovered two wooden collar boxes with a strange white substance on them. As he was concerned it was mould growth he brought them immediately to the conservation lab to be assessed.

Close up on white crystals growing on a wooden surface.

Closeup image of crystals on the wood surface.

Close up on a white crystalline substance with sparkly flecks inside it.

Another closeup view. It does look similar to mould, but it’s not.

The substance, found not to be mould, was white coloured crystals growing on the finished areas of the wooden boxes. It appeared to be a component within the finish or varnish which had leached to the surfaces. This most likely occurred while the artifacts adapted to their new environment. In this case, the crystals were cleaned from the objects and luckily caused no harm (i.e.: staining) to their surfaces.

Two wooden collar storage boxes positioned next to three aged-white collars and small baggies with collar studs.

The collar boxes and contents after cleaning.

In the darkness of The Manitoba Museum storage rooms unexpected things can occur in our controlled environmental conditions. Fortunately, with eagle-eyed and talented staff we do our best to resolve issues when they arise so the collection is preserved for future generations to enjoy.

Hands On: Practising Emergency Response

The 37th annual Canadian Association for Conservation conference was held in Winnipeg in May 2010. Conservator Lisa May attended a two-day pre-conference workshop entitled “Advanced Issues in Emergency Preparedness and Response”. As part of this workshop, Jane Dalley from Heritage Conservation Service (Winnipeg, MB), instructed a hands-on component. Workshop participants experienced how to handle, stabilize and clean water damaged items.

A row of people suiting up in white protective clothing and face masks.

Participants wear protective clothing. In an emergency scenario, there could be dust, mould, and water

A variety of objects including a rug, painting, notebooks, cassette tapes, floppy dusks, and more piled on the floor.

A variety of objects made of different materials had to be rescued.

Four people wearing white protective clothing sorting various artifacts into trays and boxes.

The different materials are triaged and separated according to how they will be treated.

A series of painting an photographs laid out on paper towels on the floor. In the background the legs of four people wearing protective clothing can be seen.

In one room, wet objects are laid to dry on paper towels and clear polyethylene.

A small tapestry and two prints laid out on a cotton sheet.

In another space, things are drying on a cotton sheet. Notice dye has run on the print.

Objects like CDs, CD cases, floppy disks, and film slides laid on a small table made from pipe and netting.

Still more objects are laid out on a homemade table made from plumbing pipe.

A wet notebook with paper towels inserted between each page to aid in drying.

Paper towels are placed between pages to speed drying.

An individual wearing white protective clothing, blue rubber gloves, and a white face mask kneels on the ground next to a shop vac and an old and worn straw hat.

A shop vac is useful in a flood or leak.

This was just one part of the workshop. Lectures and discussion to share experiences and questions were an invaluable aspect, but hands-on practice opportunities are rarer. Thanks go to the Canadian Conservation Institute, helped by local organizer Ala Rekrut from the Archives of Manitoba for presenting this professional development opportunity.

Speaking of Vacuuming…

A significant part of the conservator’s job is cleaning. At the Manitoba Museum, our numerous open dioramas require regular vacuuming. The larger dioramas require a team of staff including the Conservators, Diorama Artist, Exhibit Assistant, and whichever Collections Assistants we can round up. We try to get to every diorama once a year.

A dark-haired woman wearing white coveralls and a red backpack vacuum as she holds the hose to vacuum off the face of a taxidermized bison.

Lisa vacuums a bison.

A woman crouches under a taxidermized moose as she holds the nozzle of a vacuum onto a screen covering a rock in the diorama.

Vacuuming through a screen in the Boreal Forest diorama.

The vacuuming must be done carefully, so parts are not pulled off. That’s why we use screens, and vacuums that are portable and have adjustable suction.

Sometimes, for vacuuming small and/or fragile artifacts or specimens, we put screening over the vacuum nozzle, or use micro-attachments made for cleaning computers and other electronic equipment.

A teal bodied vacuum with a hose loosely wound around the body.

We use household vacuums for most things.

An individual holds up the nozzle and hose of a vacuum cleaner from out of frame, and with their other hand uses a small brush to brush dirt towards the mouth of the vacuum.

Brushing dust into the vacuum.

Close-up on the nozzle of a vacuum cleaner with screening held over it with an elastic band.

A piece of window screen can prevent the loss of any parts.

Dirt and dust can be damaging. They may attract insect pests, can be aesthetically disfiguring, or obscure important information, and can even cause physical harm by, for example, microscopically tearing fragile threads on an old textile.

The most important thing we remember is to remove as much dirt and dust as possible, without harming the object.

Research Request Leads to Vacuuming

Three individuals at the ends of a green cariole sledge mounted on a wall.

Recently, researcher Tim Worth requested access to the cariole, a toboggan-like sled, on exhibit in the Hudson’s Bay Company Gallery. Curator Katherine Pettipas agreed it would be a good opportunity to clean the cariole and assess its current condition. The work was scheduled for a Monday, a closed day, to minimize disruption for any visitors. Conservators Ellen Robinson and Lisa May, with assistance from Tim Worth and myself, took the cariole off its shelf, put it on a dolly and took it up to the HBC Lab, where Tim was able to make a thorough examination. He was joined by conservator Rick Lair from Parks Canada, a furniture and wood expert. While the cariole was in the lab, Ellen took the time to give it a thorough vacuuming, inside and out.


Image: The cariole is lifted off its shelf.

Collections Assistant Nancy Anderson took numerous photos to enhance the conservation documentation. The interior fabric, a luxurious velvet, had undergone previous conservation treatment by Parks Canada conservator Lorrie Storr. Tim completed his examination and the cariole was returned to its exhibit location at the end of the day. All in all, many people were pleased!

Several individuals working together to lift down a green cariole sledge from display.

We slid the cariole down on a piece of wood.

Four individuals standing around a cariole sledge on a table in a museum lab.

We all wanted to take a good look.

Three individuals around a cariole sledge on a table in a museum lab. Two are in discussion, and the third is vacuuming the inside of the cariole.

Rick and Tim look at construction details while Ellen vacuums the interior.

Close up on a side of the inside of a cariole on a display in a museum lab. Some repair work has been done along one of the edges.

The damage has been repaired with a backing fabric.

Pest Monitoring is Another Important Task

As well as temperature and RH, the Conservator also conducts pest monitoring. At the Manitoba Museum, we mostly check for insects. Sticky traps in storage and laboratory areas are checked; if a large number of insects are seen, we investigate, looking in the surrounding area more thoroughly. We often find one or two insects on the trap; one or two doesn’t indicate a problem, but is considered a normal condition. And not every insect is one that will feed on our collections.

Museum pests can include mice and squirrels, as well as insects. Although we have had a few problems with mice in the past, our current pest monitoring program focuses on insects.

A small folded triangle shaped pest trap.

Individual traps are place in corners and along walls, and checked monthly.

A sheet of three pest traps before they've been folded.

Sheets of sticky traps are available from pest extermination companies.

As part of their training, Conservators learn about different aspects of the museum environment – temperature, RH, light, atmospheric pollutants – and how these can interact with objects to cause damage and deterioration. Conservators also learn about museum pests, and must become familiar with the common pests they will encounter. We keep examples of insects found in the Museum, for reference and comparison.

A museum storage drawer containing a series of pinned insects and labels.

Examples of insects found at The Manitoba Museum.

Close-up on several pinned insects and labels in a storage case.

Insects are identified as harmless or harmful to the collections.

Environmental Monitoring

In order to remain aware of the conditions surrounding The Manitoba Museum’s collections, the Conservators undertake a program of regular monitoring. Once each month, a Conservator goes through all areas where collections are stored or displayed with a hand held thermohygrometer, which measures temperature and relative humidity (RH) via sensors in an attached probe.

Ideally, temperature and RH should be as stable as possible, allowing for some drift as the outside weather changes through the seasons. Extremes of temperature or RH, as well as sudden dramatic changes, can be harmful to some materials. For example, dry wood can swell and even crack if exposed to sudden high RH. Very high RH over a length of time can cause mould, or corrosion on metal.  Checking the temperature and RH each month, the Conservator is checking for stability and flagging any problems.

A thermohygrometer attached to a sensor on a coil.

Digital thermohygrometer.

A thermal dial.

These dials are in many of our exhibit cases.

The monthly thermohygrometer monitoring is in addition to regular checks in the galleries. Several times weekly, the Conservators record readings they take by looking at temperature/RH dials that are placed in many exhibit cases. Thus, conditions both inside display cases, and in the general gallery air, as well as storage areas, are all measured and recorded.

A regular program of monitoring means we’re aware of any environmental problems, such as a spike in RH, and can deal with them quickly.

Installing the Paul Kane Exhibit

When an exhibit comes down, our Productions staff open up the cases for us, then Collections and Conservation staff remove the artifacts and/or specimens and put them back in storage, or take them for treatment by freezing or carbon dioxide fumigation. Then the next exhibit can go in.

For this exhibit, the same large cases were used as for the previous exhibit.  The case in the centre of the room was removed, and a small square case was added on one wall.  Productions staff does all the moving of cases for us. Before any objects are put in, Productions also installs the graphics panels with text and images on the walls.

The first thing installed was a bison head. Technical Supervisor Bert Valentin oversaw the installation; the mount is heavy and needed to be screwed into the plinth it sat on.

After that, it was a matter of placing the artifacts in their cases according to the layout Designer Stephanie Whitehouse had drawn up.

A person leaning out over a base attaching a large mounted bison head.

The mount is screwed down to the plinth.

Two rolling carts with artifacts and objects laid out on their shelves.

Artifacts on carts, ready to install. Some of them have storage mounts.

Three people around a display case, two of whom are adjusting a piece on a mount as the other looks on.

Conservator Lisa May and Collections Assistant Nancy Anderson adjust a saddle while Designer Stephanie Whitehouse looks on.

Two individuals placing artifacts into display cases.

Nancy and Stephanie placing artifacts.

A museum staff person reaching into a display case, placing a model canoe in place.

A model canoe is carefully put in place. The staff wear cotton gloves to protect objects from dirt and oils that may be on their hands.

Labels propped up and placed in a display case next to objects.

Labels also have to be placed in the cases. These are supported simply on pins.

Two museum staff persons holding either end of a light reader over an object in a display case.

When all the artifacts and labels were in place, Conservator Lisa May checked light levels. Too much light can be damaging to objects; we try to restrict light exposure by using lower wattage lamps, turning down dimmers, aiming lights away from very sensitive things, and in general limiting exhibit times and storing collections in the dark as much as possible.

The final step was the closing up of the cases, done again by Productions staff.

Come down to the Museum to see the finished exhibit! It’s up until April 2011.


Image: Taking a reading with the light meter. The sensor is connected by a cord to the rest of the meter.

Exhibit Preparation – Making Mounts

Our exhibit process starts months ahead of a scheduled opening. The initial meeting of an exhibit team reviews the theme and broad content description, and confirms dates for milestones such as public opening, label copy completion, etc.

Once the Curator has finalized artifacts and/or specimens that will be used, Collections and Conservation staff go into action. The Collections Assistant pulls the objects from storage so the Designer can start working on a layout. The Designer, Curator and department Manager (me) meet to look at the laid-out objects to discuss required mounts and any conservation concerns. The Conservators complete condition reports and start on the mounts. Usually, the Conservators make all soft mounts-that is, mounts made from foam, Coroplast or matboard- while our Productions staff makes mounts that need to be metal or Plexiglas. For the Discovery Room exhibit that just opened, Conservators Lisa May and Ellen Robinson made mounts from Coroplast and Ethafoam; Gallery Technician Wayne Switek made a painted steel mount for a large taxidermied bison head, which is quite heavy and needed the strength and rigidity of a metal mount.

To make mounts for the hide shirt and dress in the exhibit, Lisa and Ellen used Ethafoam, a brand name for extruded, closed cell polyethylene foam widely used by museums. The Ethafoam comes in 2 foot by 8 foot planks. Two inches is the thickest available, so slabs are cut roughly to size and glued together with water based contact cement.

An individual using a hand tool to carve off a section of a large square of foam on a table.

Lisa starts cutting to shape with an electric knife.

An individual using an electric knife hand tool shaping a large piece of foam on a table top.

Often, a lot of trimming is required.

An individual wrapping a carved piece of foam in white cotton batting.

Next, a layer of polyester quilt batting is added for padding.

A layer of dark fabric being wrapped around a large carved block of foam on a table top.

Poly/cotton stretch knit fabric makes a final covering.

A beaded and fringed hide dress and shirt each placed on standing mannequin stands.

The dress and shirt on their mounts, ready for installation.

Next time, I’ll show you some pictures of us putting the artifacts in their display cases.

It’s a Gas: Fumigation is an important tool to protect collections

We are in the process of fumigating some of our collections. All of the Natural History specimens that were on exhibit in the Discovery Room, as well as some taxidermied mounts (ie. stuffed animals), have been placed in our fumigation bubble to be treated. This is a regular procedure for objects that are susceptible to insect attack.

The Manitoba Museum has a large enclosure (“the bubble”) made of heavy duty plastic, with a steel frame inside, that is used to treat objects with carbon dioxide gas. The bubble is filled with carbon dioxide to at least a 60% level, to displace the oxygen. The resulting low level of oxygen, if maintained for 14 days, will kill insects at all life stages – adult, larva or egg.

A rectangular shape covered with a bright blue tarp.

Here is a picture of our fumigation bubble.

Three grey tanks of carbon dioxide standing against a wall in front of a smaller grey metal box.

Here are the tanks of carbon dioxide.

This treatment has been conducted many times over the ten years that we’ve had the bubble in place. It is completely effective in eradicating any insects found on museum objects. The procedure is a preventive measure that is used as part of an Integrated Pest Management program, in order to keep our collections free of damage from museum pests.

Whenever circumstances pose a risk to objects, such as receipt of new acquisitions from outside, return of loans to other institutions, or removal from display in the galleries, they are put through some kind of treatment against pests. Usually, it’s freezing, which is a simple, effective way to kill insects in most circumstances. It’s not always appropriate, though. Very large objects (such as a muskox) can’t fit into any of our freezers. Thick objects also don’t freeze well, because by the time the center of the object is frozen, the insect has adapted to the temperature change and isn’t killed (they’re quite amazing that way!) Also, if we have a large number of objects, freezing isn’t logistically feasible. In these cases the fumigation bubble is ideal.