Posted on: Thursday October 31, 2024
What do you think of first when you think of a museum specimen? A taxidermy bison? A pinned butterfly? The skeleton of an entire pliosaur? A museum could answer with: study skin, skeleton, taxidermy mount, fur/pelt, wet specimen, thin section, microfossil, slab, herbarium specimen, dried, pinned, in silicone, nest, egg . . . the list goes on! Preservation in natural history collections takes many forms, and all have their benefits in different fields. As Collections Management Specialist, it’s my job to take care of and properly store all these different specimens, and I’ve come across a couple distinctions to share with you.
Mount vs. Skin
Taxidermy mounts are very exciting for exhibits and dioramas, and help us visualize the animal as it was in life. It may be posed alone or in a group, displaying behaviours or doing activities in a snapshot of what is observed in the wild. Mounts can be nearly any kind of animal: bird, mammal, reptile, fish, insect, or amphibian.
Study skins are a kind of taxidermy in that they are the skin of an animal that is stuffed, but it is not posed, and often lies flat. As opposed to mounts, study skins take up comparatively less space in collections cabinets yet offer just as much information about the exterior of the animal. They also allow researchers to study aspects of the environment through chemical changes in the isotopes in the animal’s skin. Study skins are usually birds and smaller mammals. Furs and pelts are similar to study skins, but are not stuffed; they usually come from larger animals, like deer, bears, seals, and big cats.
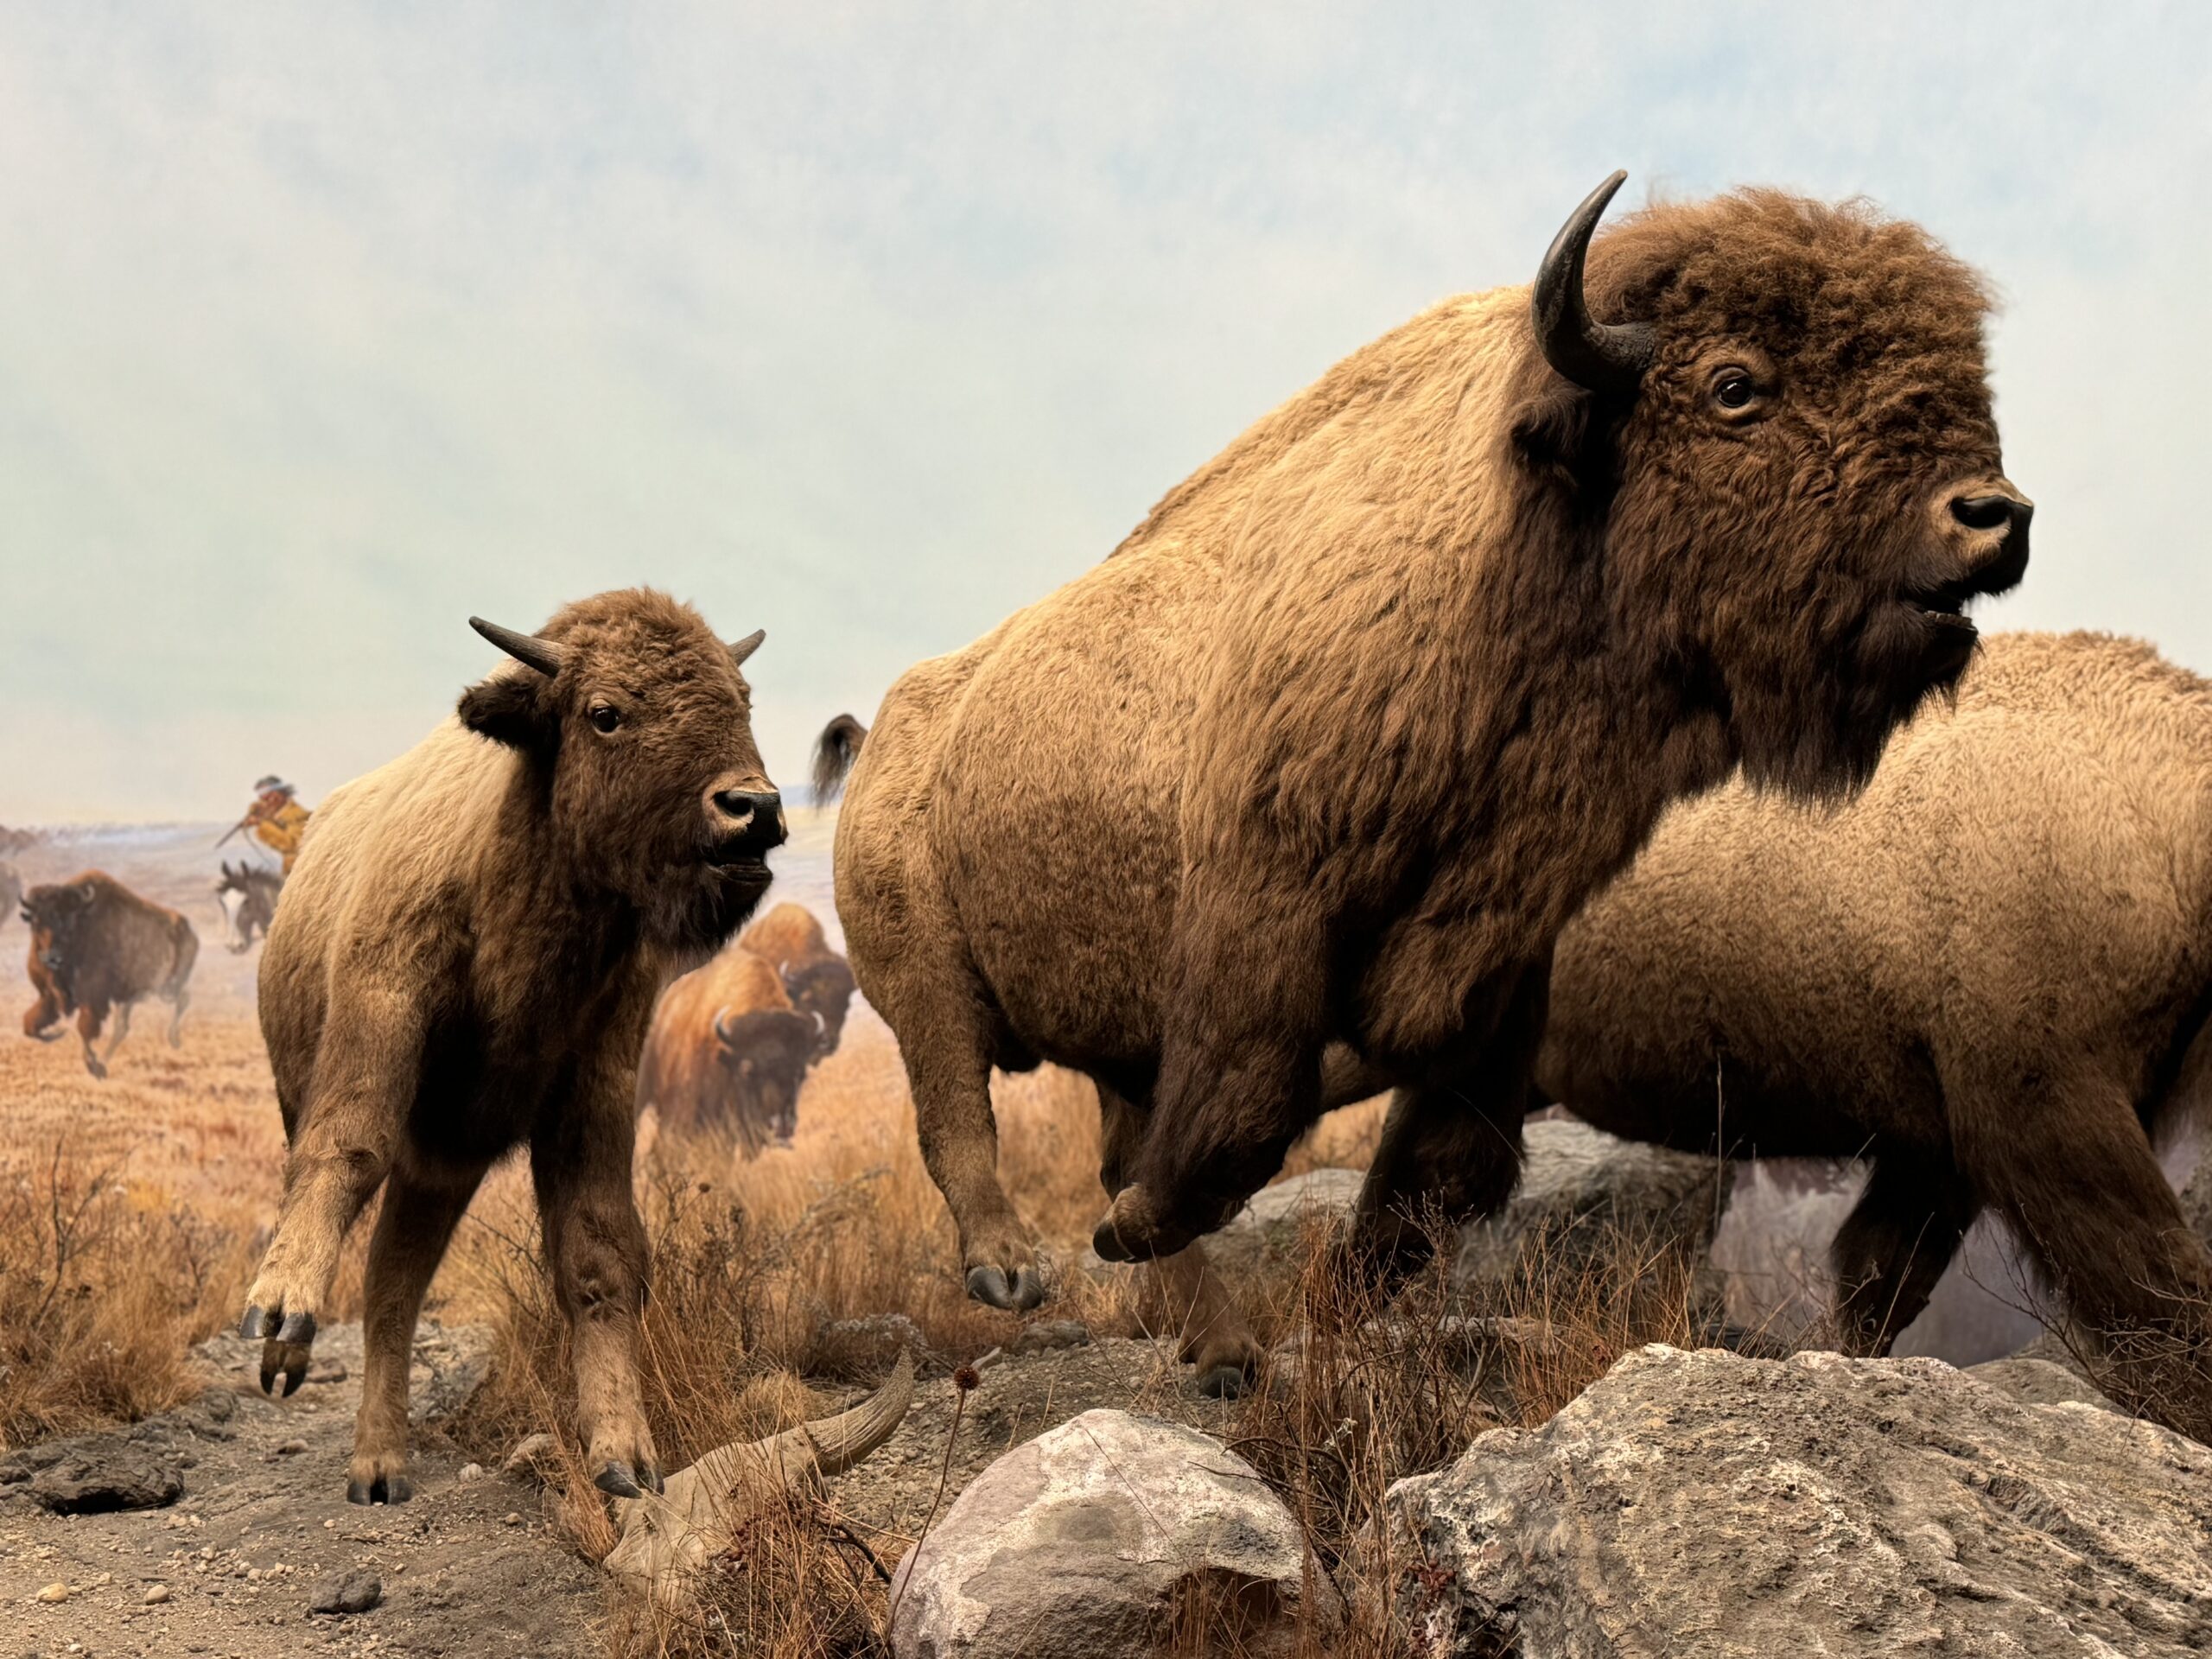
Bison mounts in the Welcome Gallery. © Manitoba Museum
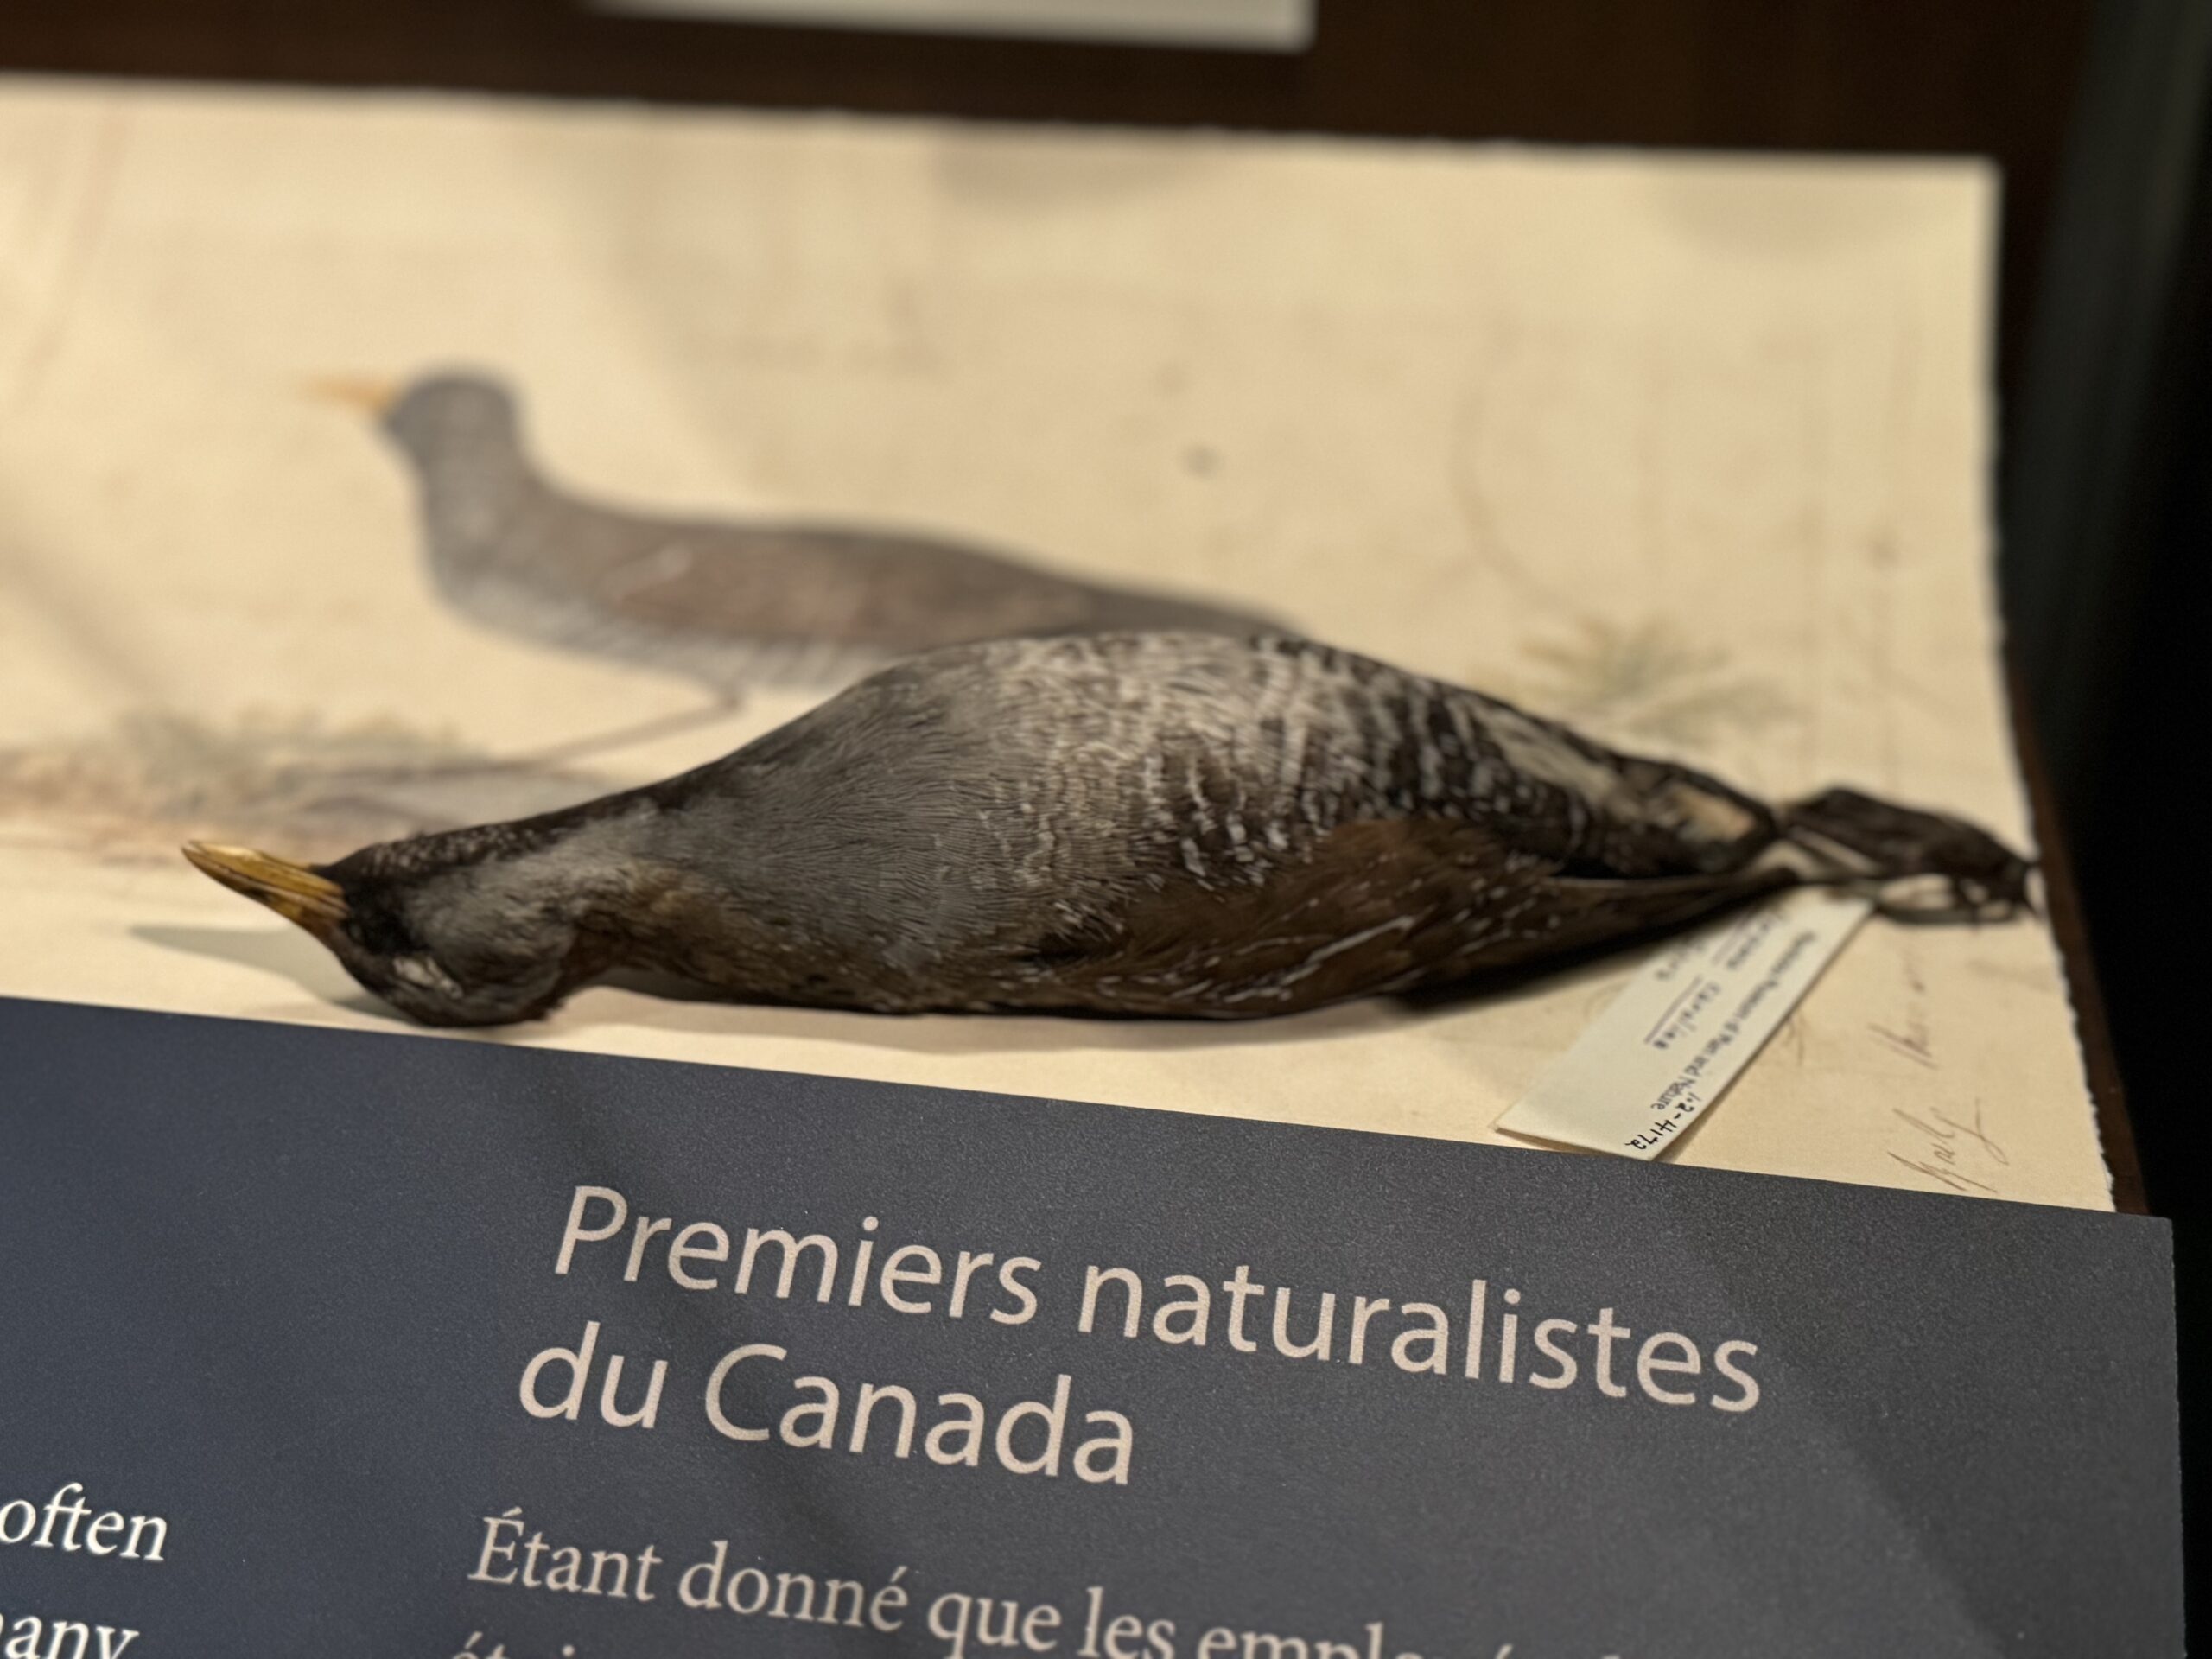
Bird study skin from the Nonsuch Balcony. © Manitoba Museum
Wet vs. Dry
The Museum’s collection of “wet” specimens are those animals which are stored in alcohol or other fluid preservative. Some of us may imagine a creepy laboratory of things floating in jars, but fluid-preserved specimens have the unique advantage of preserving the entire specimen, including internal contents. The fluid preservative prevents the specimen from decaying, and researchers are able to later decant specimens for anatomical dissection, or for new preparation as a skeleton. The most common specimens preserved in this nature are fish, reptiles, amphibians, or invertebrates like molluscs, but sometimes even birds, mammals and plants are preserved this way as well.
The opposite of these are “dry” specimens, which are left to dry rather than being submerged in fluid. For molluscs, this means only the shell is preserved. For all other animals, “dry” preservation involves drying the skin and/or skeletonizing the bones. The benefit of dry specimens is that the tissue is not chemically altered by the alcohol or fluid preservative it would be stored in. Fluid preservative often discolours specimens, and it is easier to access and handle specimens when they’re dry.
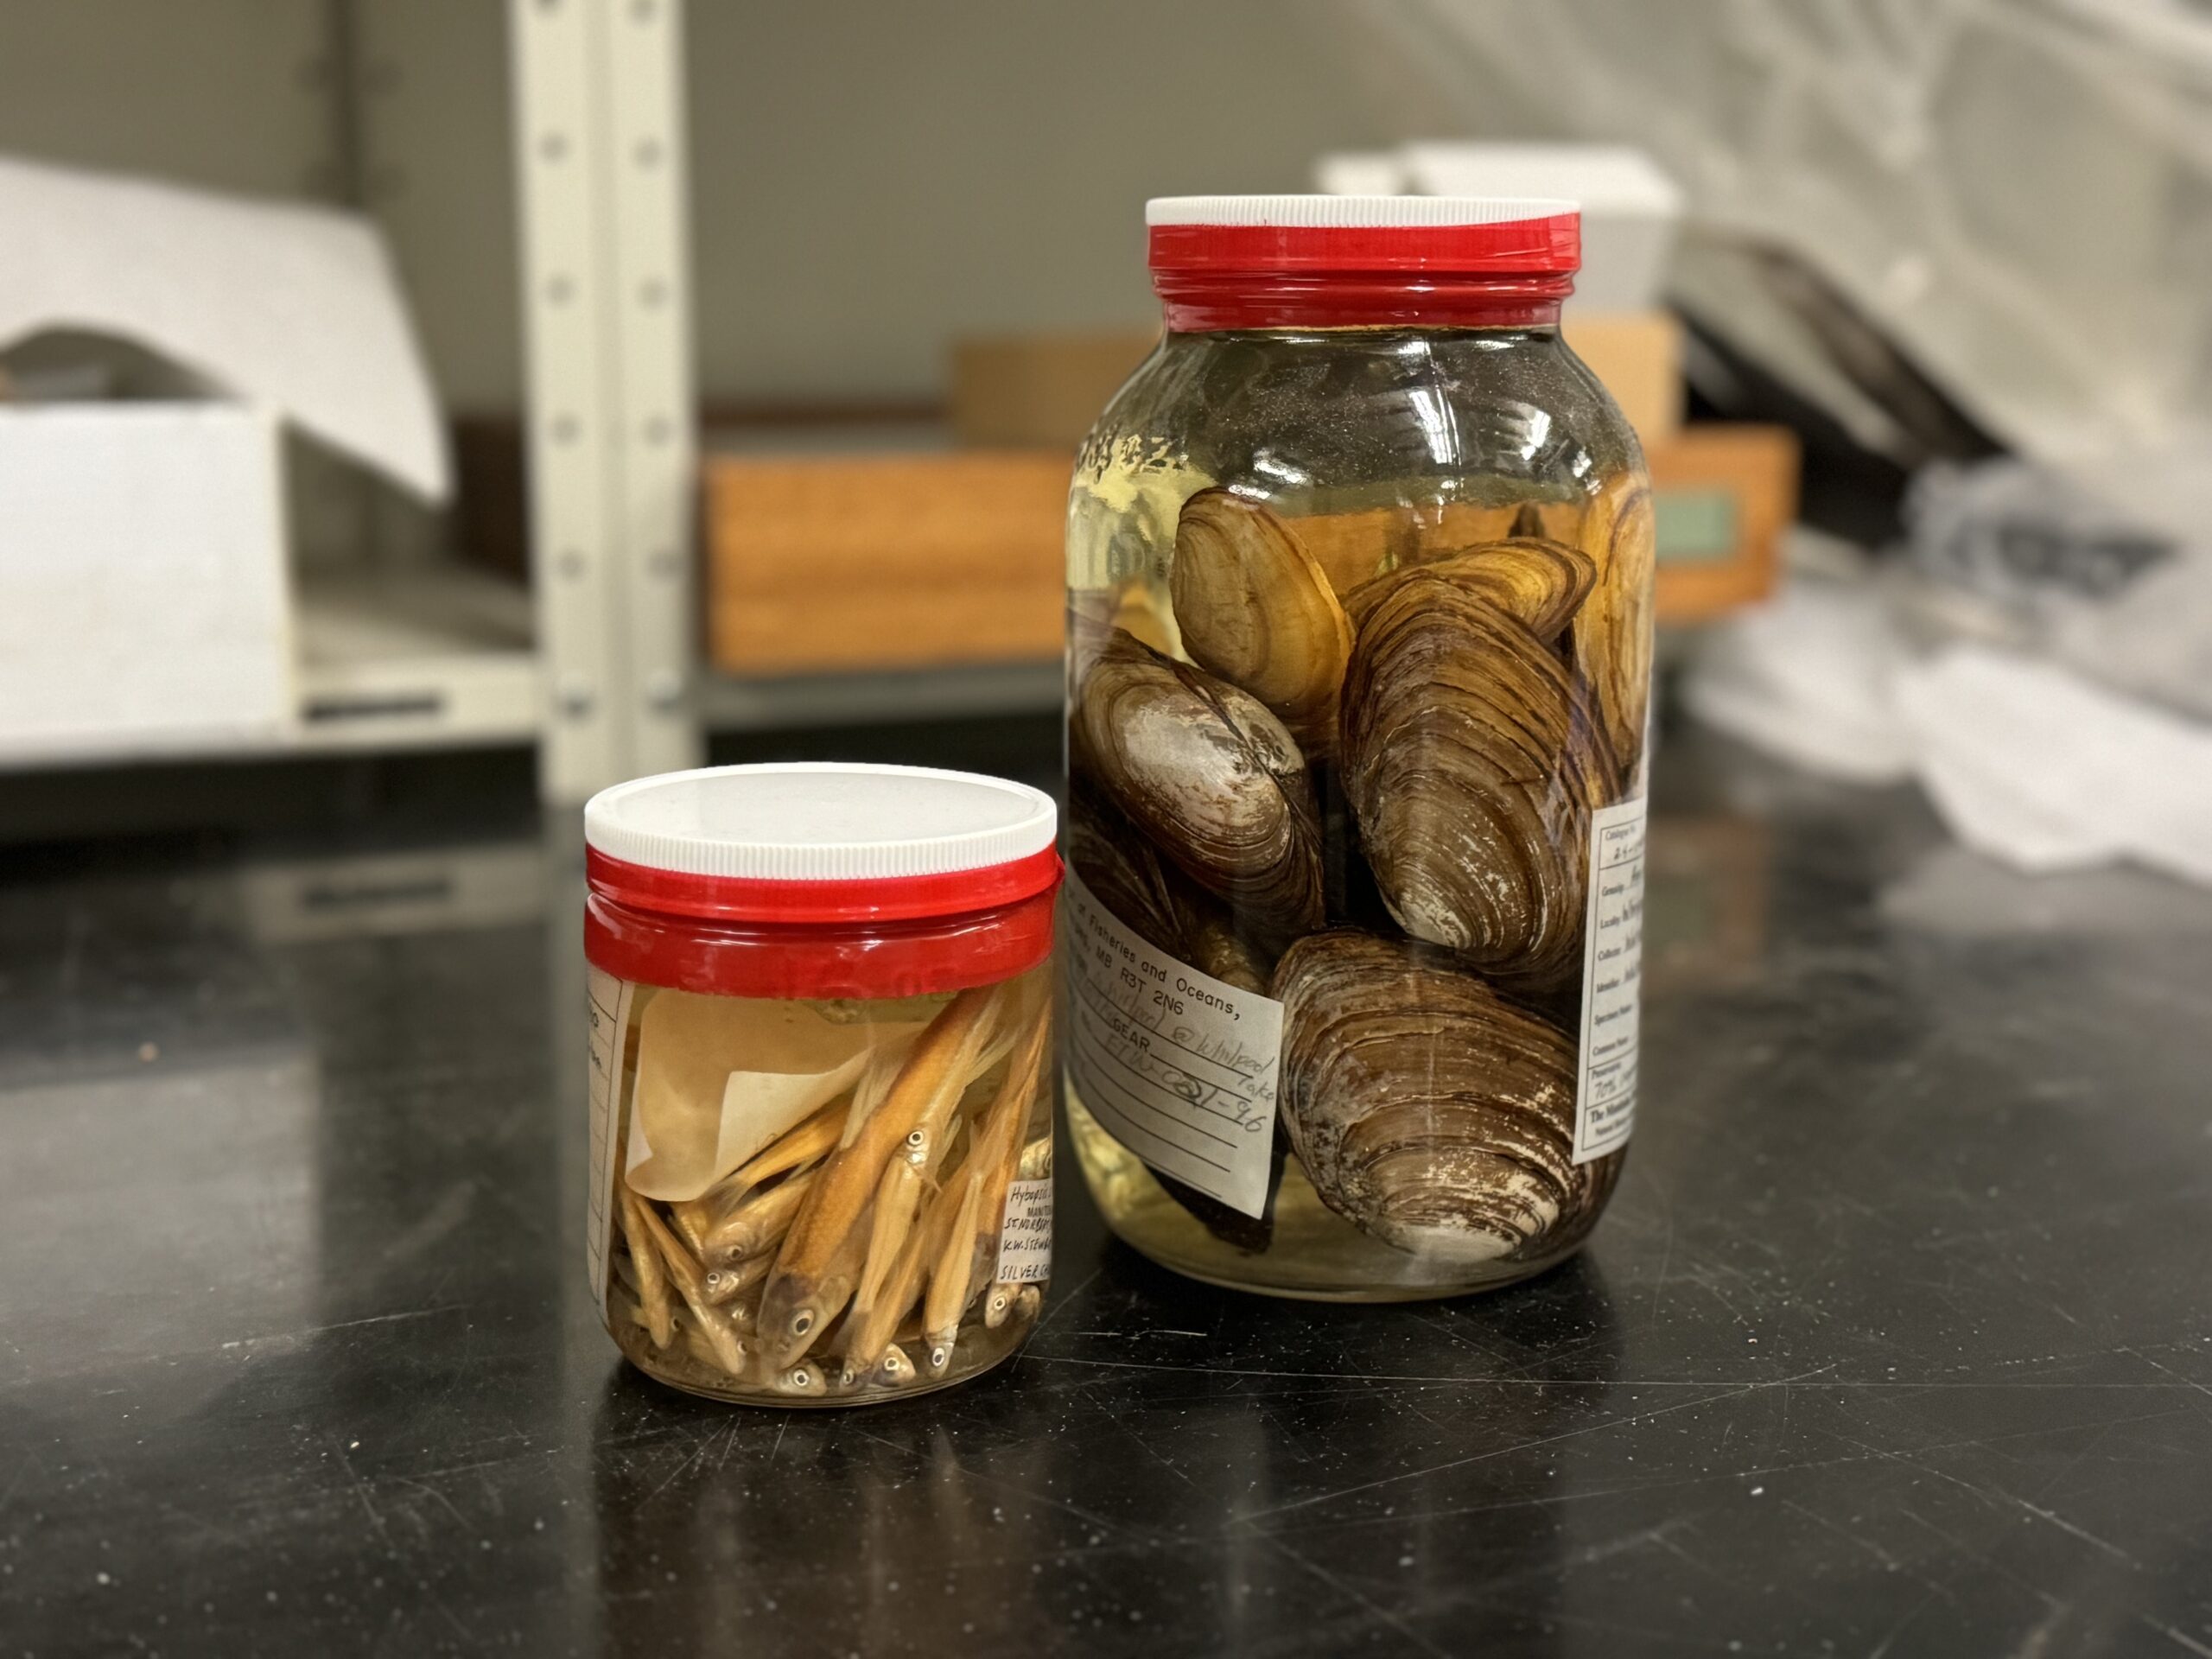
Jars of wet specimens. © Manitoba Museum
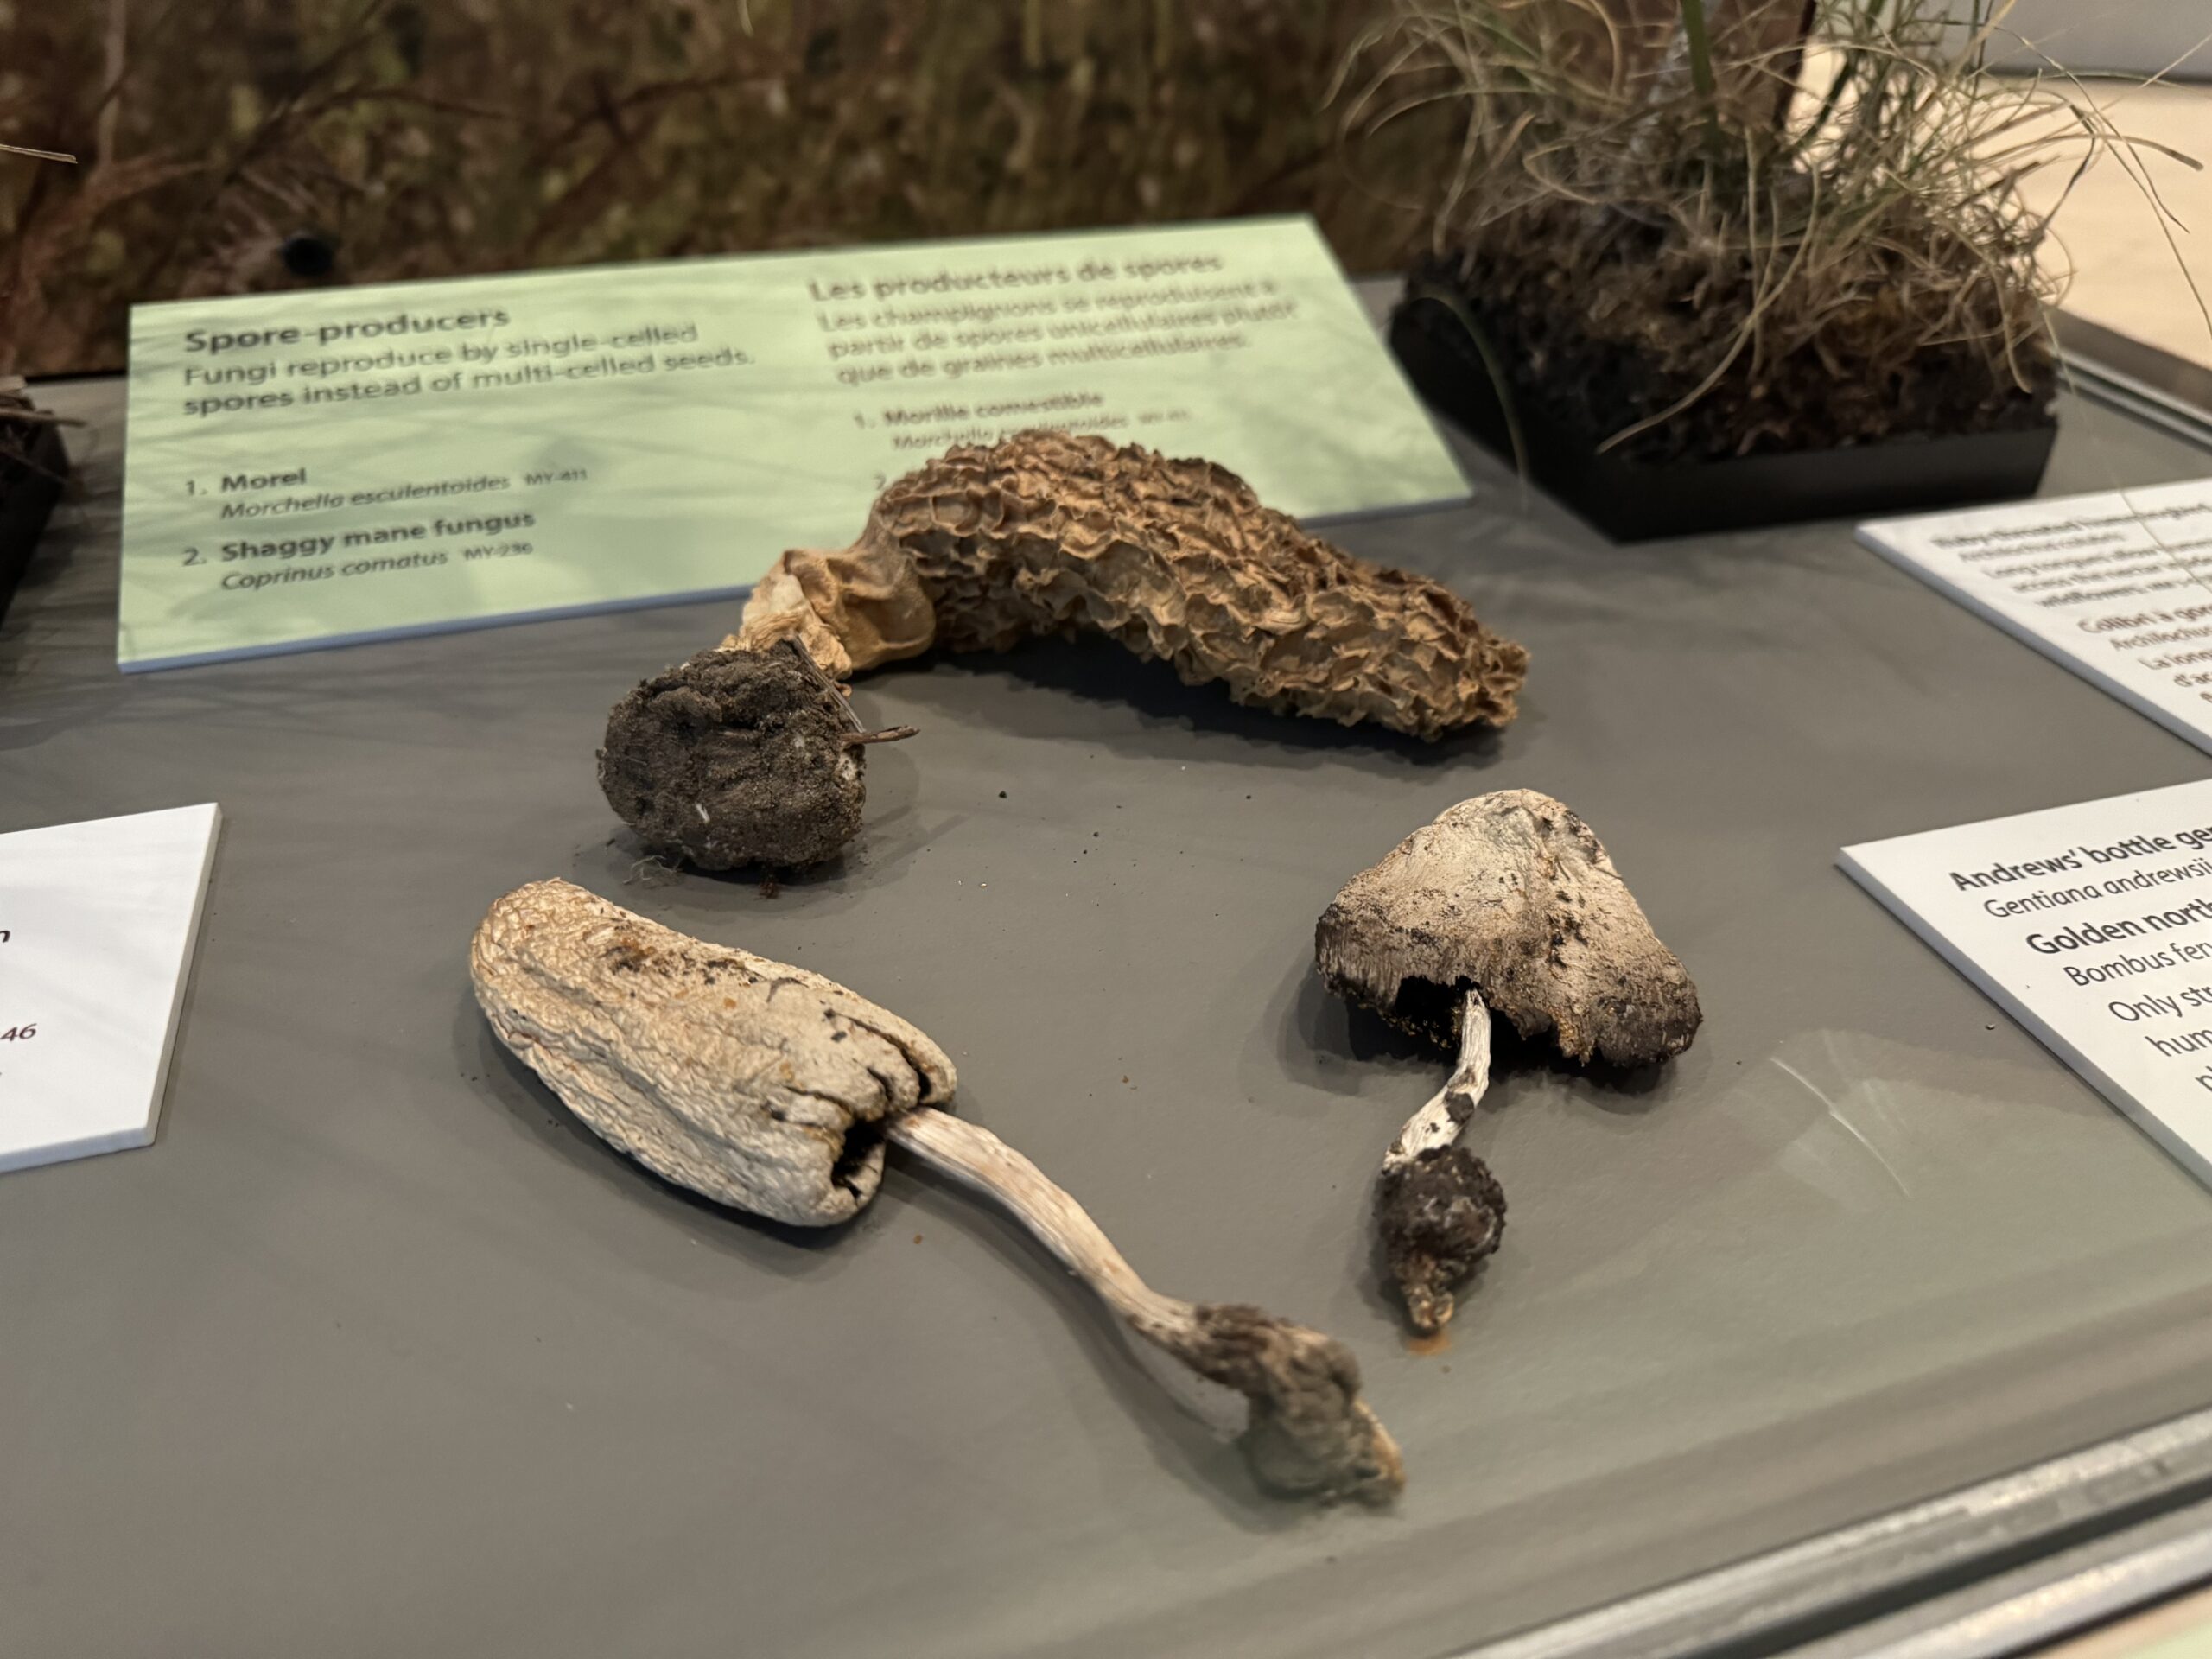
Dry mushroom specimens in the Prairies Gallery. © Manitoba Museum
3D vs. 2D
Three-dimensional (3D) specimens are the most common kind of specimen throughout the Museum, which makes sense, given all the specimens in jars or mounted in exhibits. However, a surprising number of natural history specimens are actually two-dimensional (2D) in nature. The majority of the botany collections at the Manitoba Museum are dried, pressed plants adhered to paper sheets, and stored flat, almost like files in folders. These herbarium specimens preserve characteristics of the plant such as roots, leaves, stalks, and flowers, and can record a particular stage in a plant’s annual or life cycle. (If you’ve ever pressed a flower in a book at home, you’re part of the way along to making your own herbarium specimen!) A few specimens, however, have characteristics that are best preserved by keeping them 3D—things like lichens, fungi, moss, and fruits are stored in boxes rather than pressed flat.
Another surprising place to find 2D specimens is in the paleontology collections. “Thin sections” are very thin slices of rock, made in order to access a cross-section of a fossil. These are especially helpful when looking at prehistoric corals, plants, and anything with a structure that can be studied as a slide under a microscope.
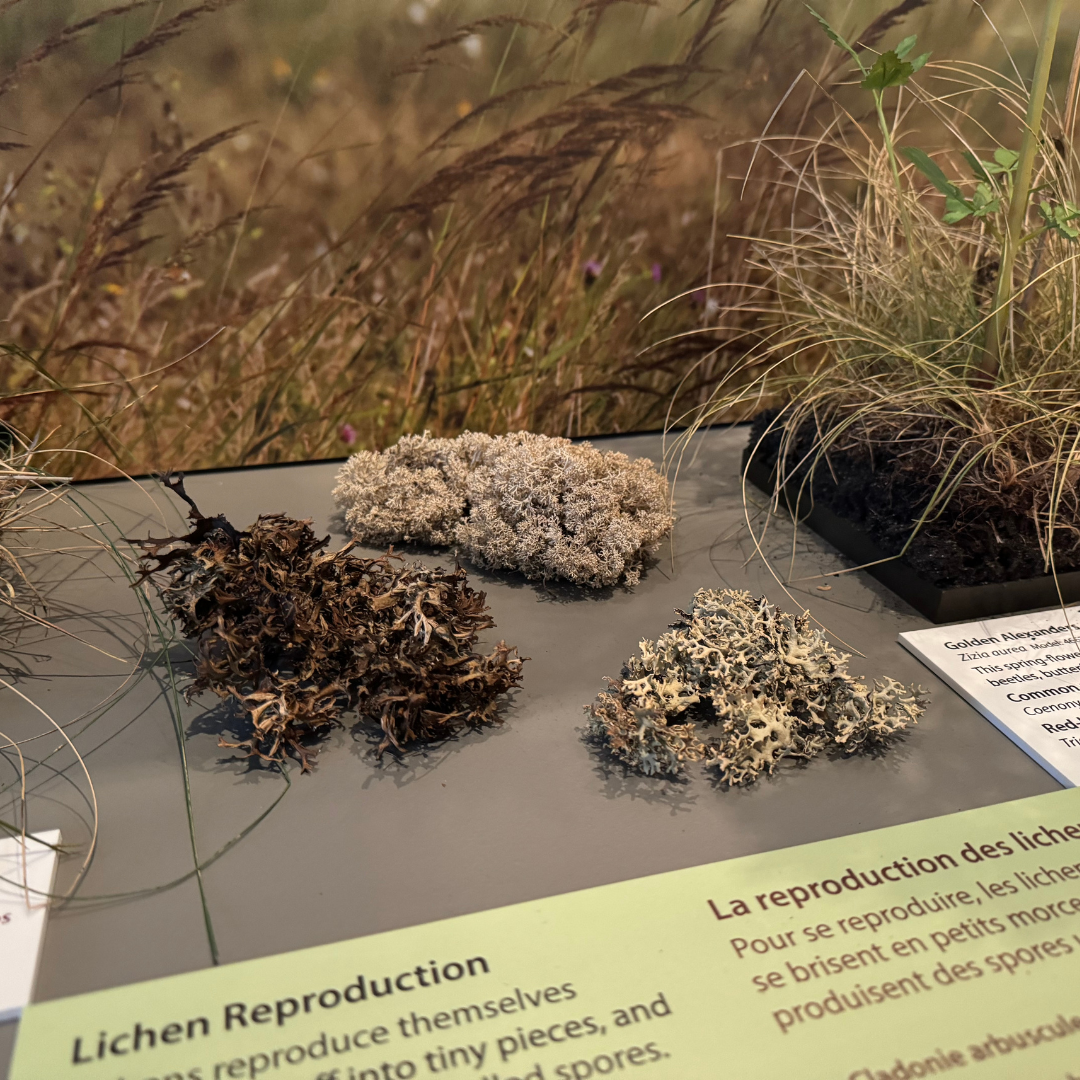
Lichen specimens in the Prairies Gallery. © Manitoba Museum
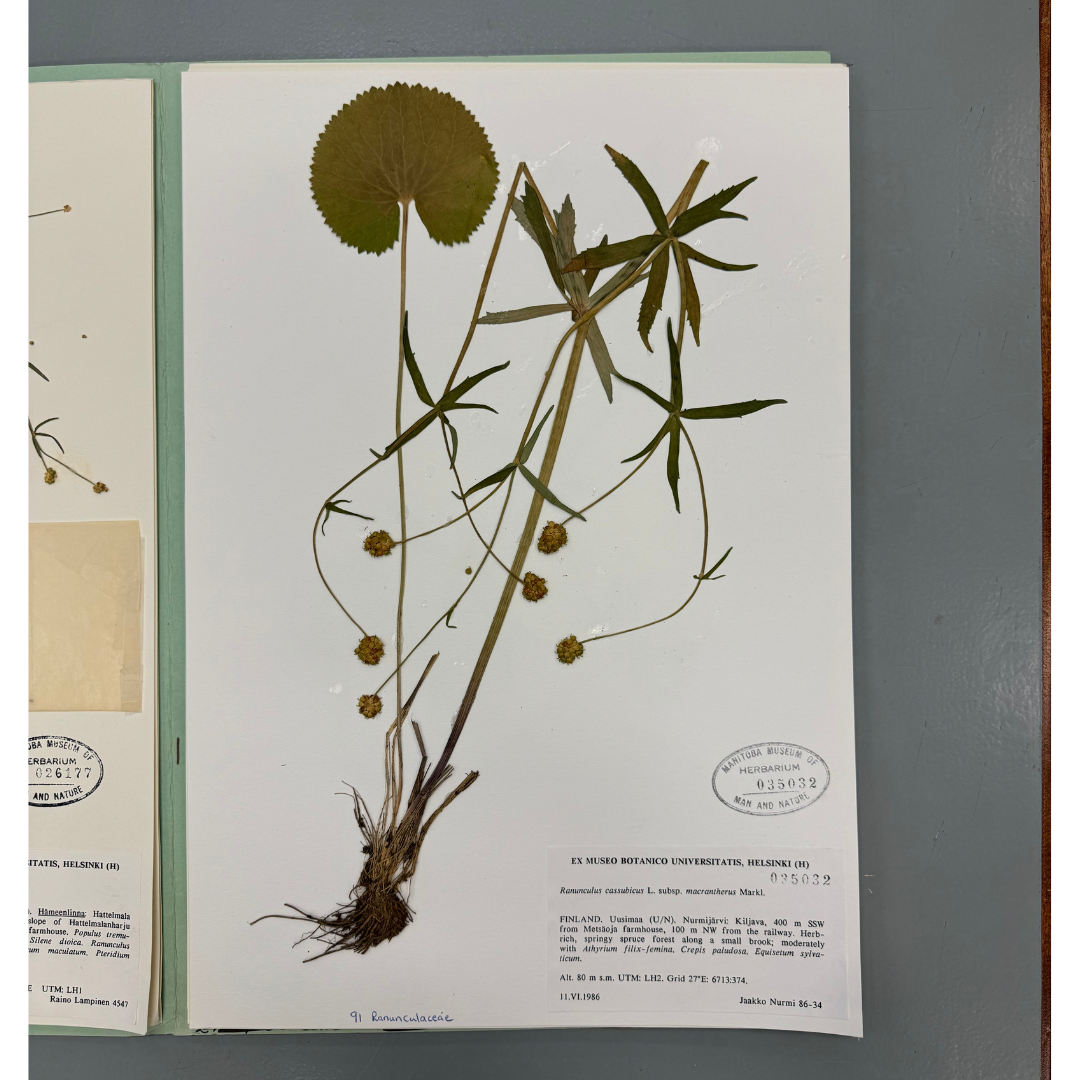
Herbarium sheet. © Manitoba Museum
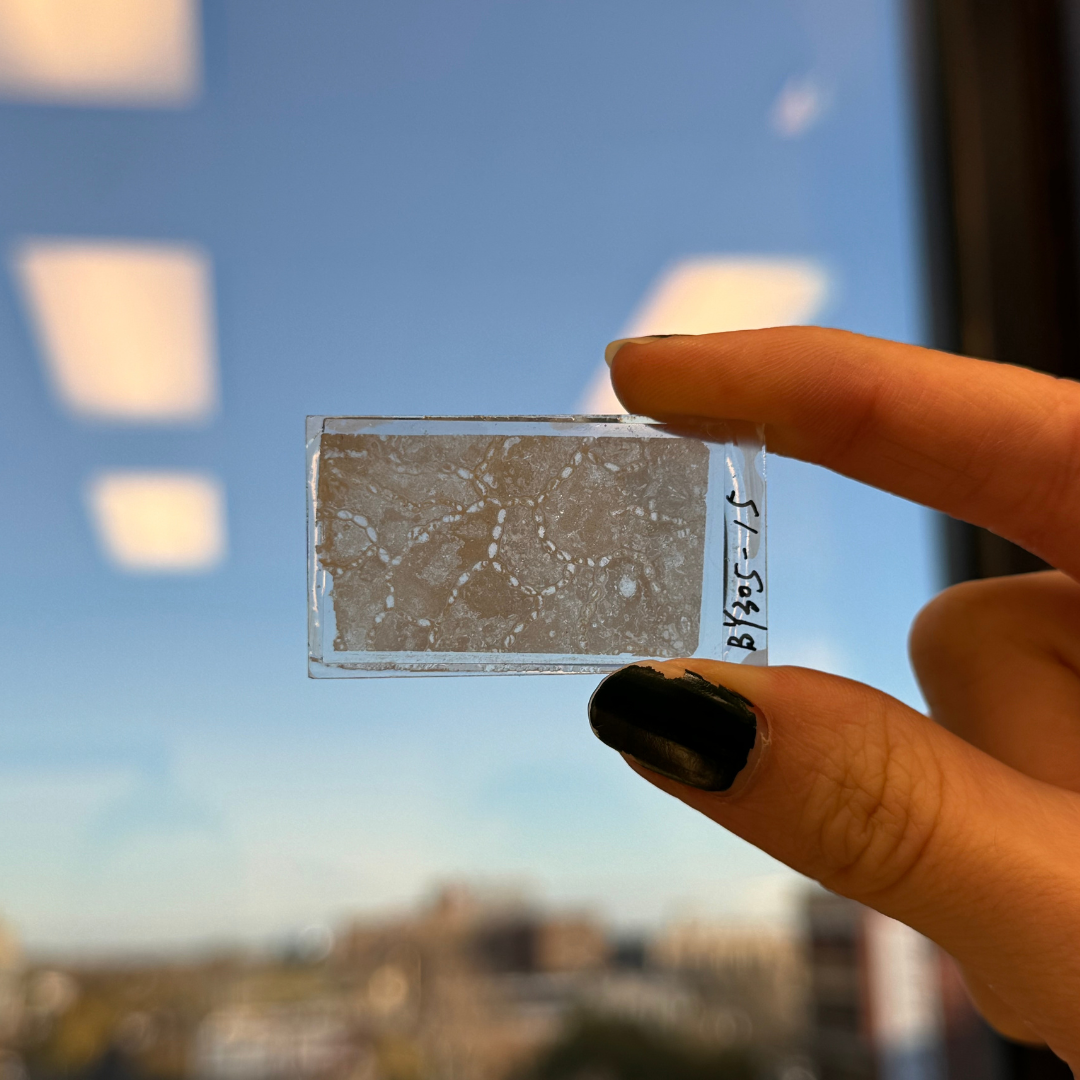
Thin section of fossil coral. © Manitoba Museum
Real vs. Replica
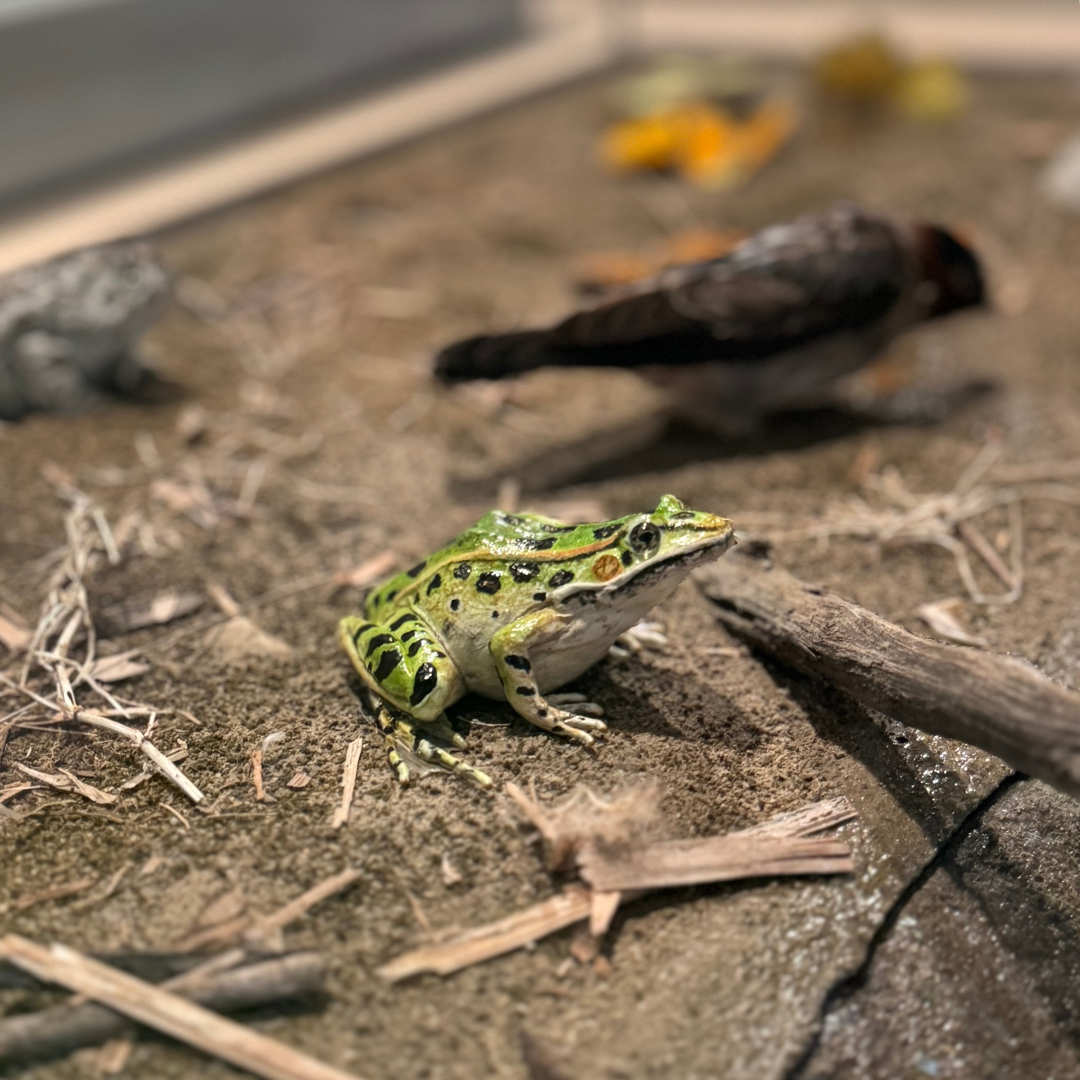
Sometimes we find ourselves walking through a gallery and wondering whether the natural history specimen we’re learning from is really made from that animal or not. In some cases, it can be easier to display a replica of a specimen–a lot of fossils are very delicate, or very large, and creating a replica of it to put on display keeps the real specimen safe, or allows museum staff to handle versions that weigh less. A replica of a frog is more fun to include in an exhibit not only because you’re allowed to touch it, but also because a dry frog specimen, as we’ve learned above, is not as well-suited to preserving its shape. Replica specimens also allow museums to share their collections with each other, while keeping the original safe or on display for the public.
Real specimens are on display as well–you can wander through the galleries and see real taxidermy mounts, pinned insects, fossils, and even bird eggs. For most research purposes, real specimens are preferred, as a replica does not contain all the information that the original specimen has. This is most critical for genetic, chemical, or other biological analyses. However, some researchers make moulds or imprints of real specimens, in order to analyze aspects of surface texture, and this can be considered a kind of replica specimen.
Image: Frog replica in Prairies Gallery. © Manitoba Museum
Multiple Parts
A “specimen” in natural history is an item or collection of related items with one catalogue number. For example, an animal that is donated to the Museum will become one specimen with one catalogue number, but may be prepared in a way that results in multiple parts, such as both a skin and a skeleton. Both of these parts will receive the same catalogue number, so we know they’re from the same animal.
But how does the Museum store multiple different parts of the same specimen? Sometimes they are separated, and have to be stored in different places in the collections. For small animals like voles or shrews, the skeleton and skin of one animal can be stored in the same cabinet: the skeleton stored in a vial, and the study skin laid flat. In the case of some deer, caribou, and wapiti, the huge skin is stored in one cabinet, the skeleton is stored in another, and the antlers and skull are stored on a wall rack.
Bird nests and their associated eggs are also usually separated, as material used to build the nest may degrade over time in ways that can damage the eggs if they are left in place. As well, bird eggs should be stored with a lot more cushioning, to protect them from being crushed.
Fossils with multiple parts are usually stored together, even if moulds or thin sections are made of the specimen. Herbarium specimens can also have multiple parts stored together. For example, if parts of a specimen accidentally fall off of the sheet, they can be stored in a paper packet that is labelled and attached back onto the sheet.
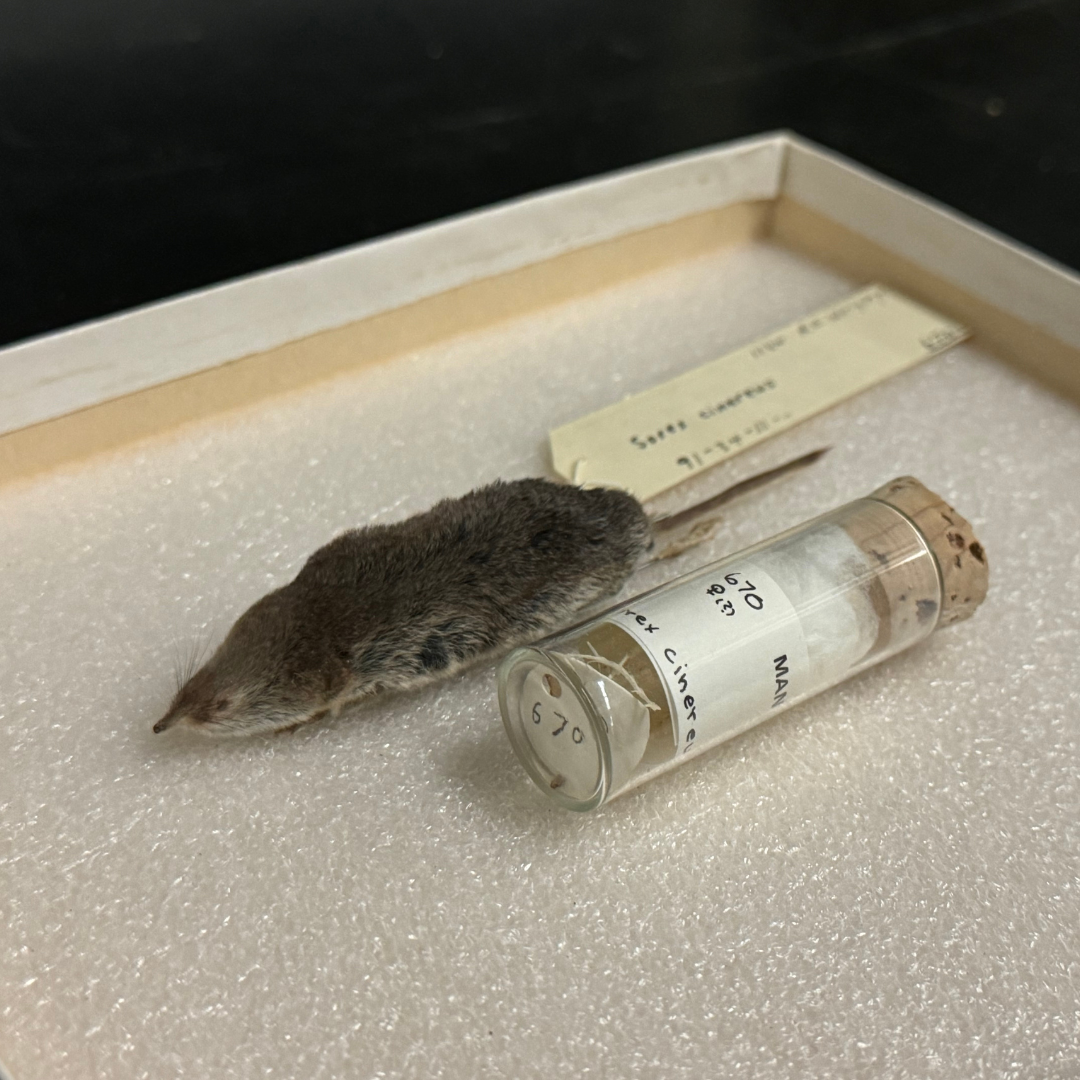
Shrew skin and skeleton. © Manitoba Museum
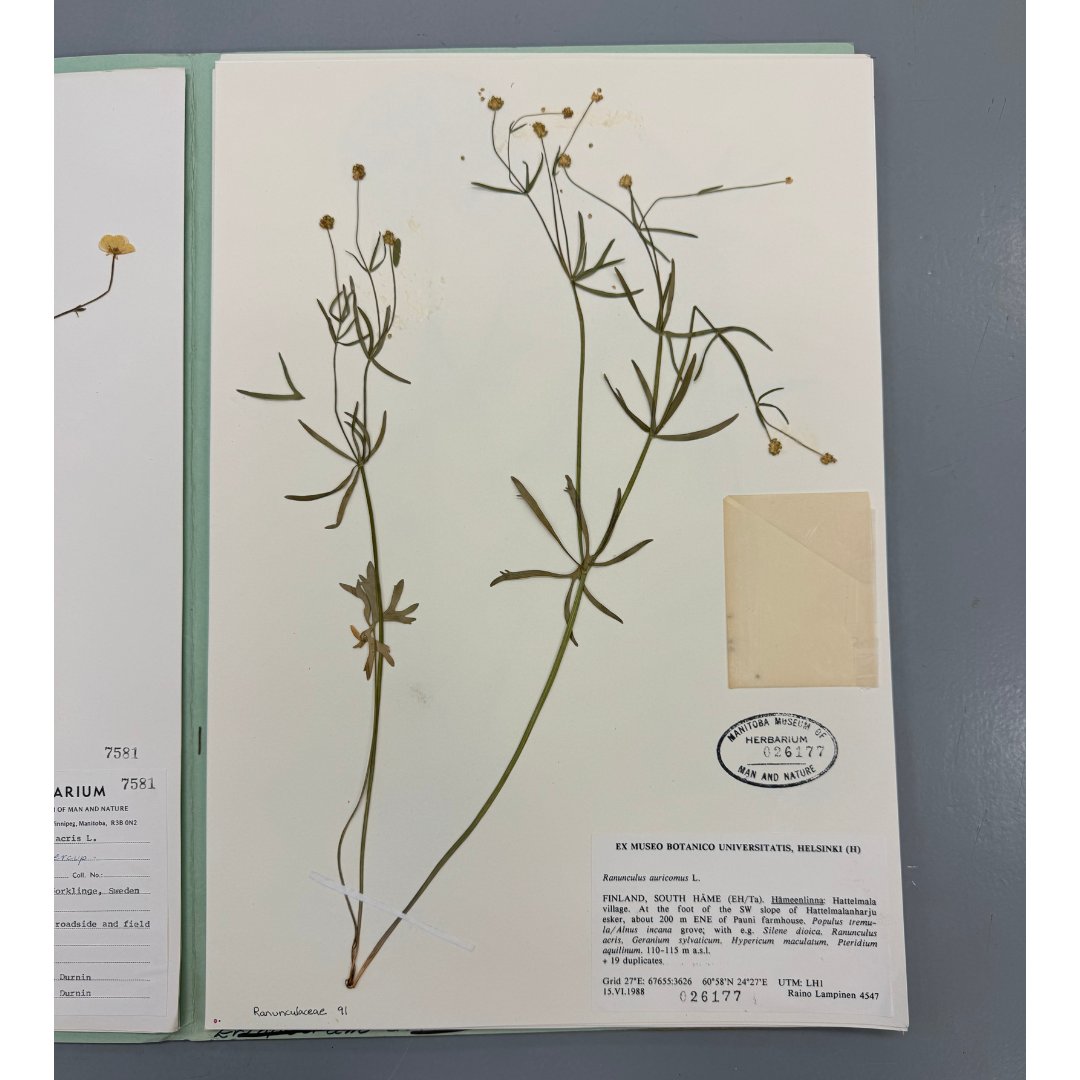
Herbarium page with packet. © Manitoba Museum
Hopefully this has shed some light on the different kinds of natural history specimens, how they’re stored, and how they can be used. Each museum will differ in what specimens they keep and how they house them, but these are some of the basics that I’ve seen and worked with at a couple different institutions. If you’re curious about specimens you see in the galleries at the Manitoba Museum, ask a volunteer or member of staff about them—we’d love to tell you more!

