Posted on: Monday August 24, 2015
Guest blog by Jacinda Sinclair, contract Cataloguer and long-time TMM volunteer.
In Northern Exposure Parts 1-3, Amelia wrote about her experiences excavating. Now I’m going to cover what happened to her artifacts once she got them back to the Museum.
Cataloguing is a 7 step process.
Step 1 is sorting. To start, I order the artifacts by matching them to the field records made by Amelia’s team. Artifacts found in the same excavation unit are always grouped together.
Step 2 is cleaning. A bucket of plain water and an old toothbrush is usually the way to go.
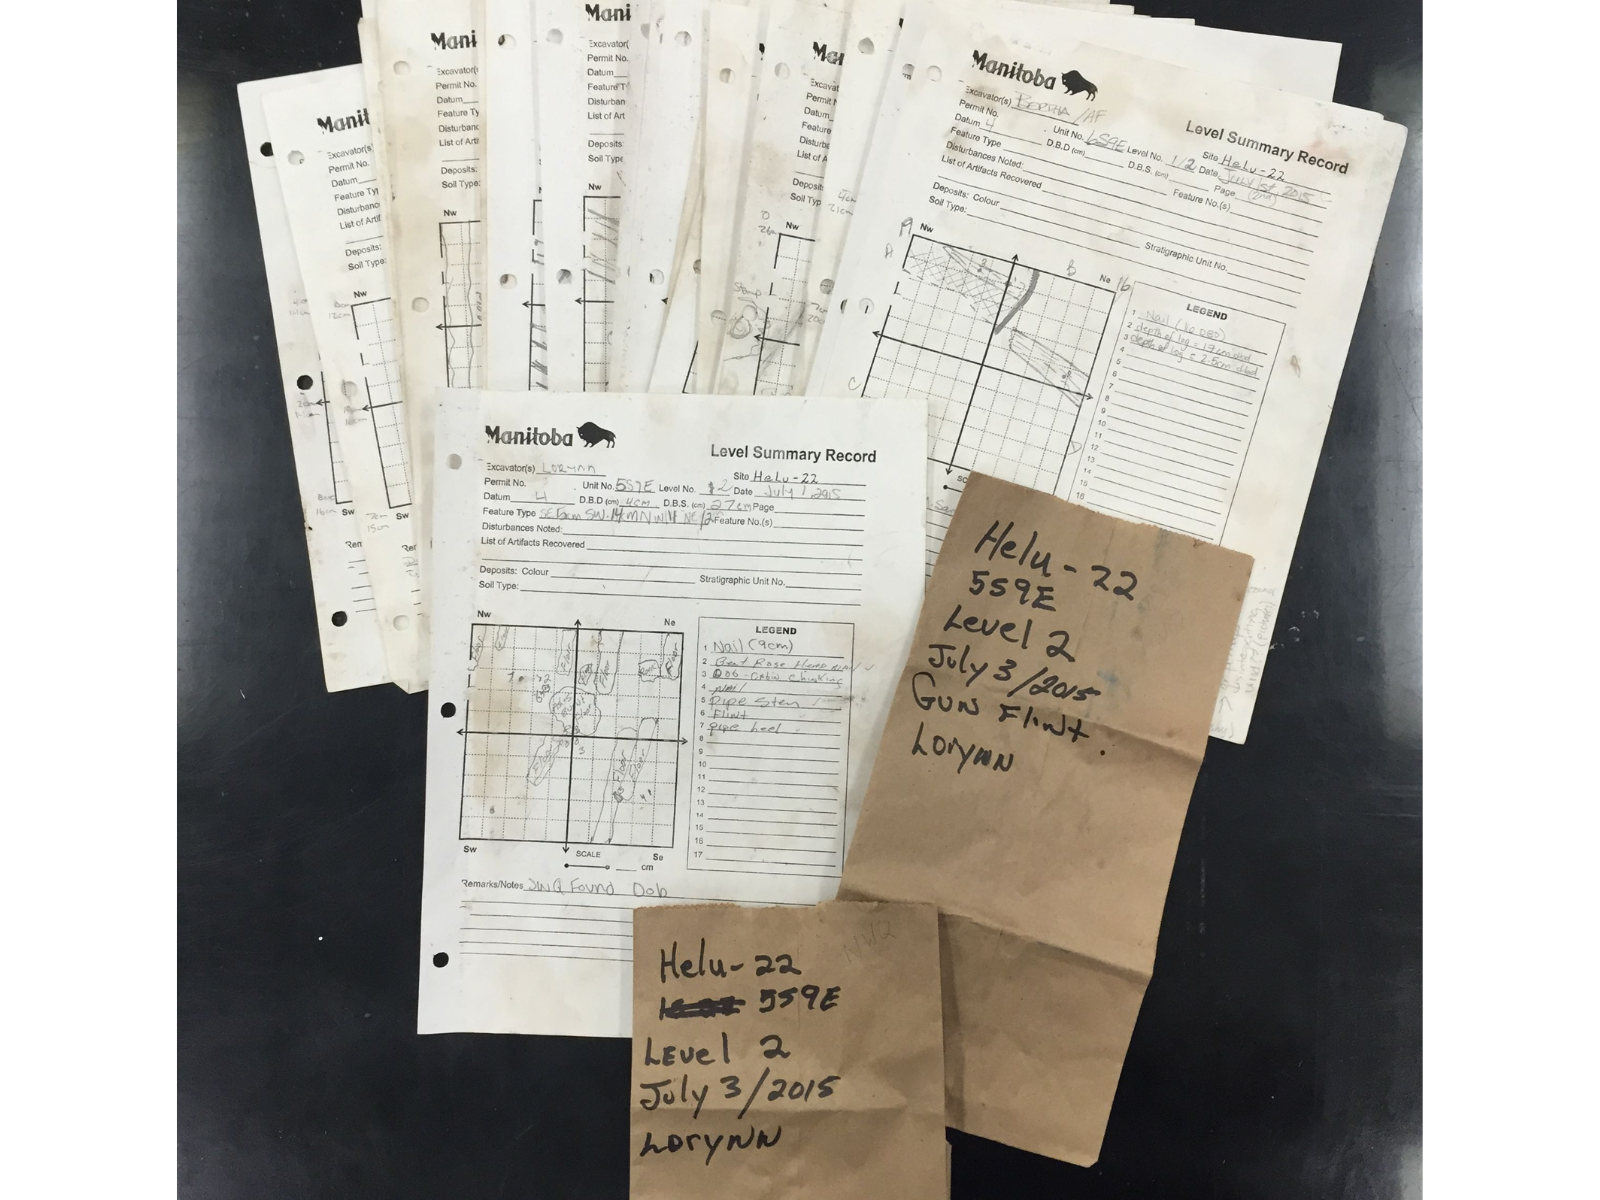
Step 1, Sorting: Matching field-bagged artifacts to their record sheets. Sometimes figuring out what goes where can be tricky.
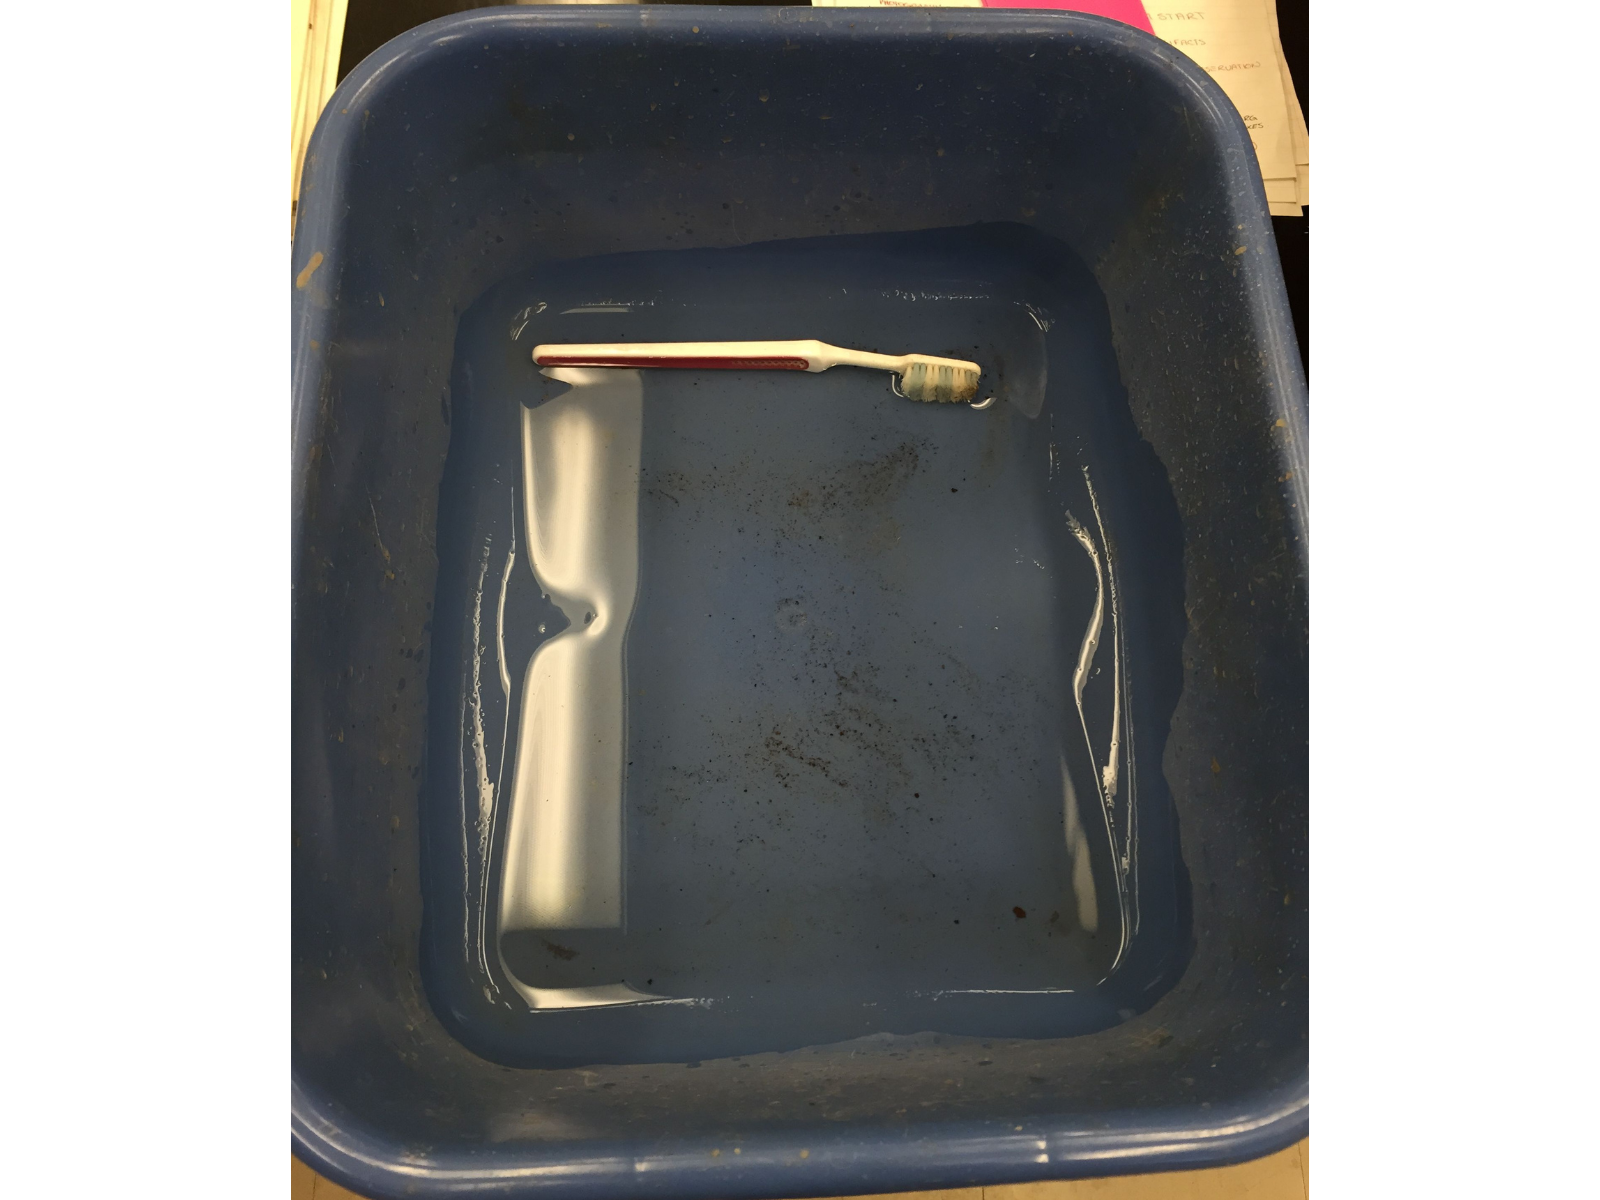
Step 2, Cleaning: I wouldn’t want to brush my teeth like this, but it’s just fine for artifacts.
Step 3 is identification. This is the hard one. I need to figure out what each artifact is as well as any other information I can gather about how and when they were made. So how do I figure this out? I use a combination of resources: reference books, websites, and the Museum’s own comparative reference collection. This information is entered into a computer database. I also add excavation information from the field notes. The computer assigns each artifact its catalogue number and prints catalogue cards.
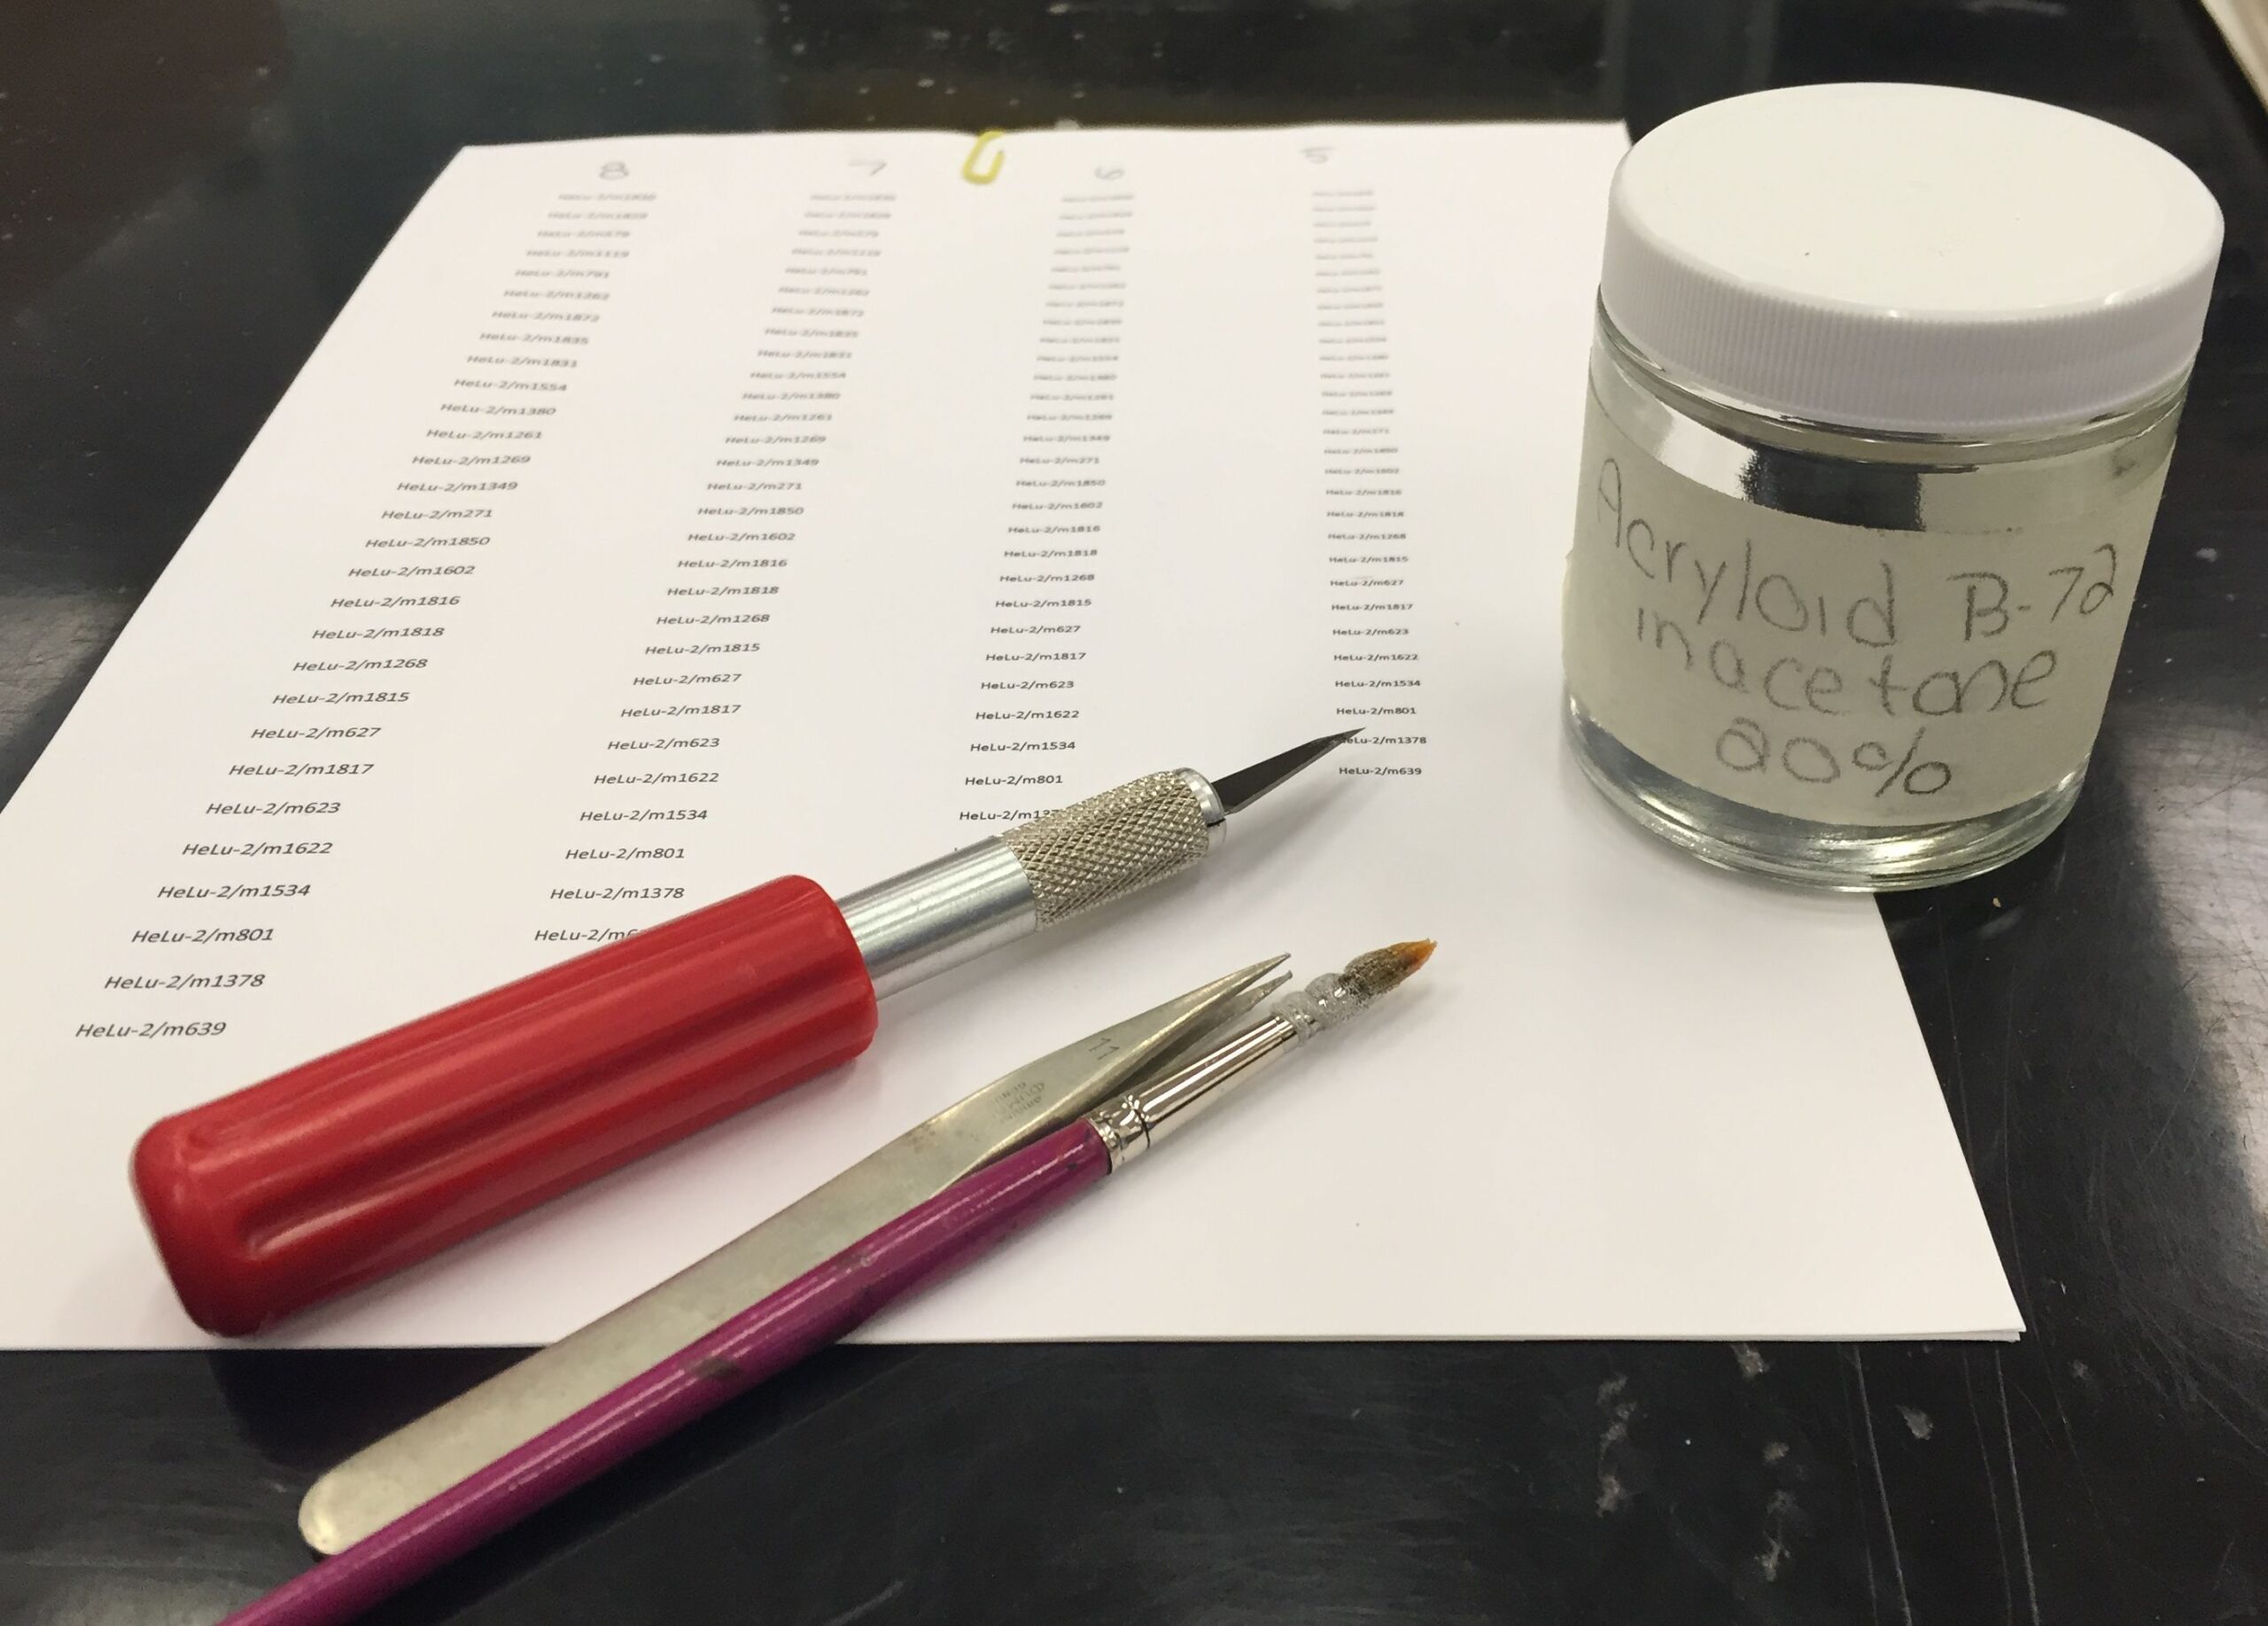
Step 4 is labeling. I use a special sealant to glue acid-free labels onto artifacts.
Image: Step 4, Labeling: Labeling tools. Until recently, labels were written onto artifacts using fountain pens. It was harder to do and even harder to read.
Step 5 is photography. Photos create an extra record for the assemblage making it easier for archaeologists to do research. Typically not all artifacts are photographed, but if done correctly, anyone looking at the pictures will have a good idea of what the site was like.
Step 6 is conservation. Damaged (rusty) artifacts need special treatment to protect them from further damage. While I might identify which artifacts need conservation, the Museum has a specialist who does the work during this step. The coolest thing about conservation is that sometimes details like maker’s marks are only visible after rust is removed.
Step 7 is storage. Each artifact gets put in a plastic bag with its catalogue card. Everything is filed and placed in climate-controlled storage.
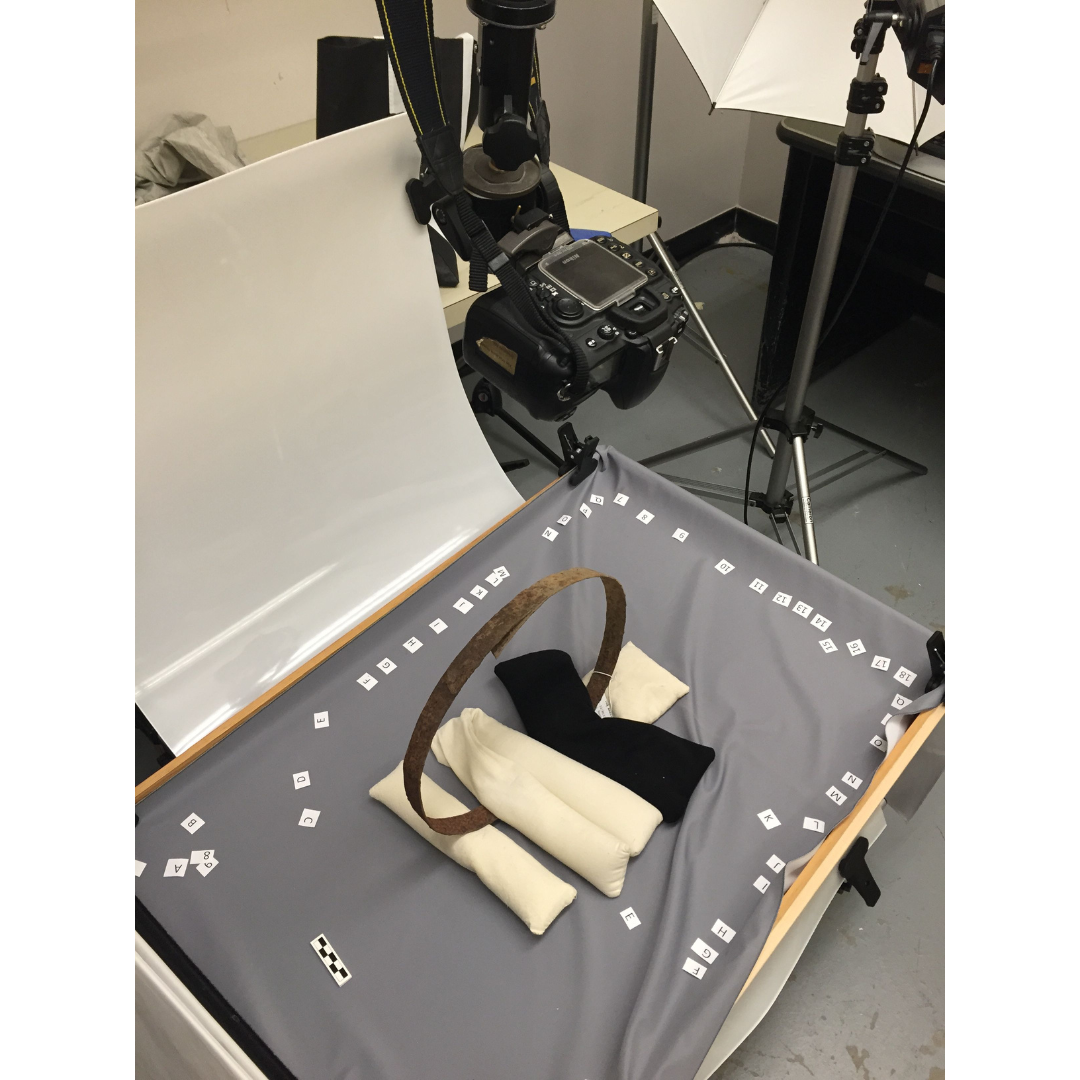
Step 5, Photography: Photographs need to be taken from many angles. Getting things into position can be tricky.
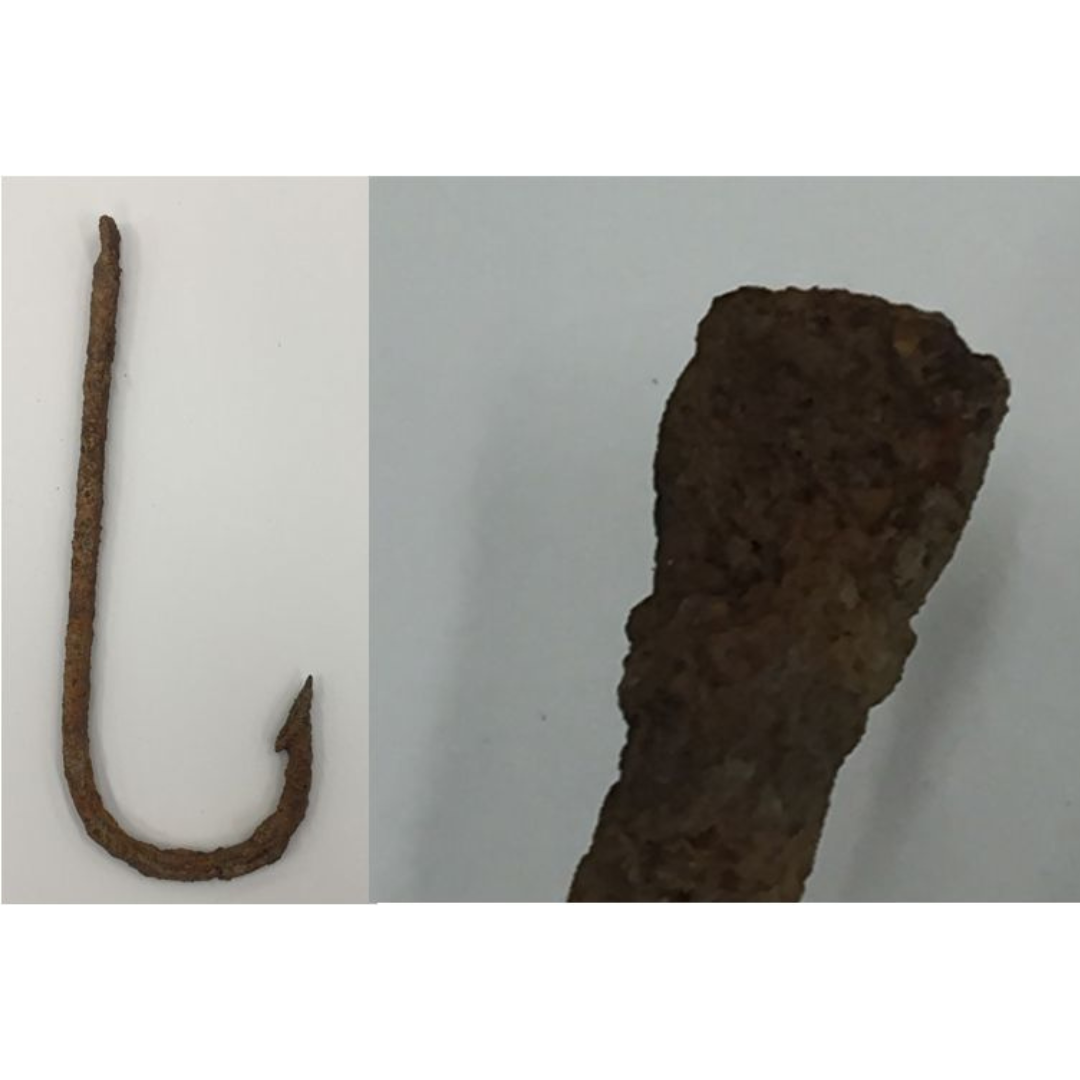
Step 6, Conservation: Is there the outline of a maker mark on this fishhook? We won’t know for sure until after conservation.
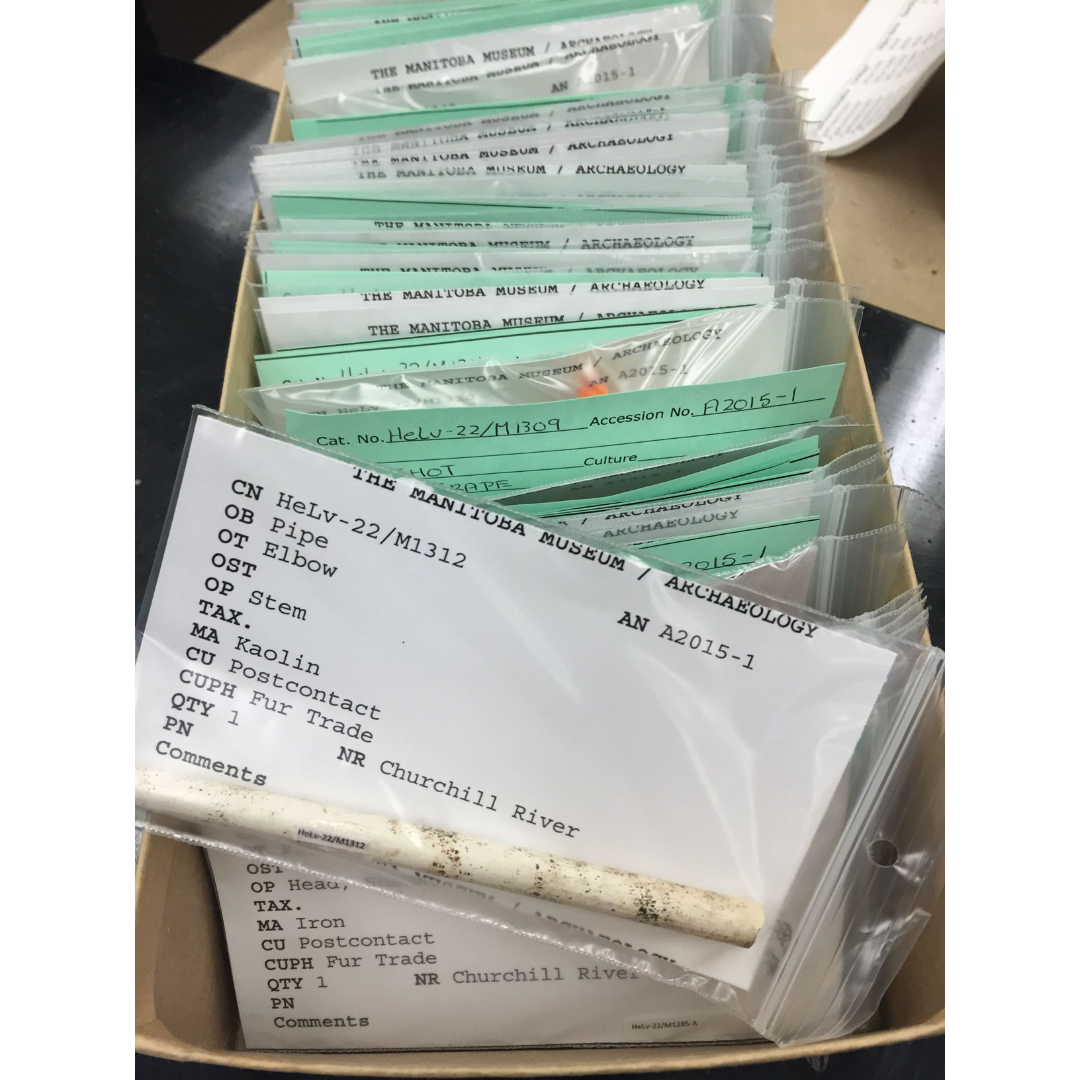
Step 7, Storage: The end product ready for storage.
That’s cataloguing! Some of the steps sound kind of fussy and boring, but I’m someone who likes to be moving and doing something (even when I’m watching TV), so actually the whole process is pretty relaxing. I love how sites from the same time period and/or area can turn out to be really different from each other. Finding out how each site is unique is the best part of cataloguing.

Broken pieces of pipe stems are common at fur trade sites and don’t usually get as much attention as bowls and spurs, but it’s really impressive to see a complete stem laid out.

